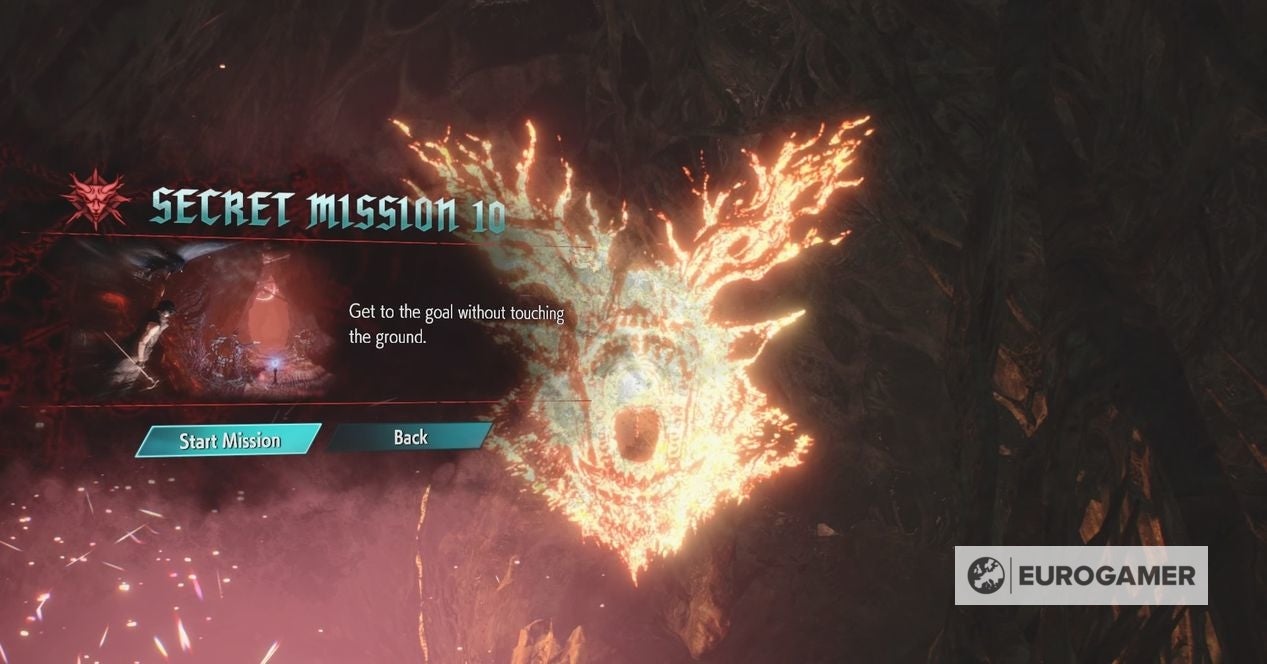
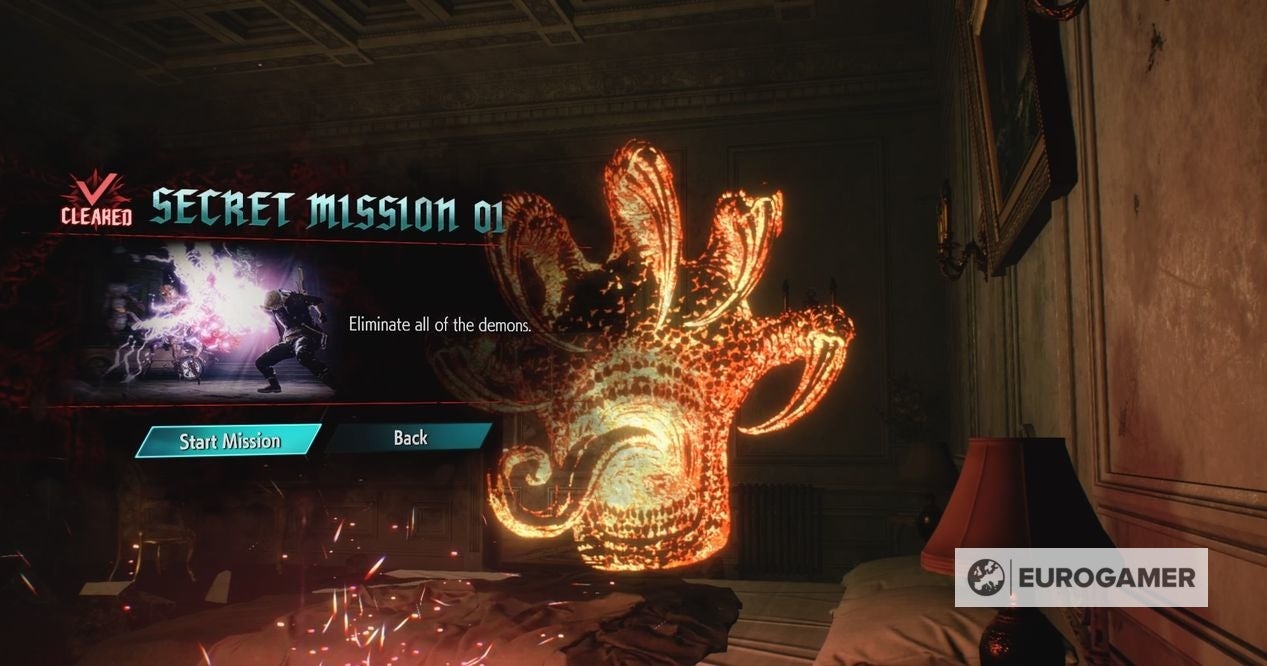
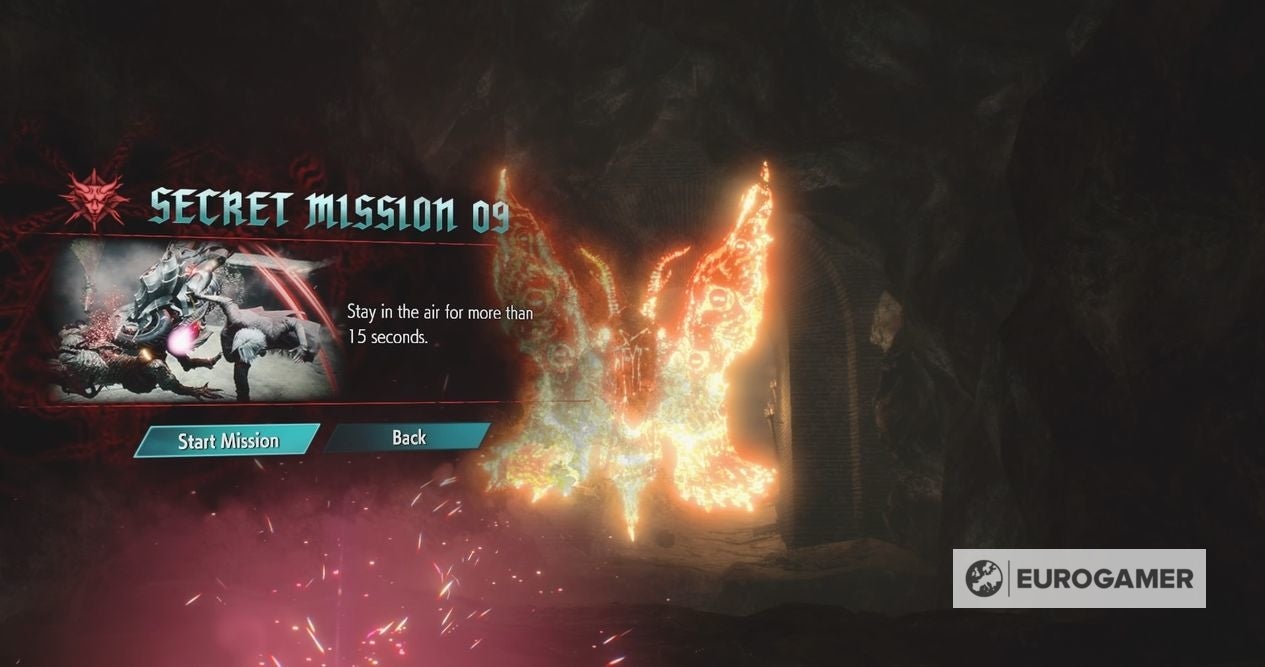
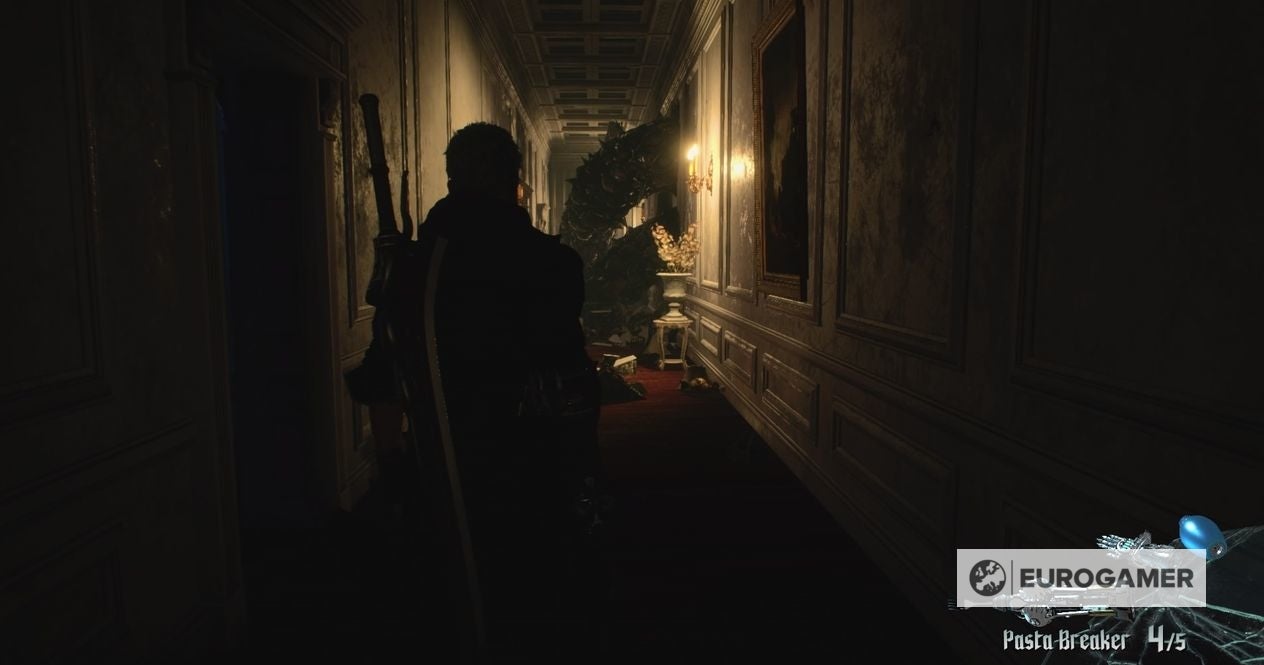
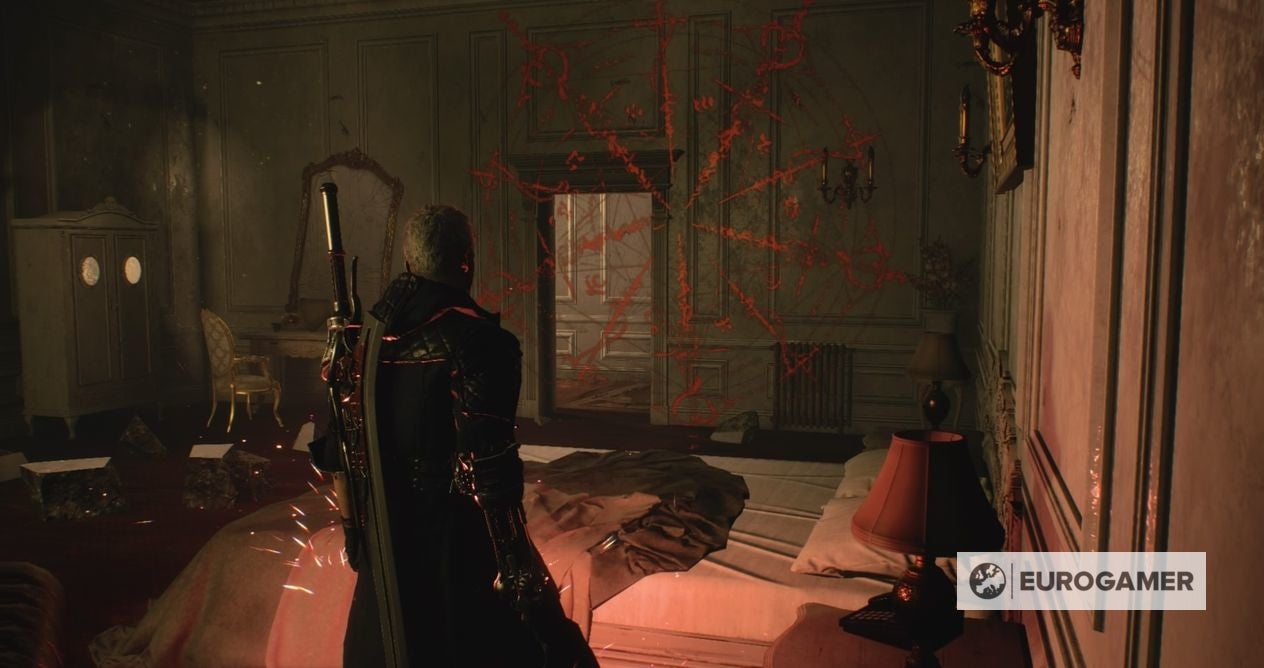
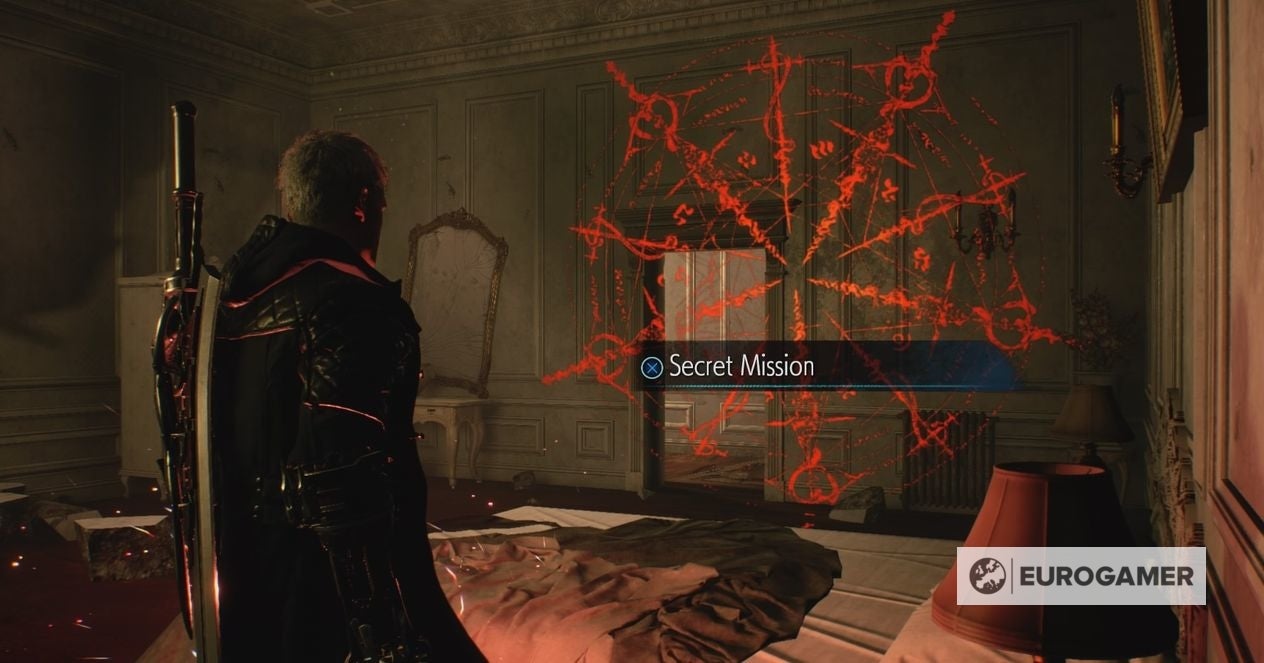
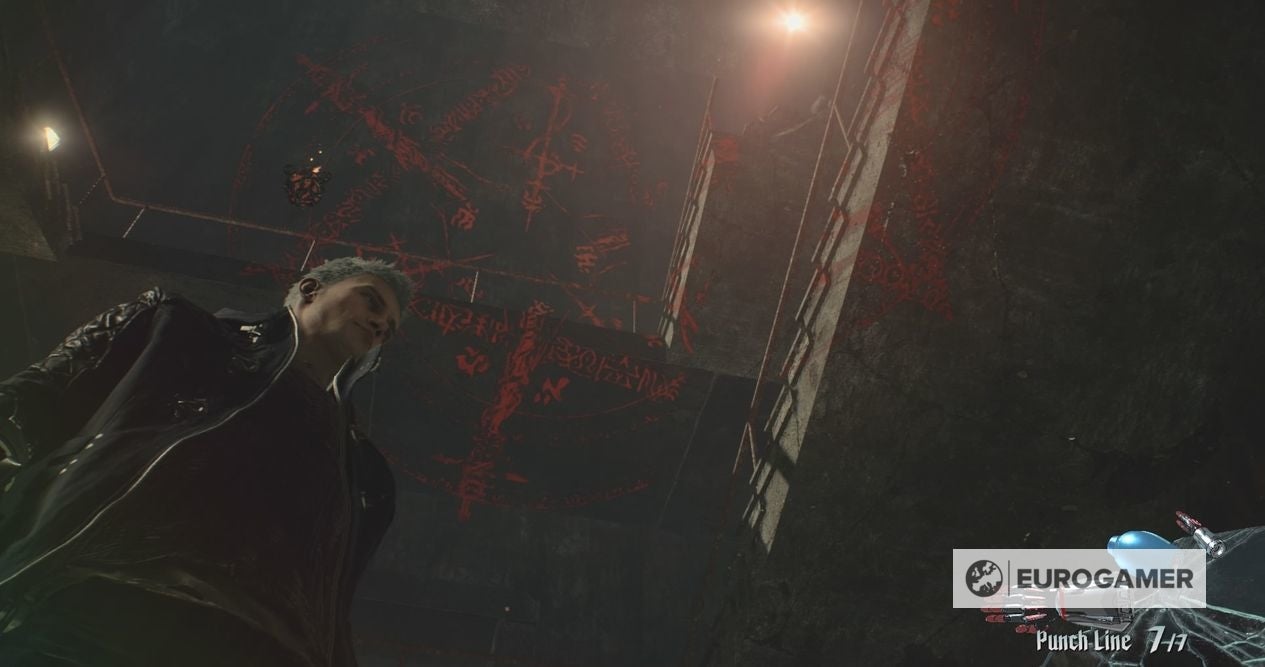
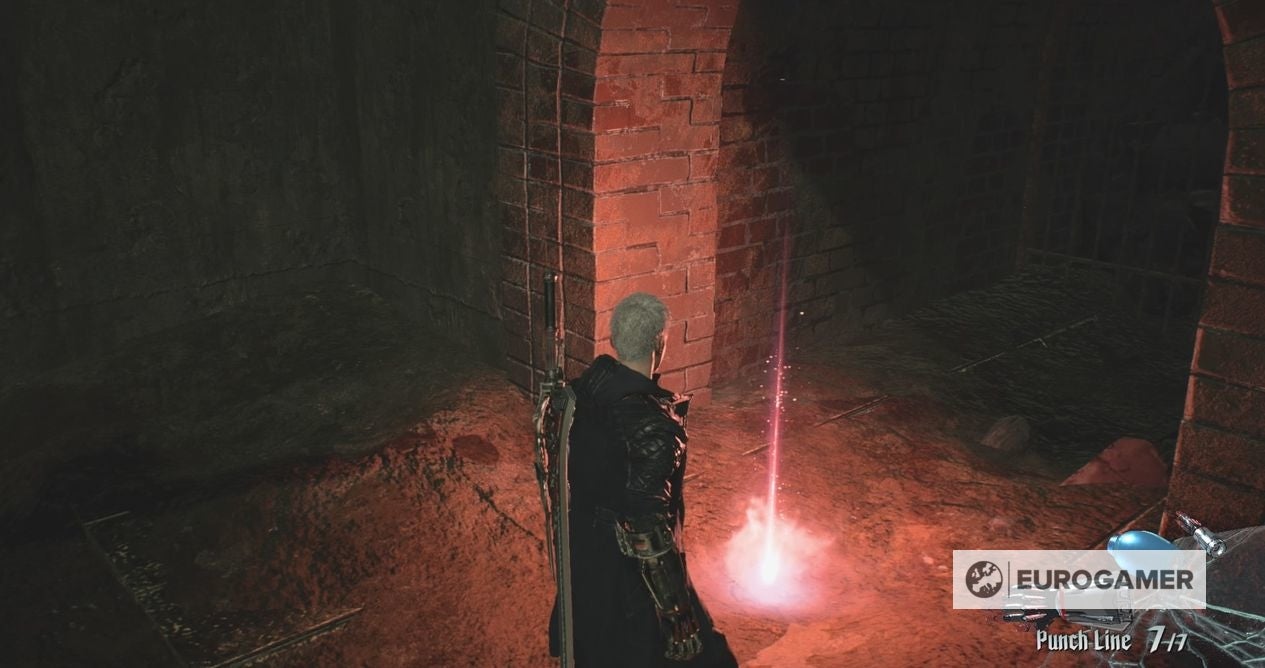
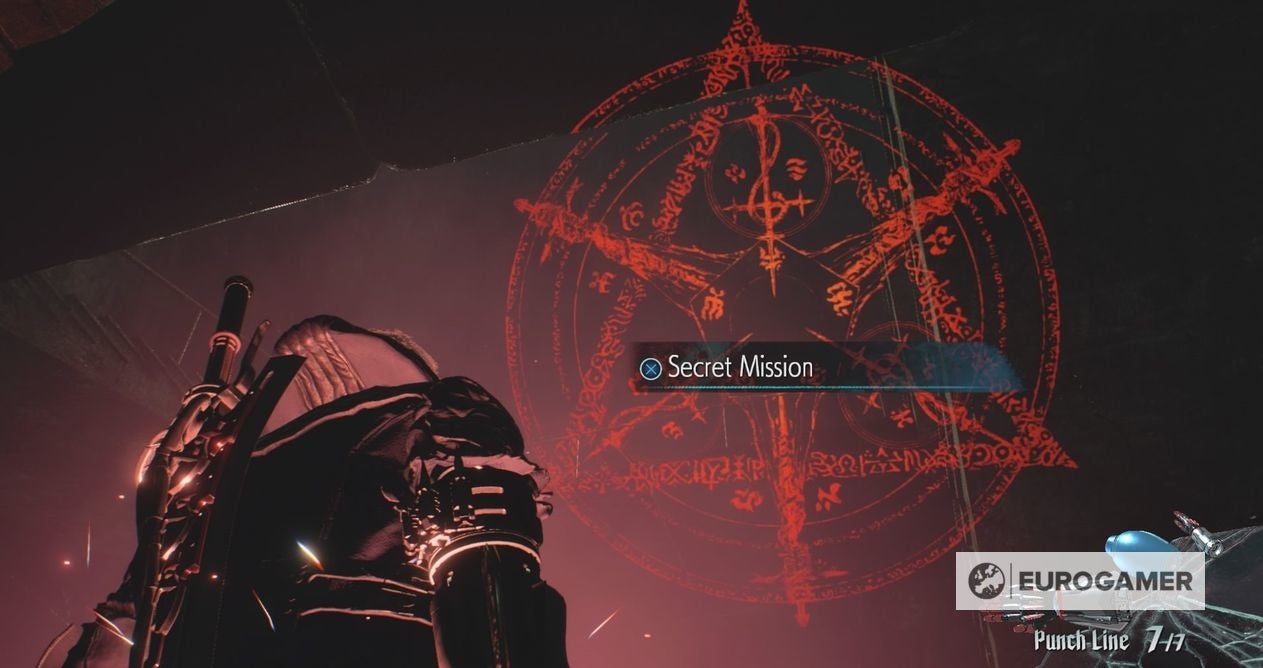
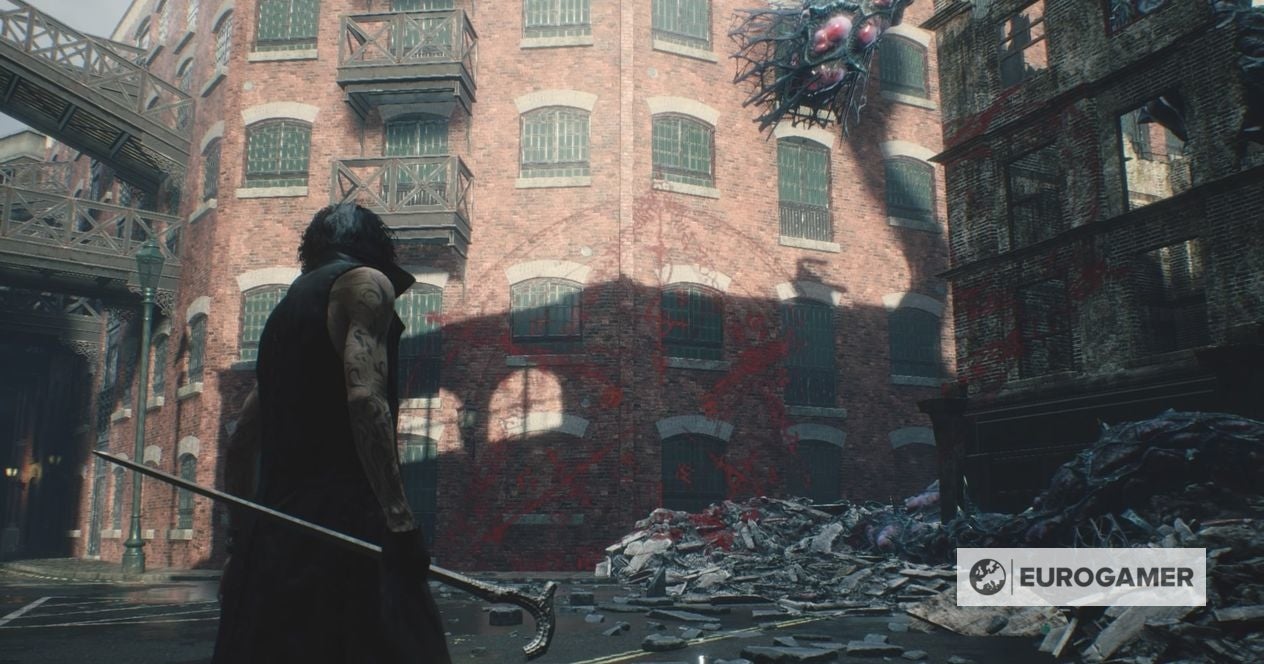
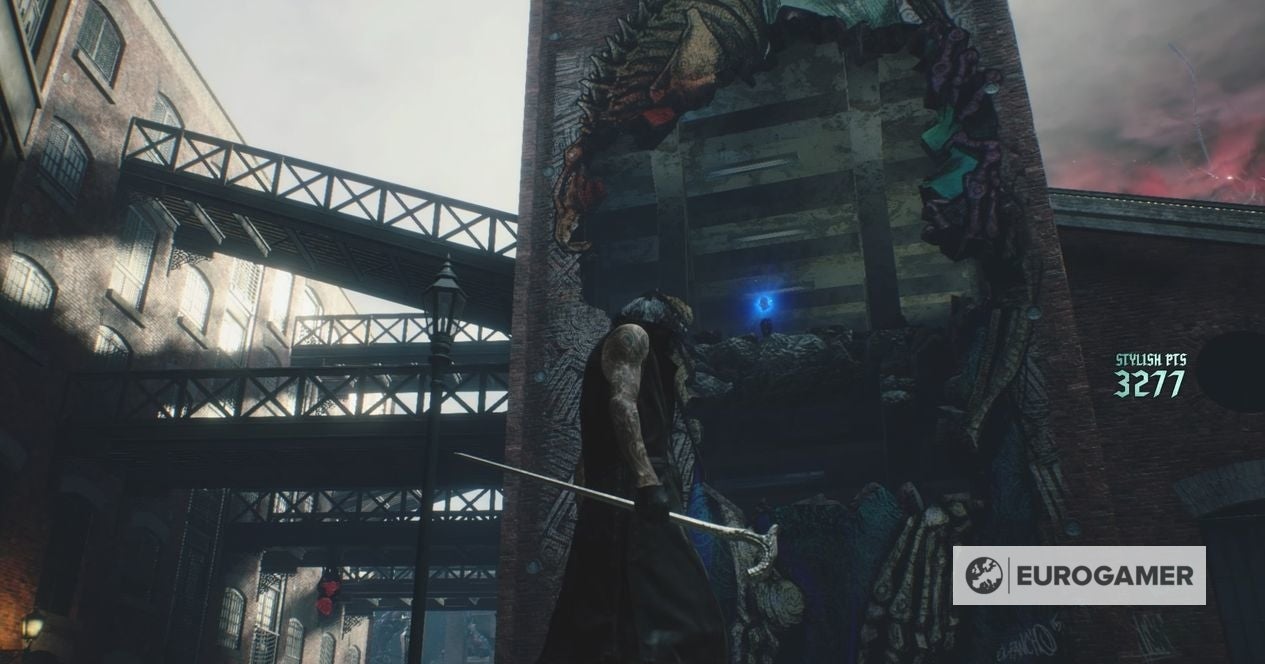
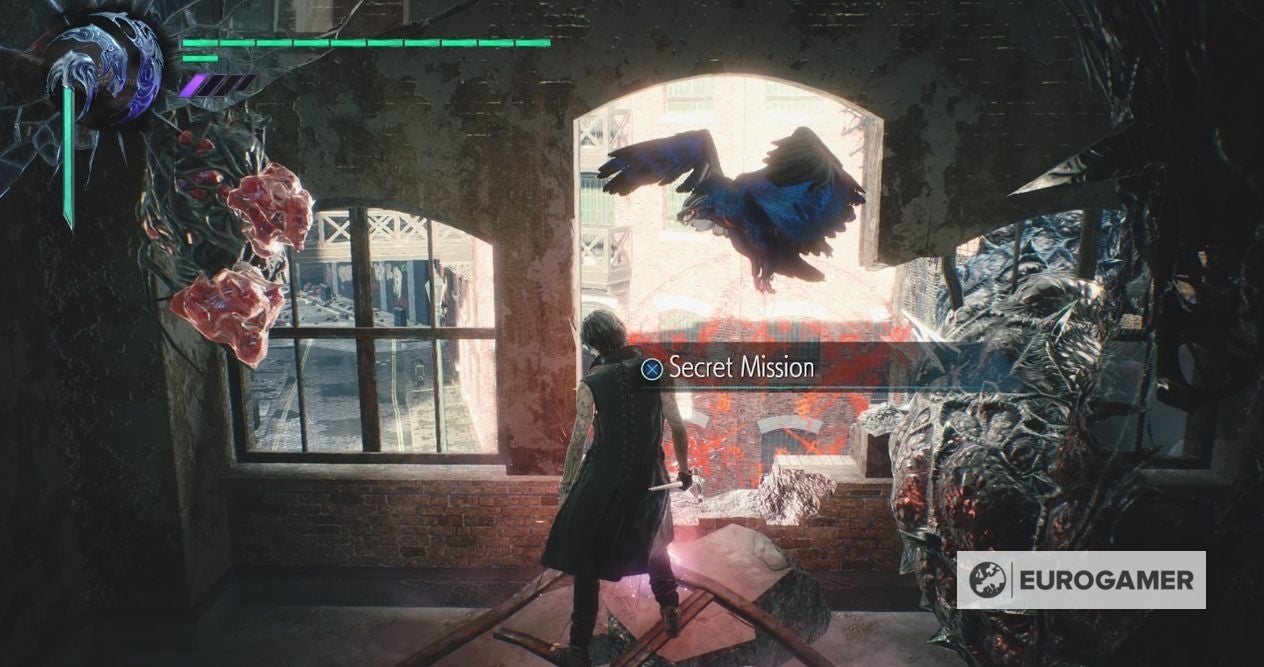
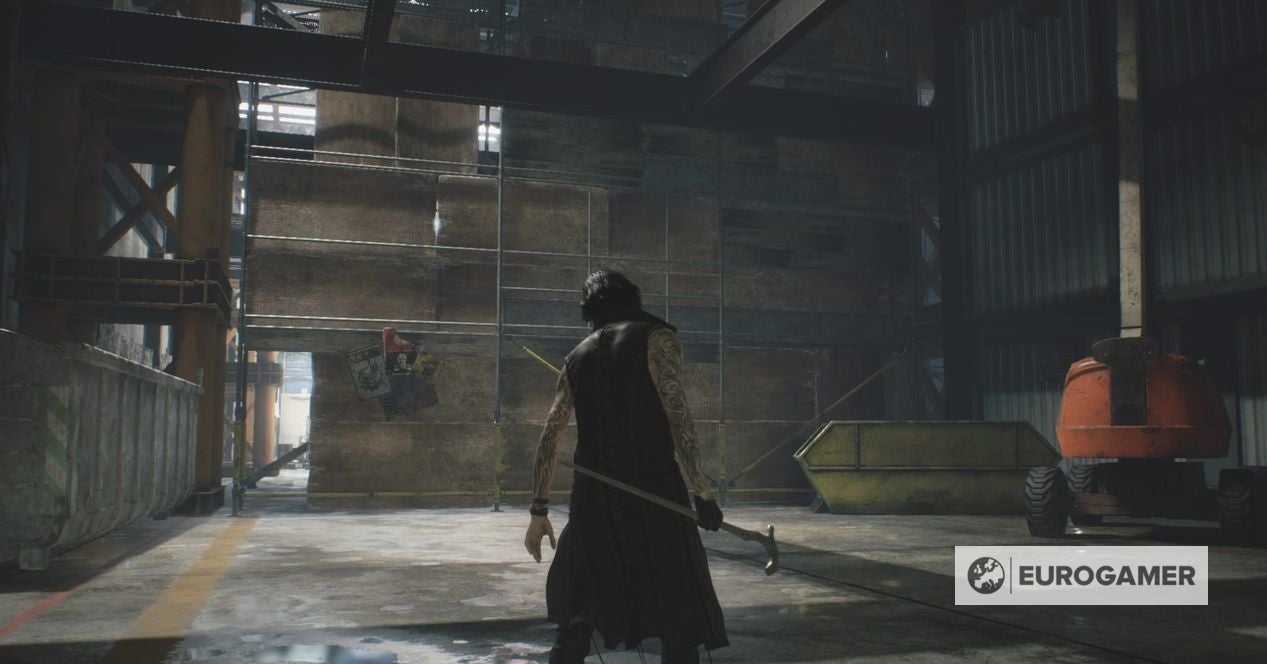
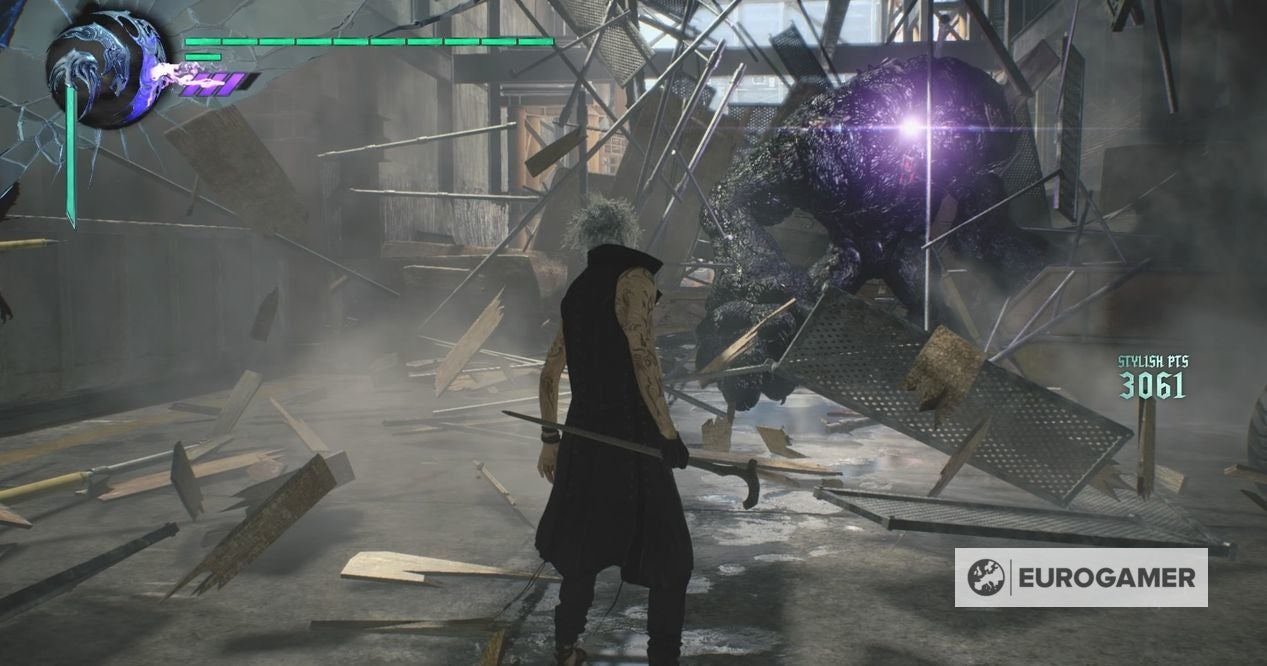
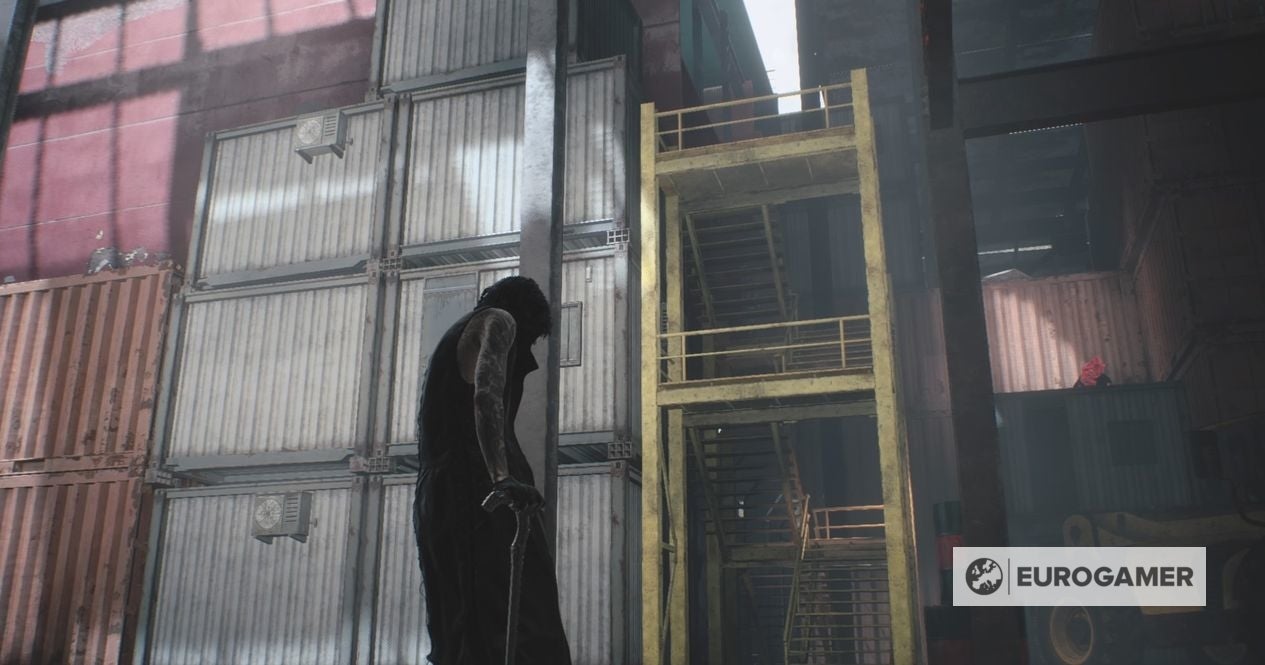
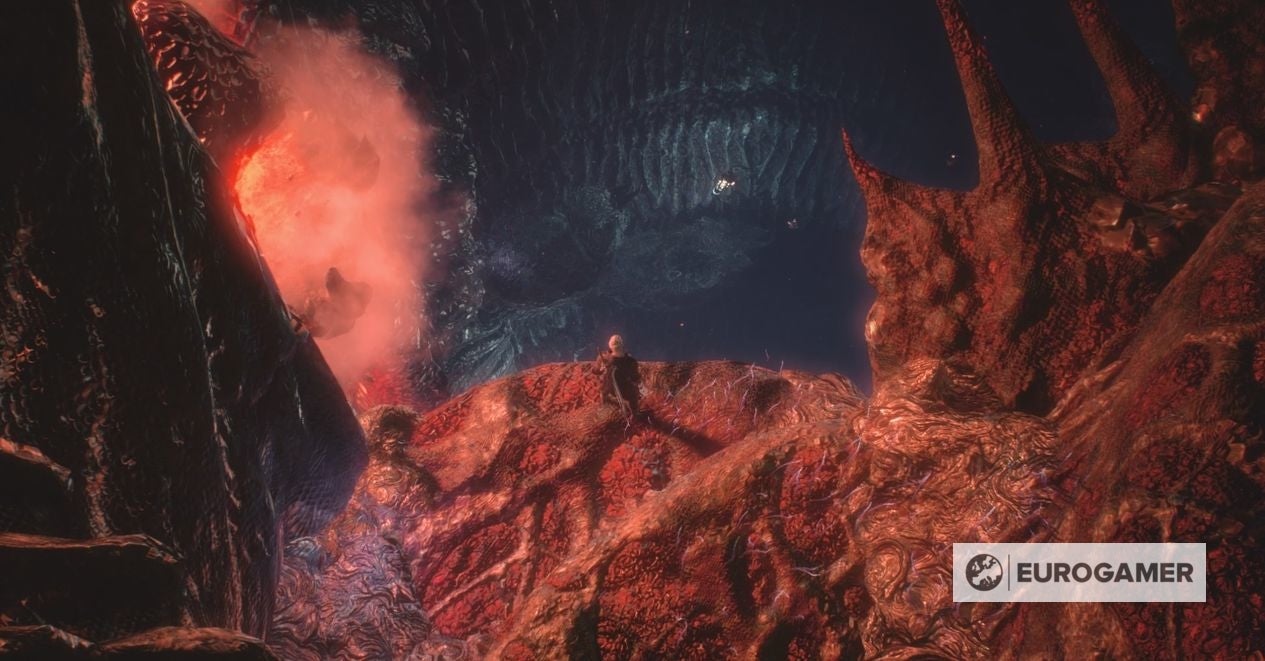
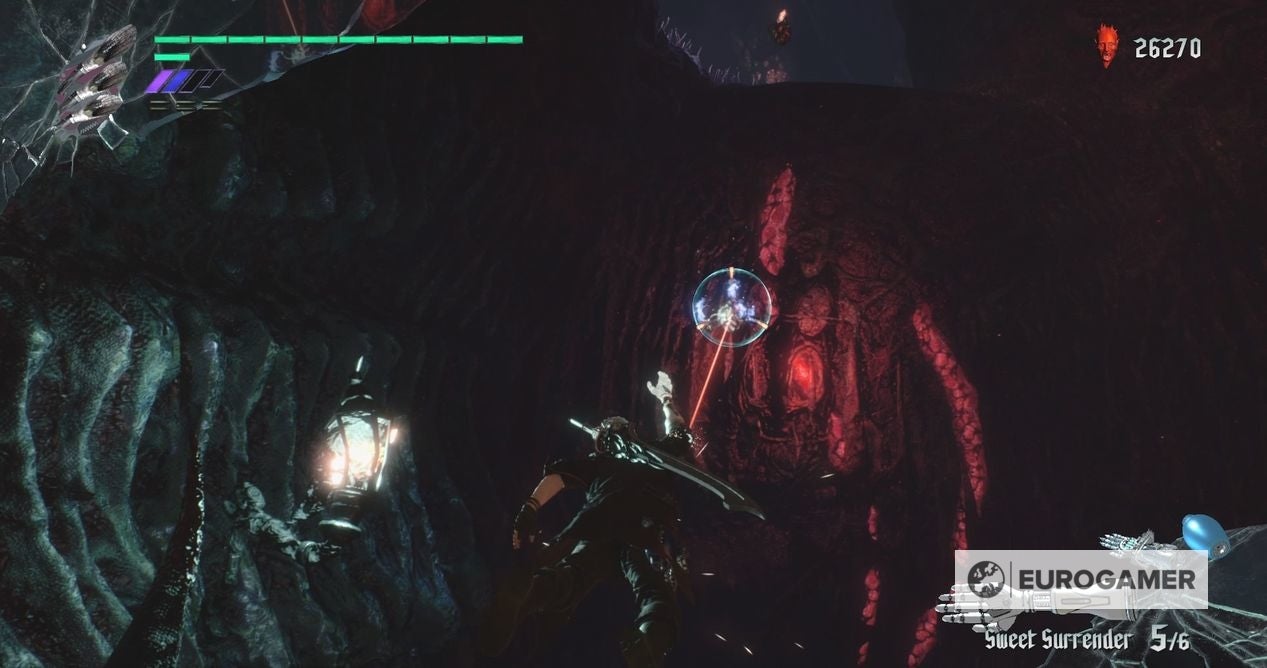
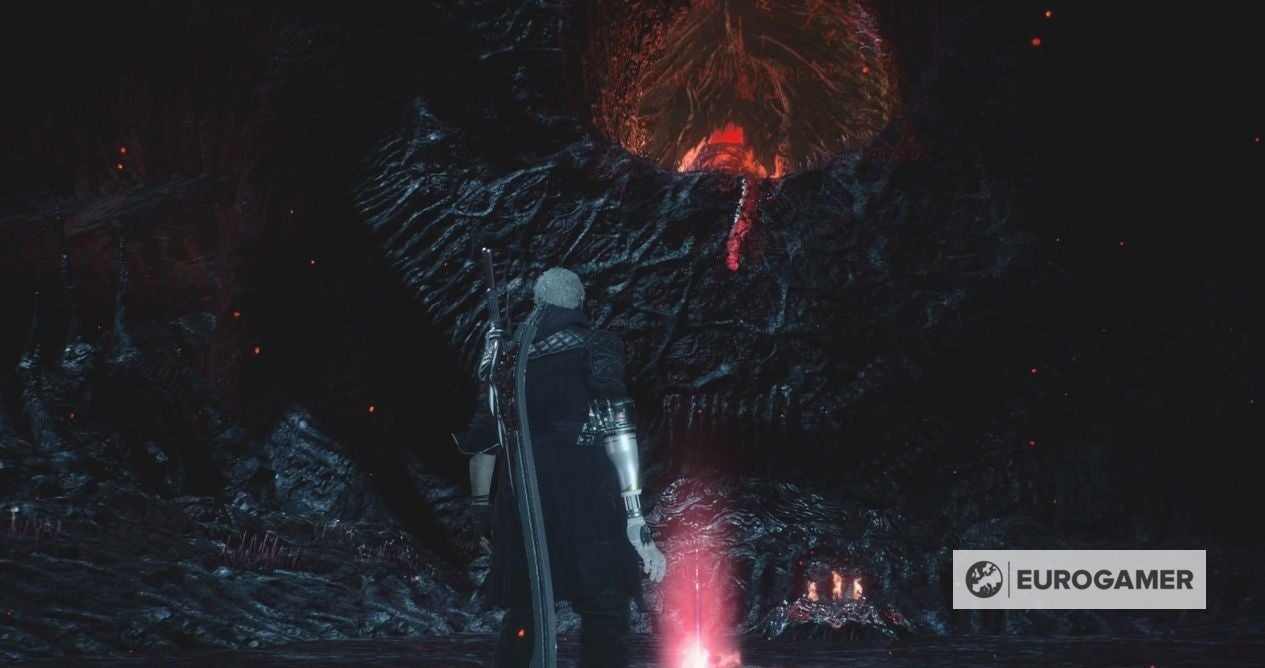
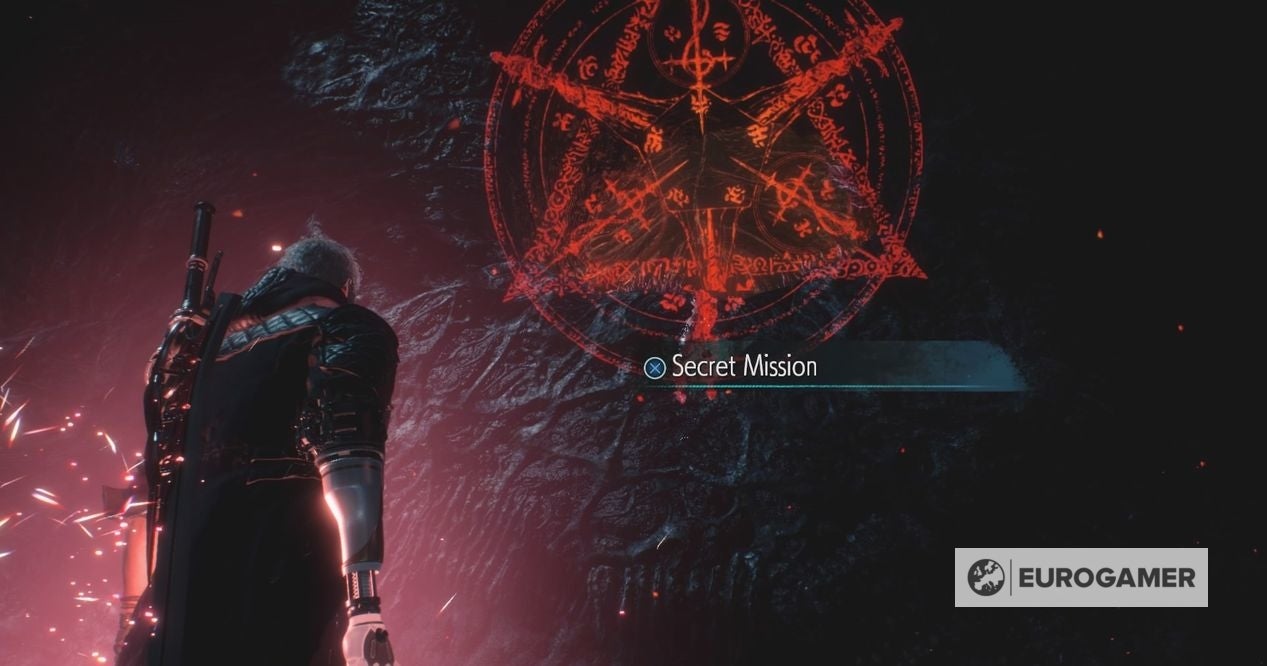
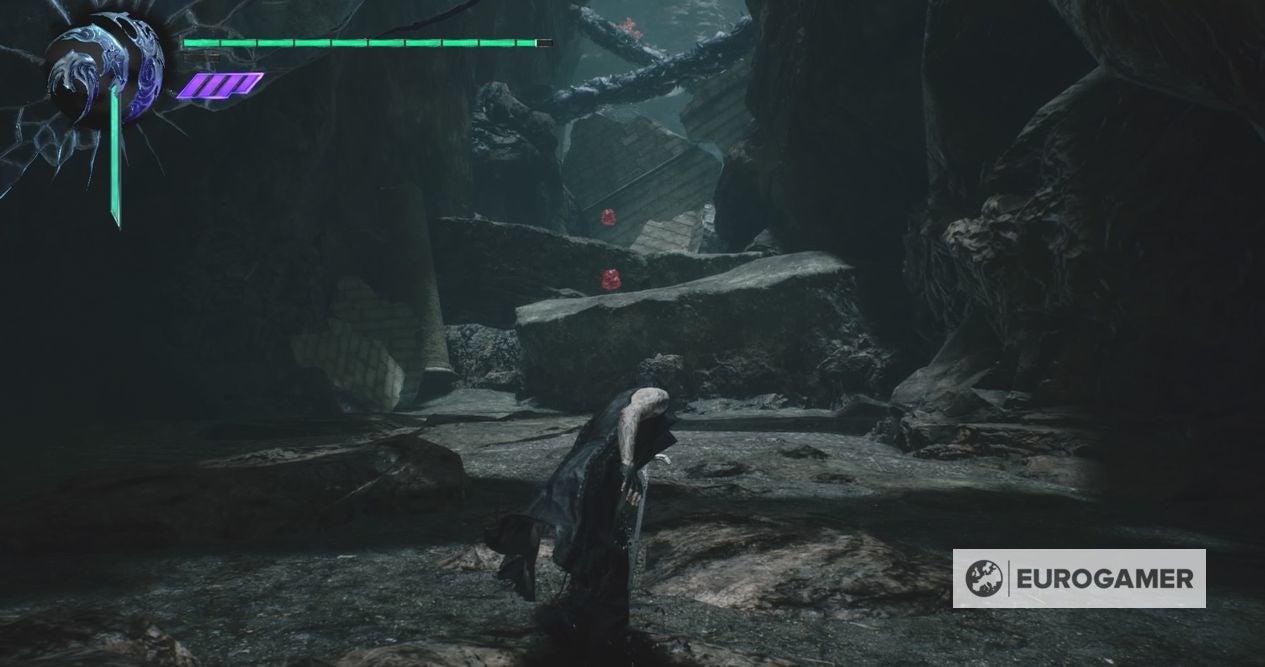
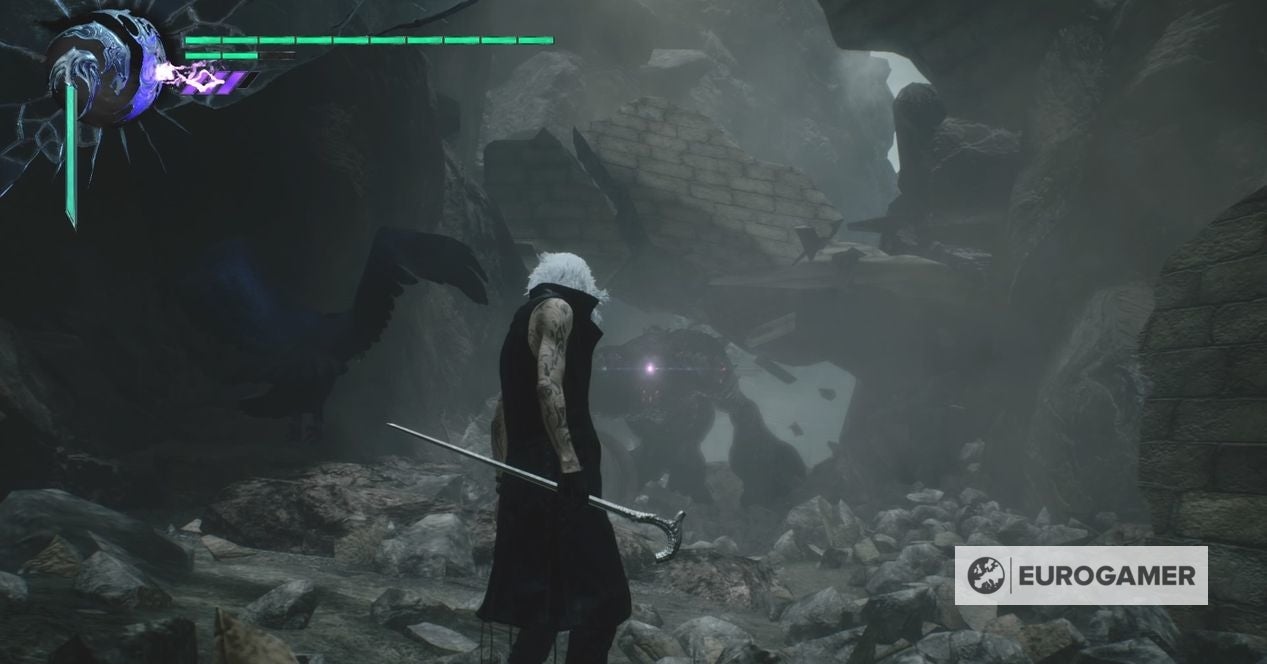
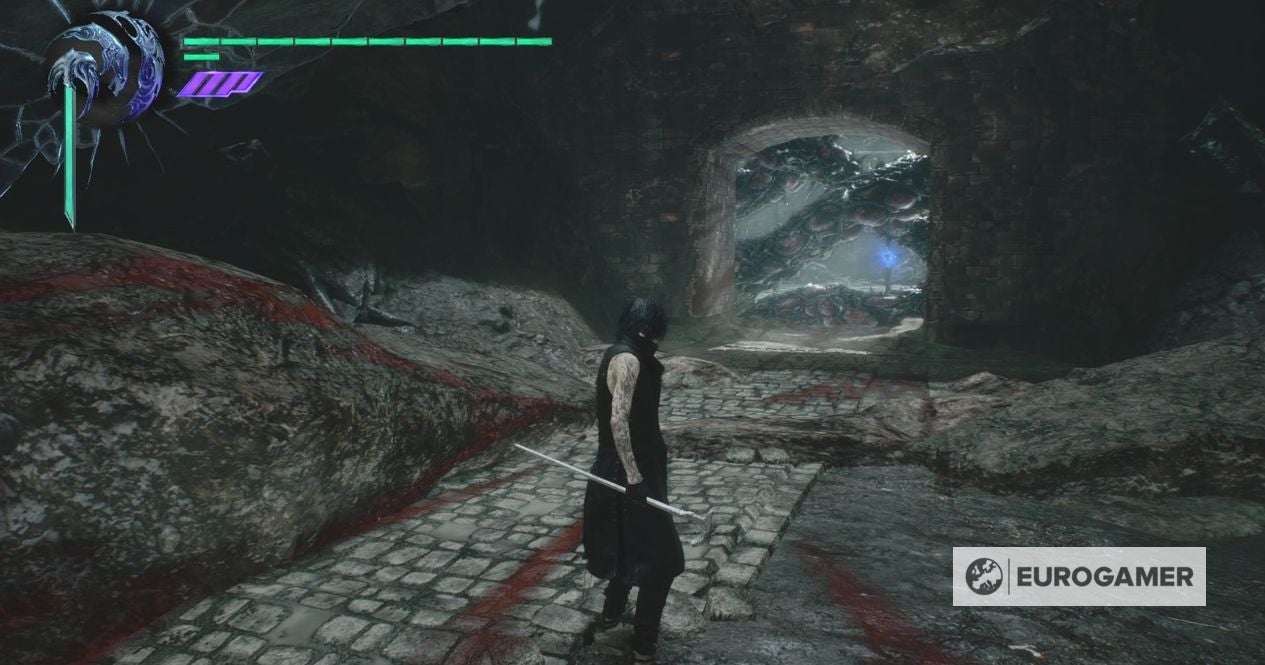
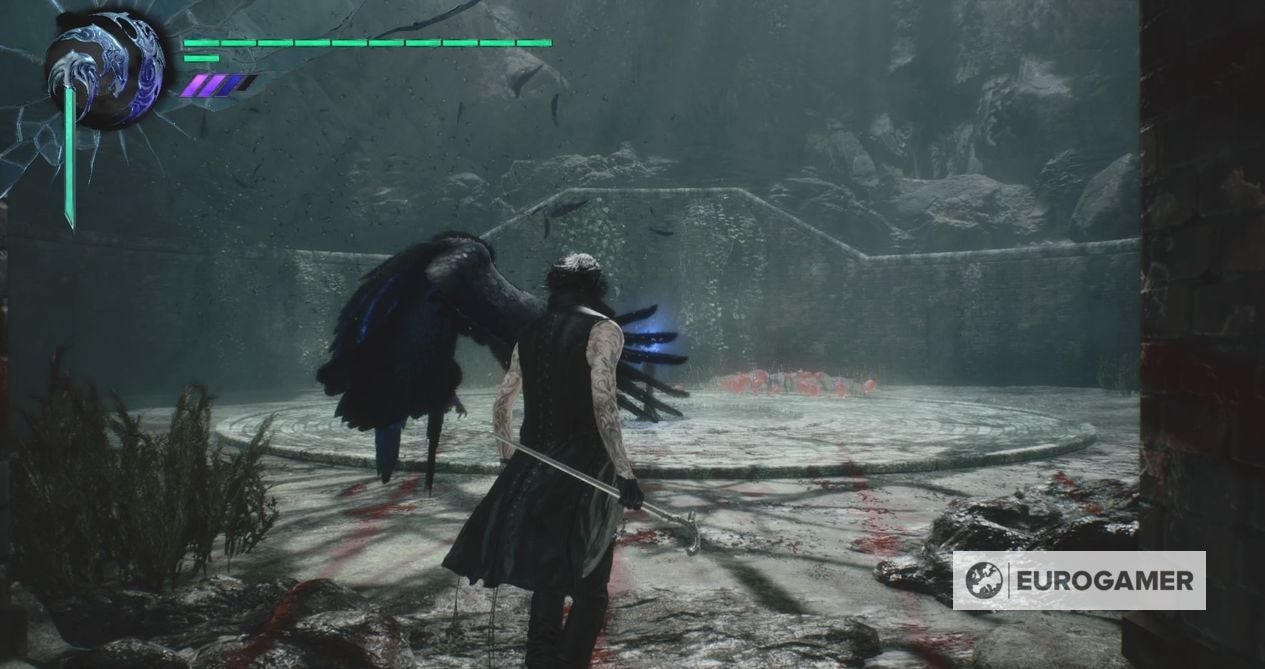
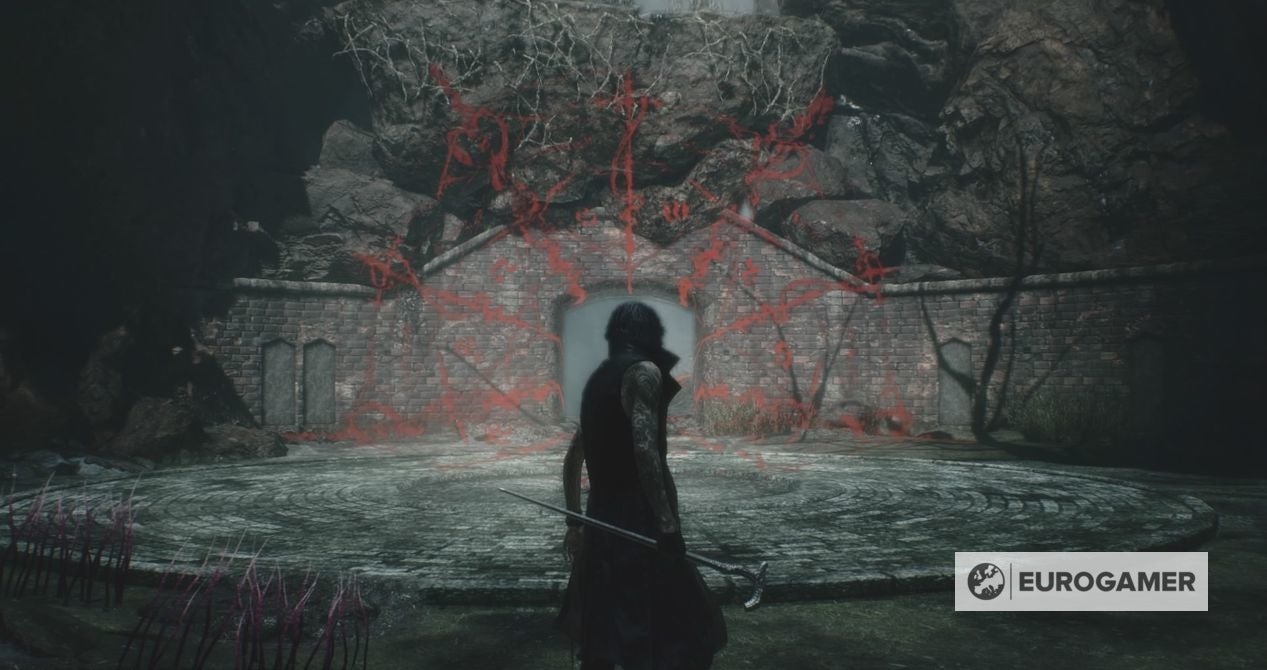
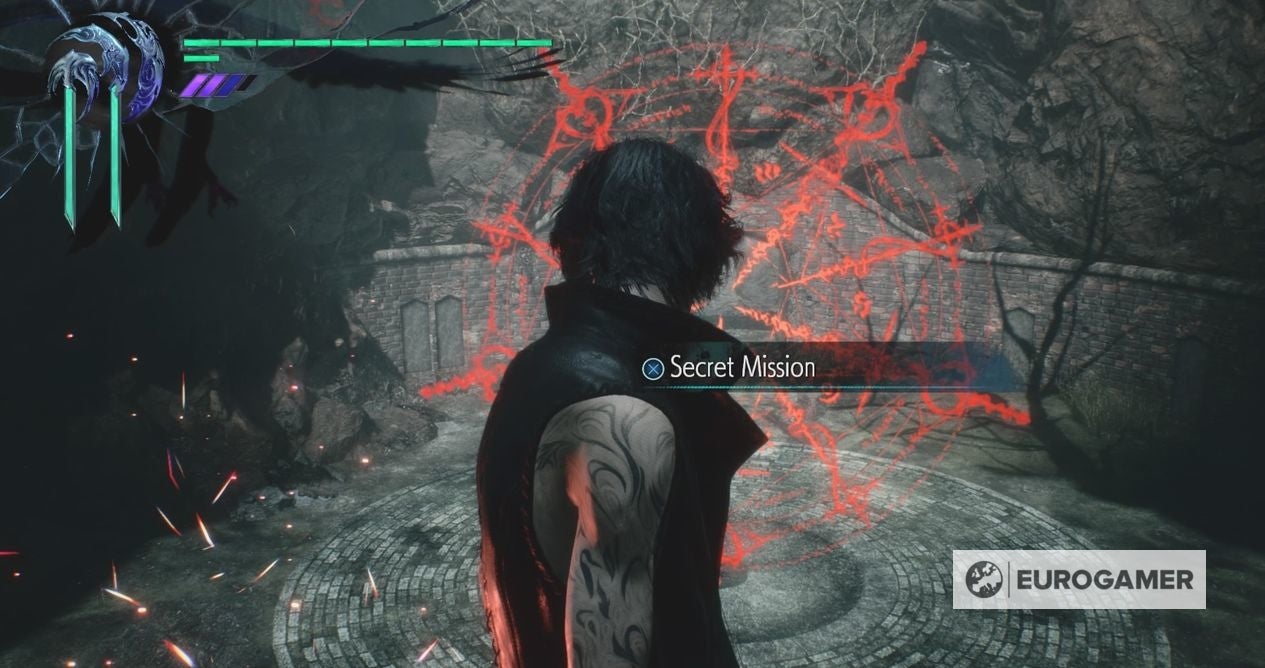
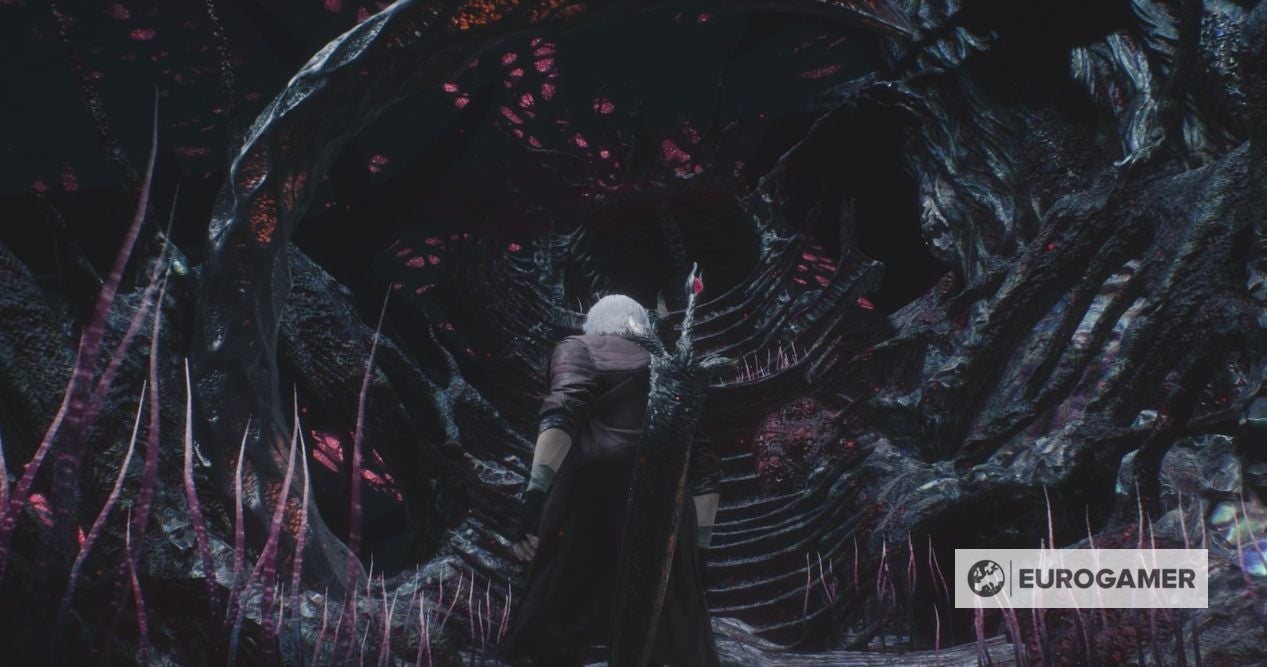
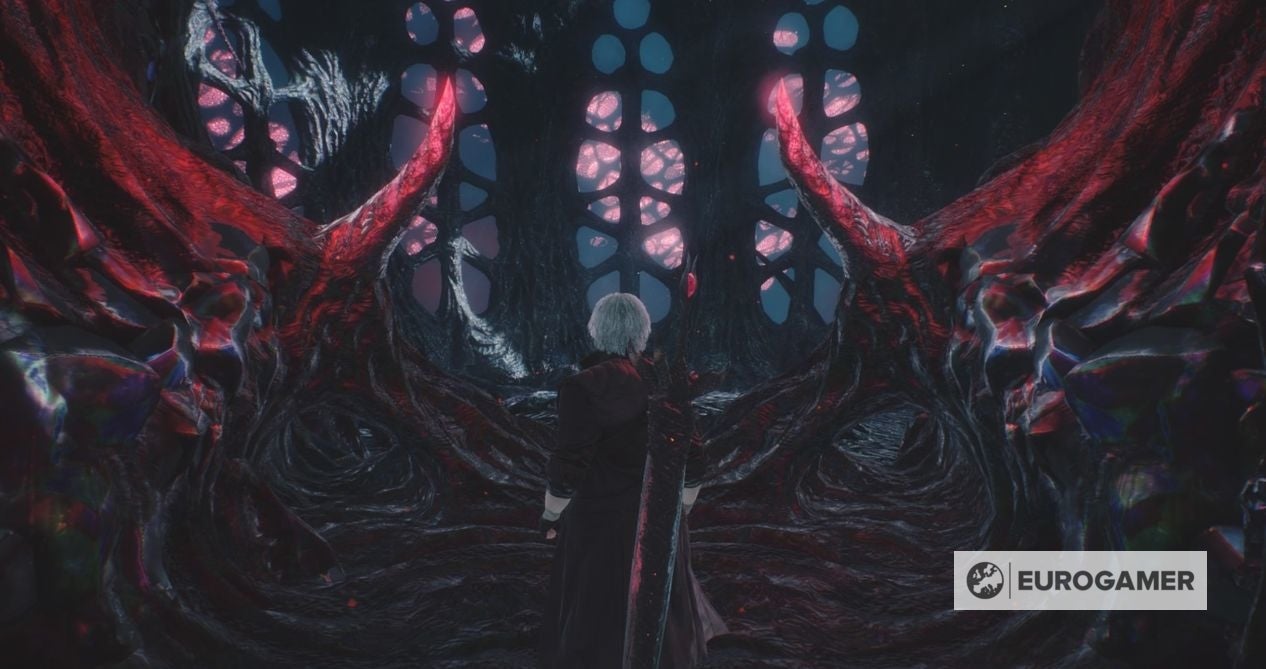
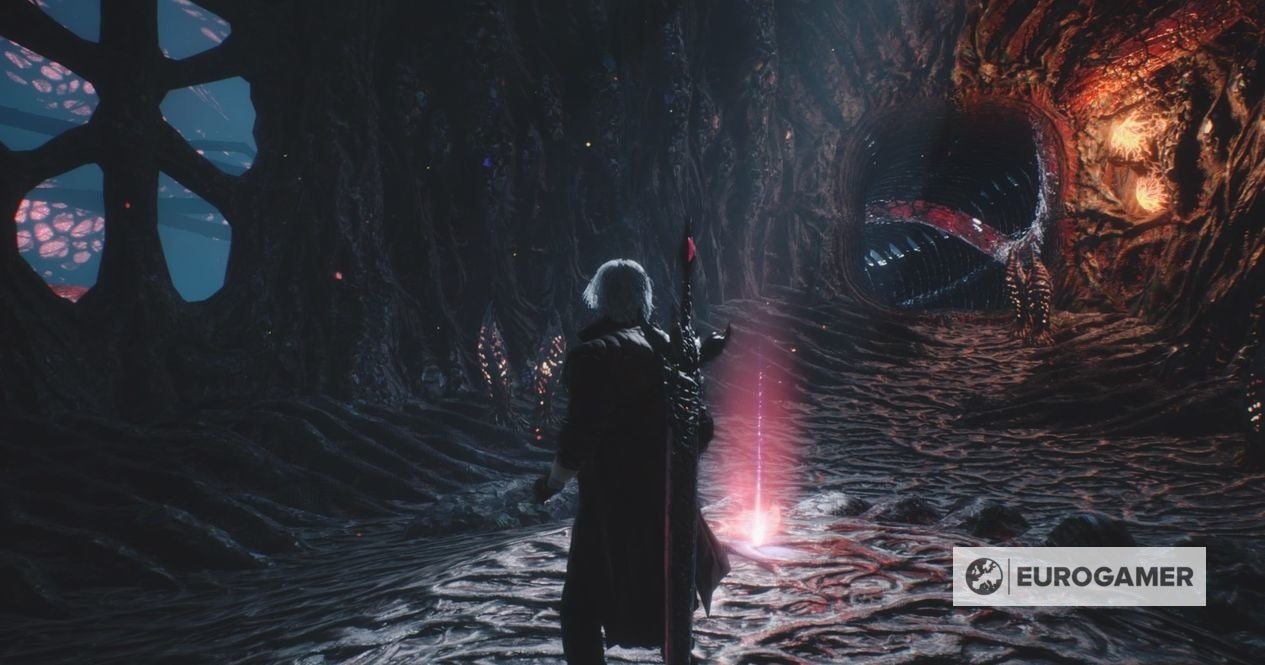
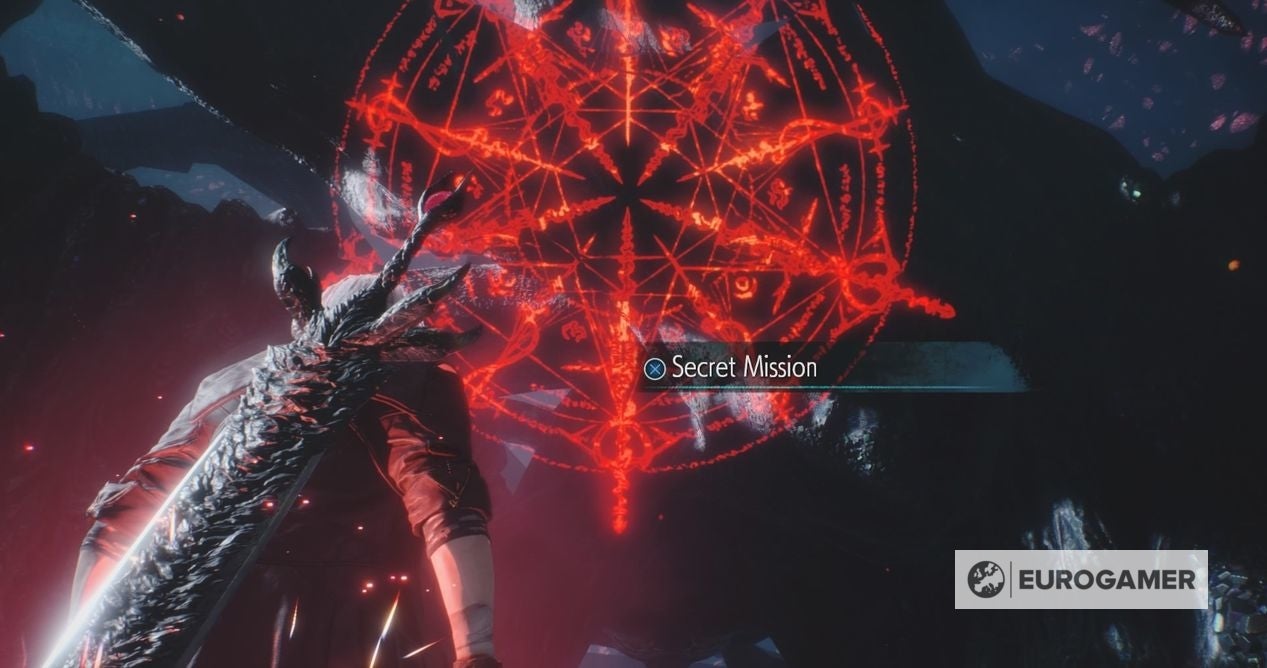
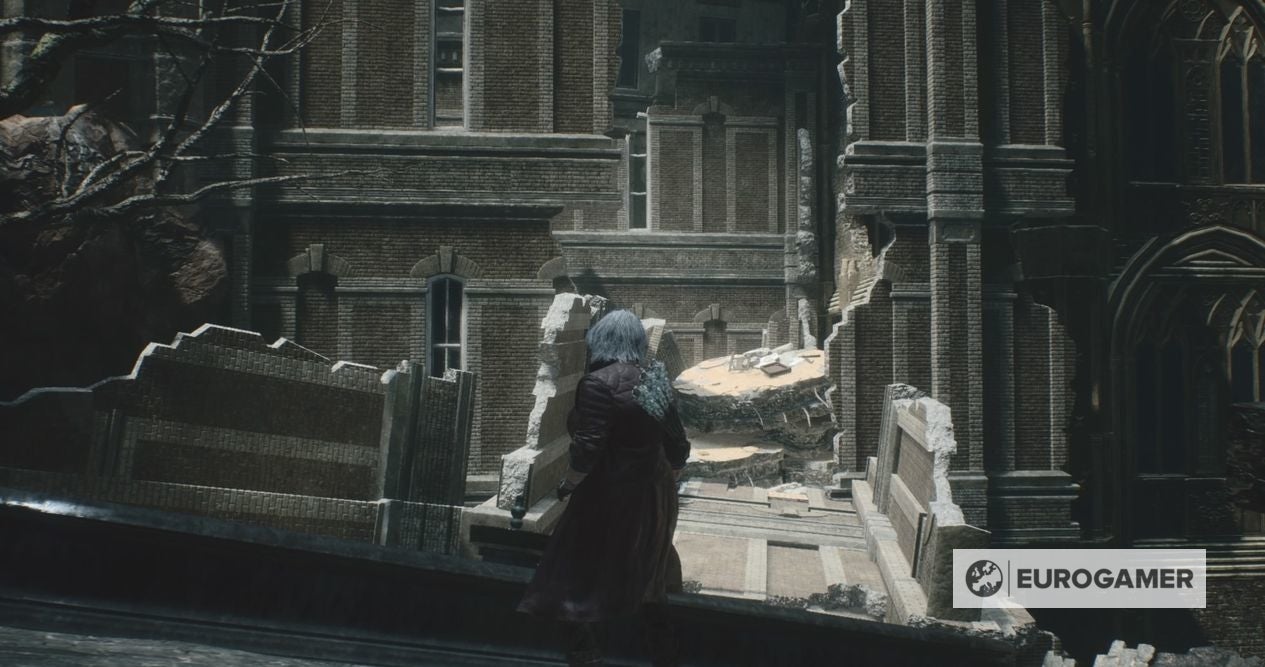
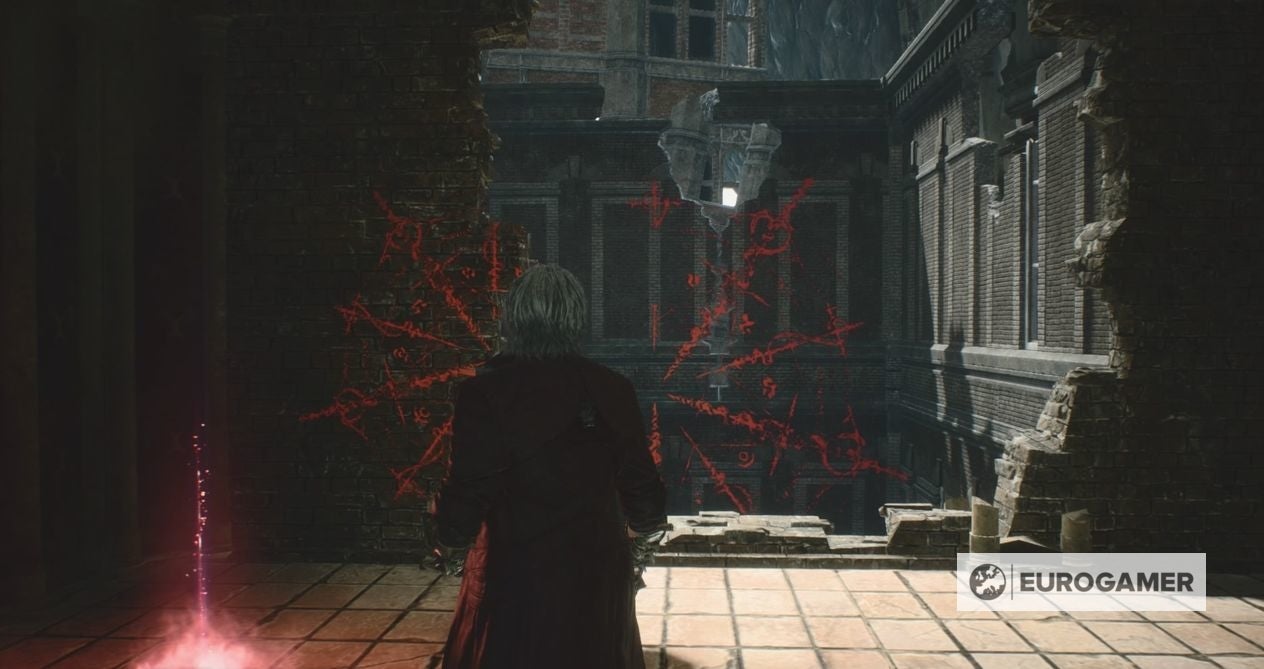
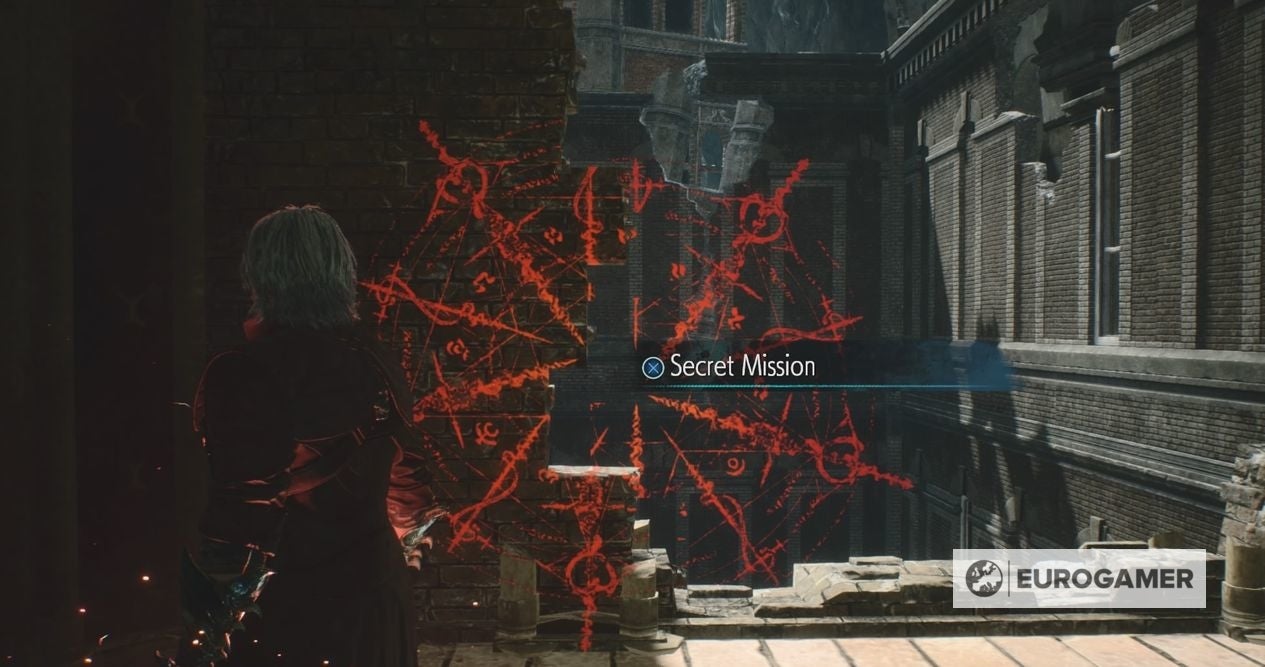
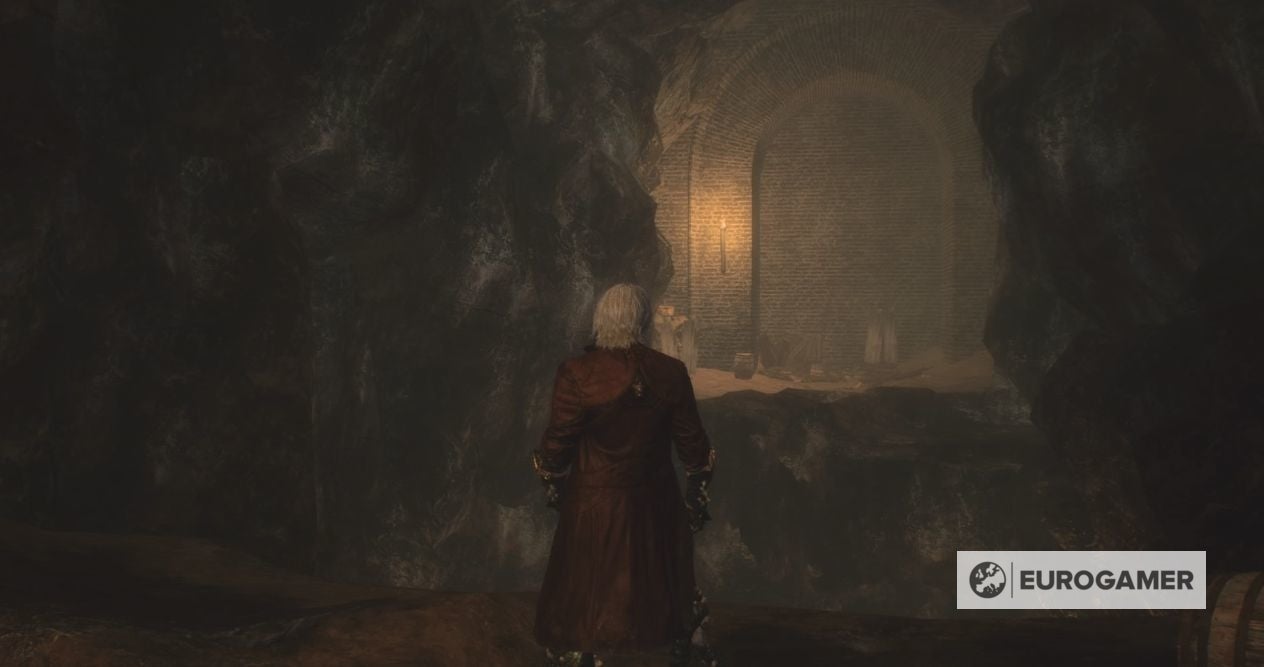
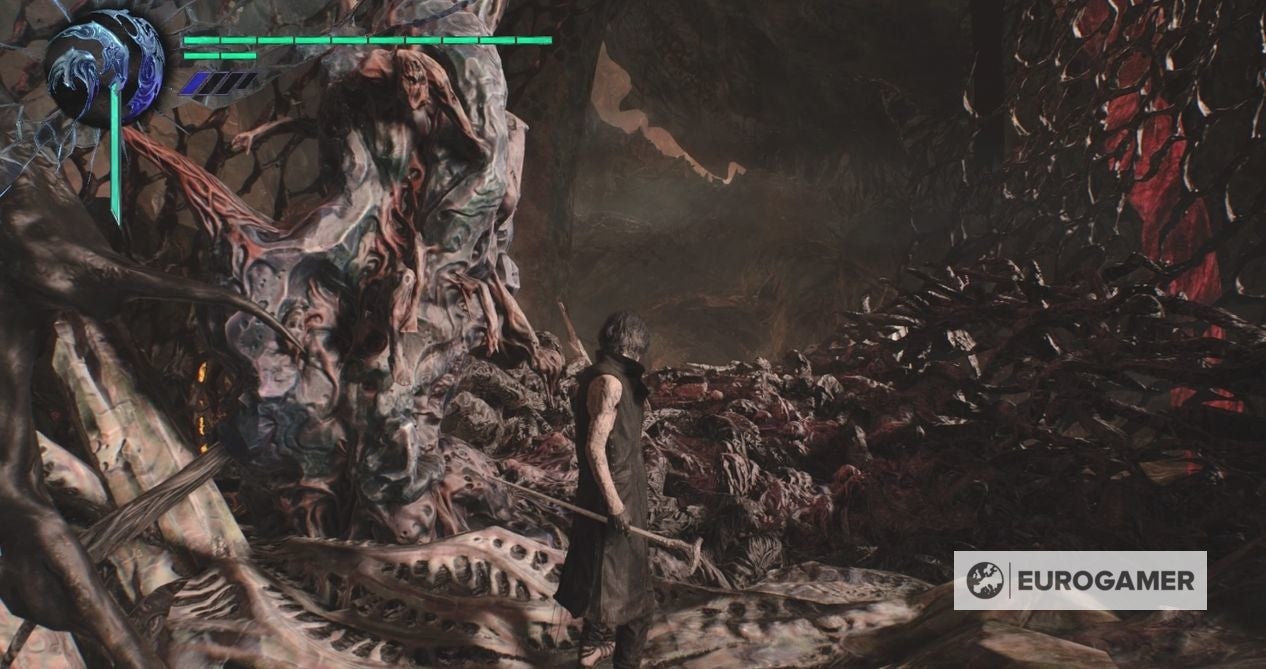
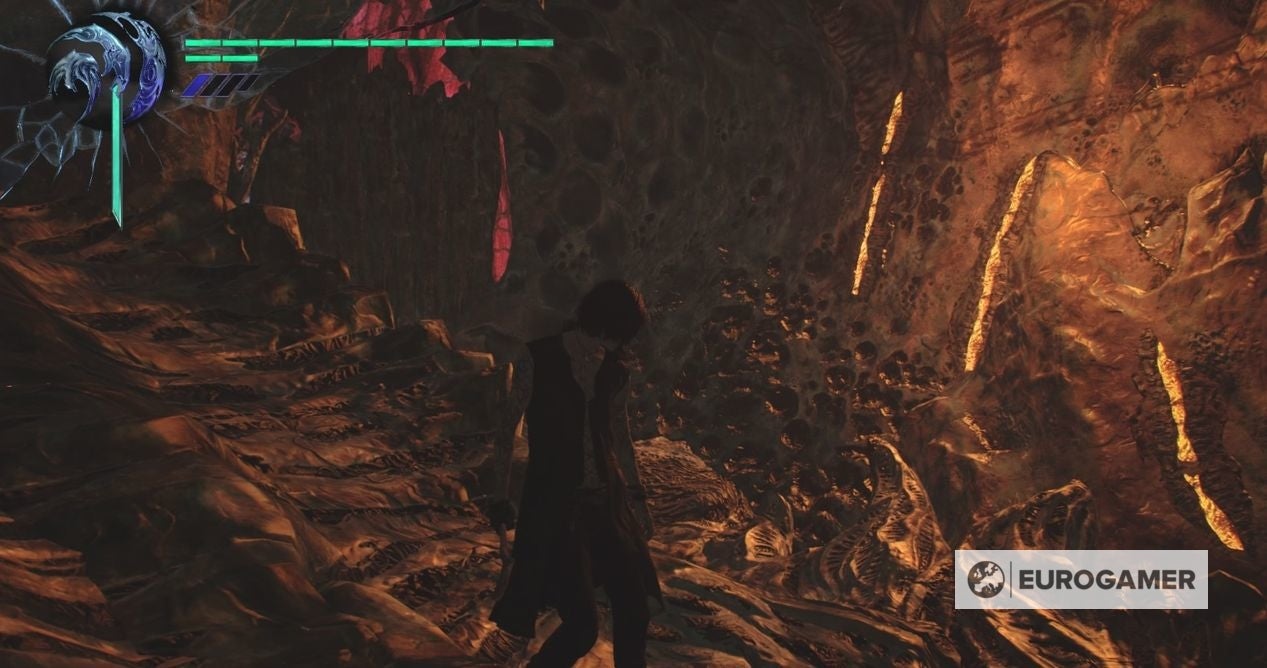
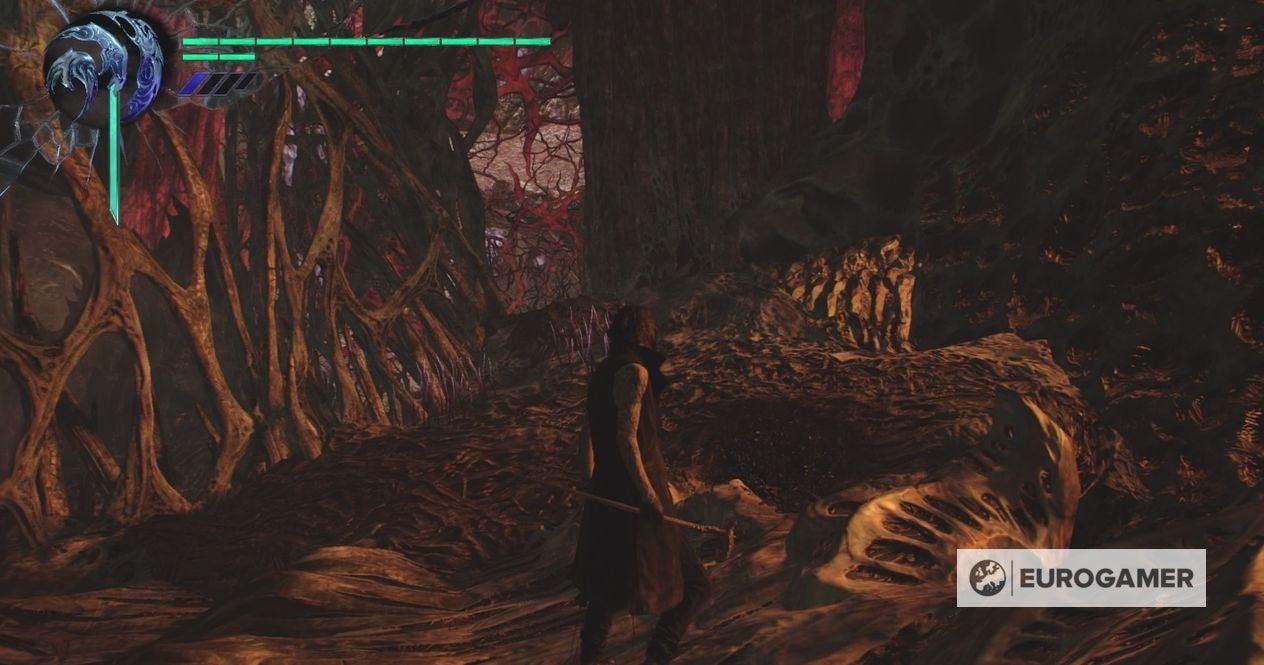
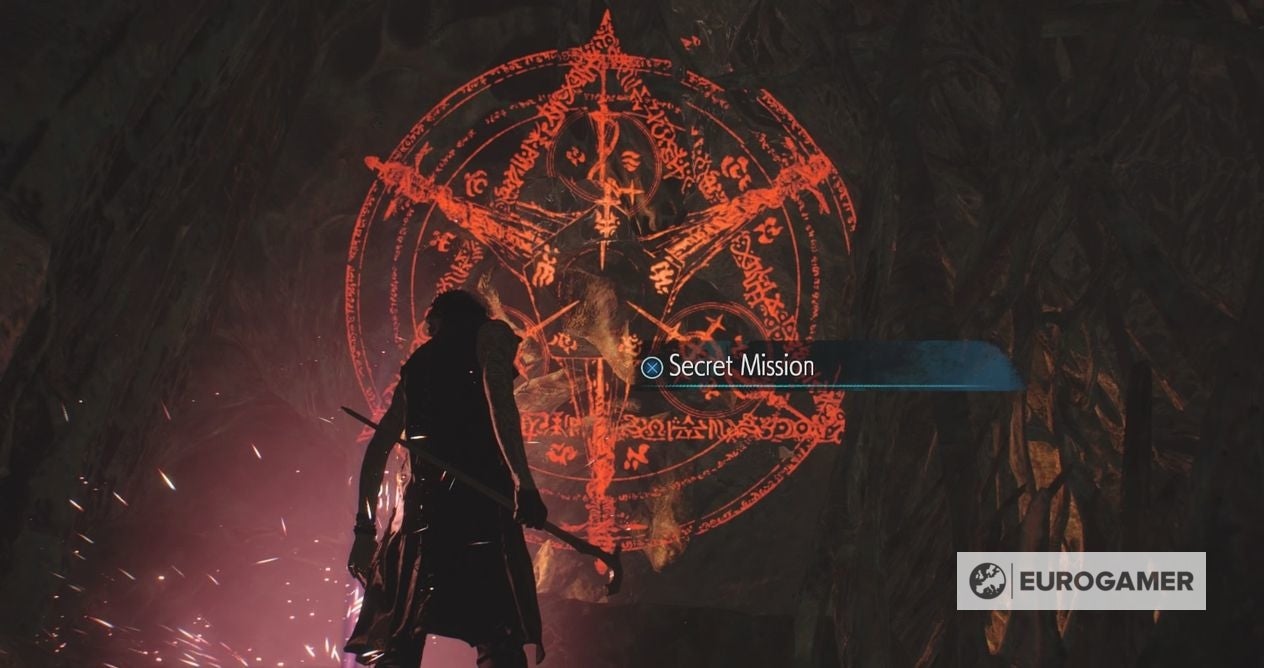
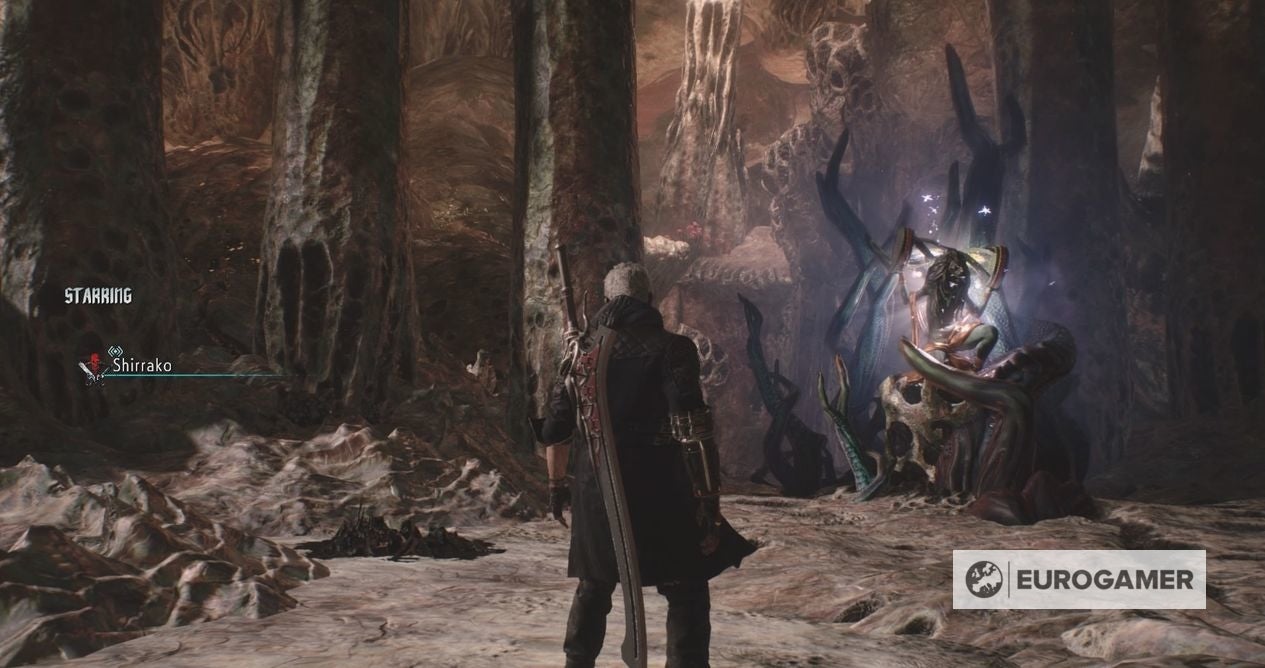
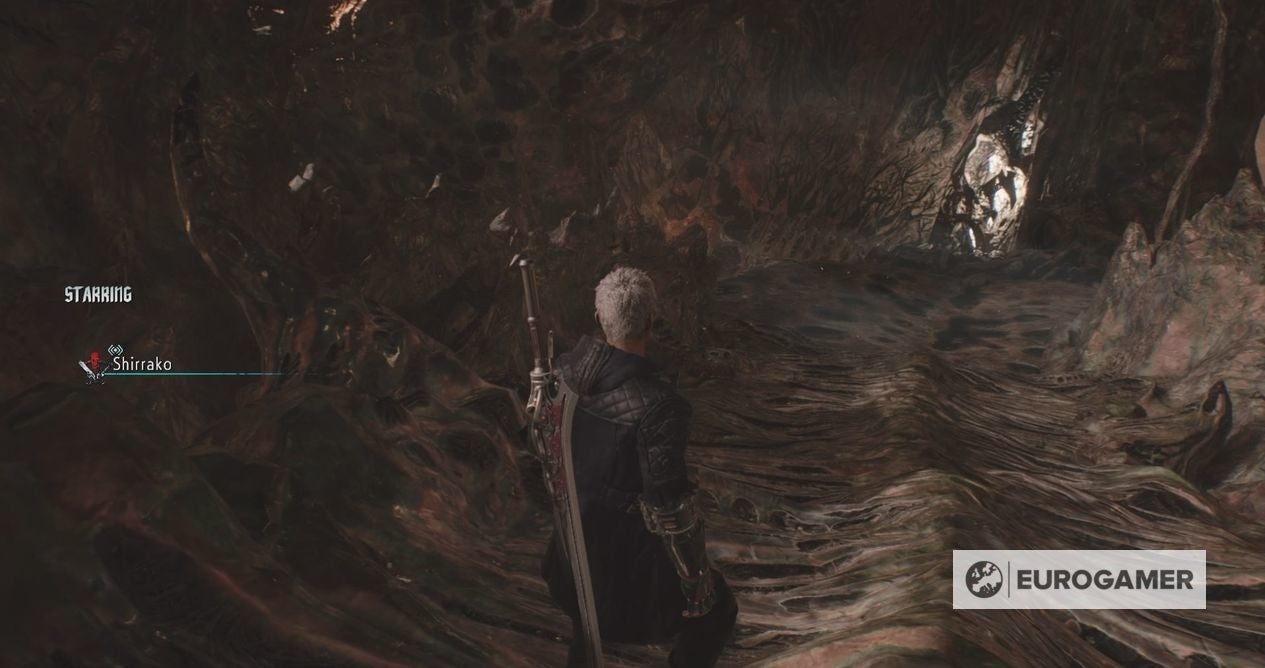
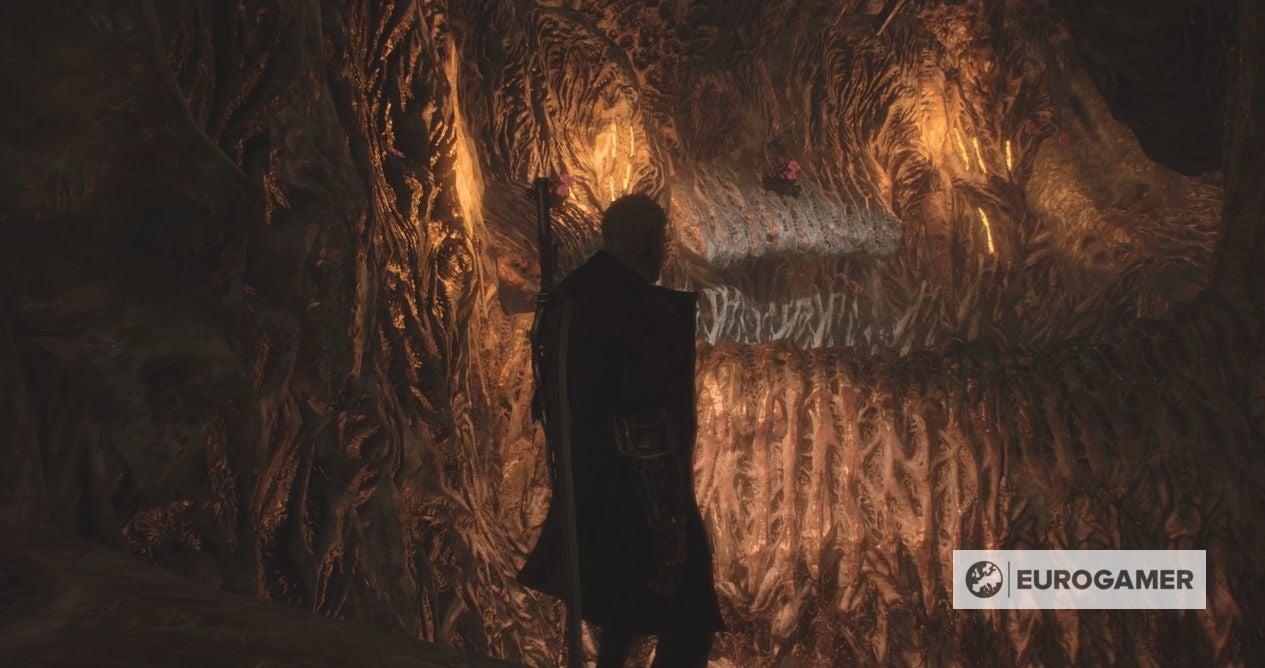
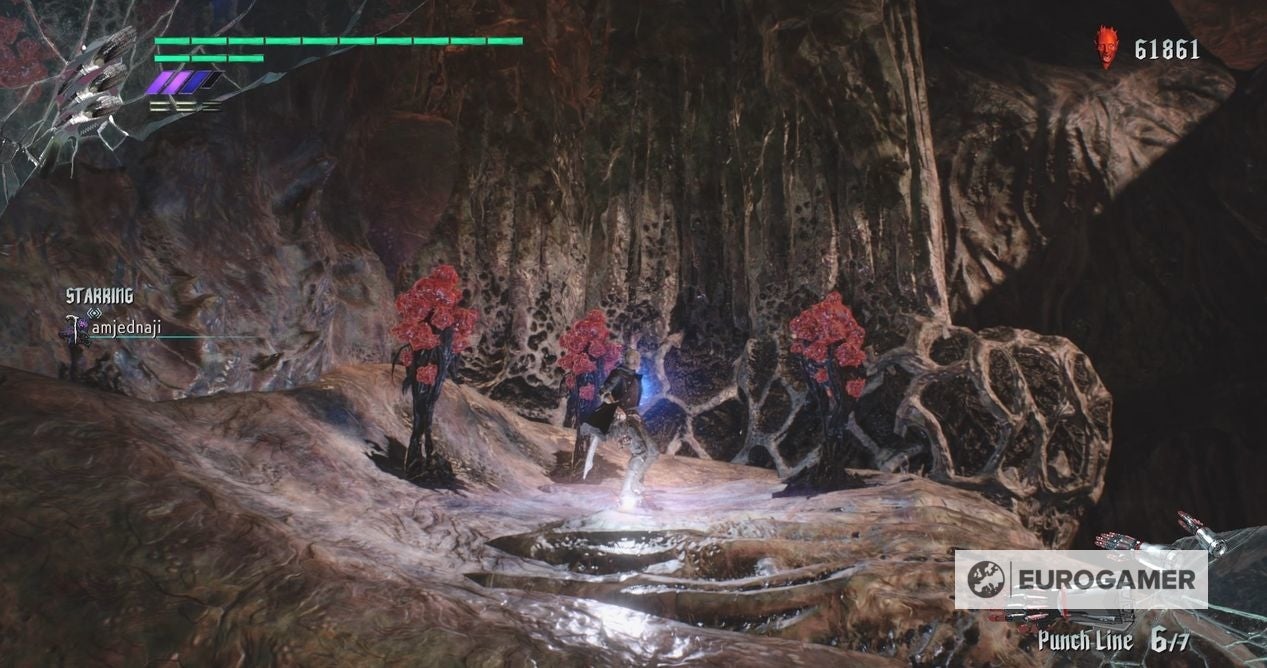
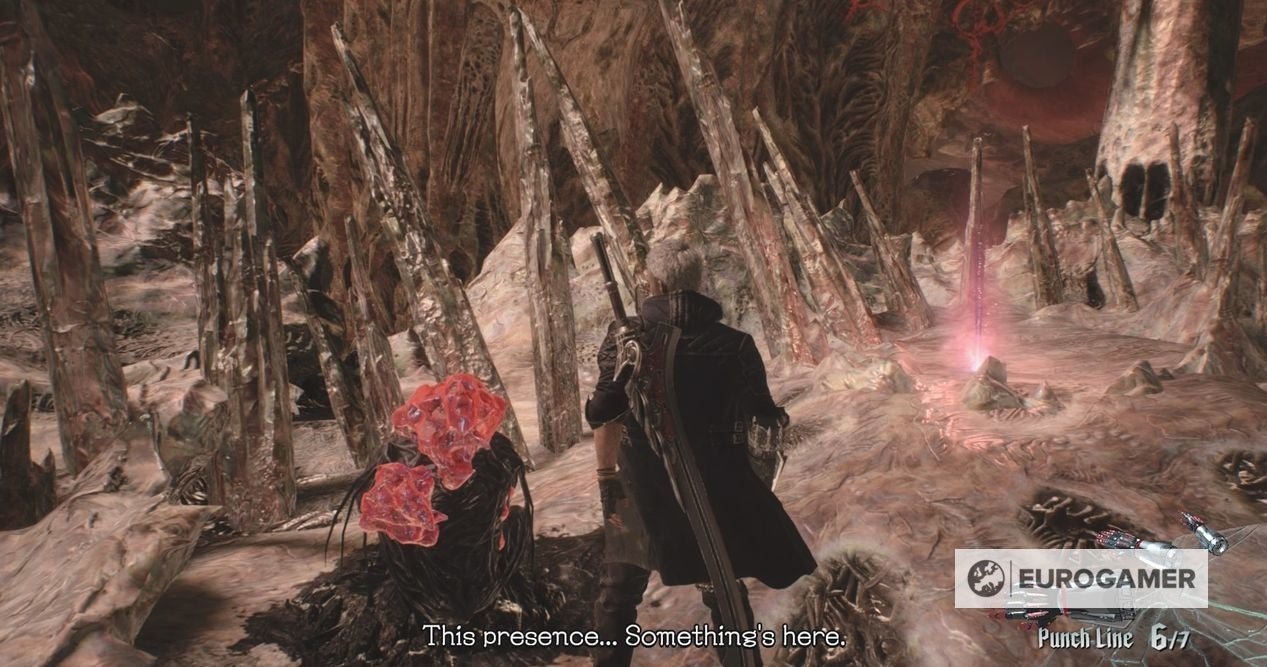
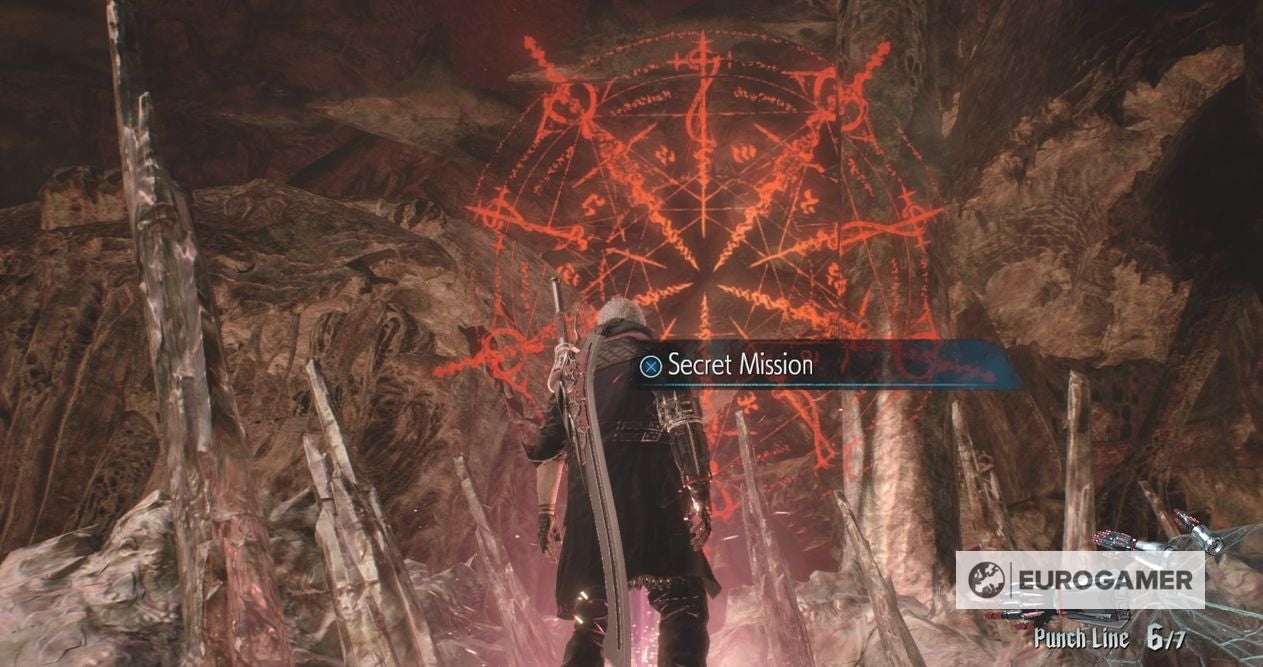
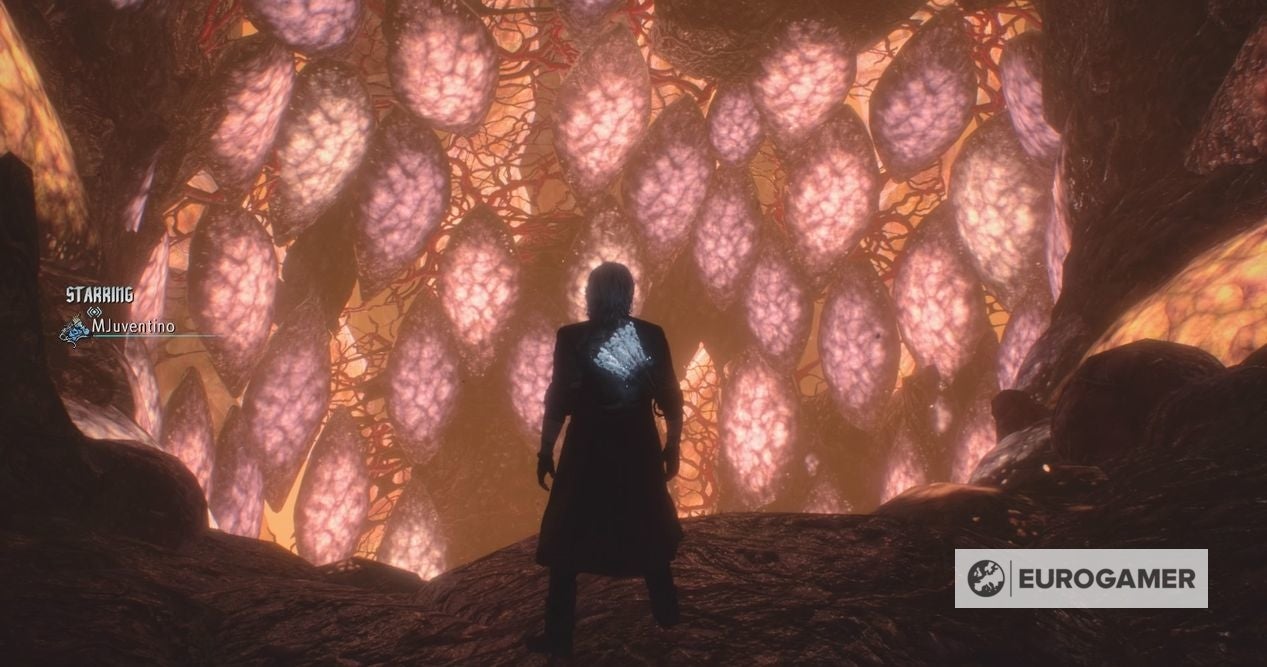
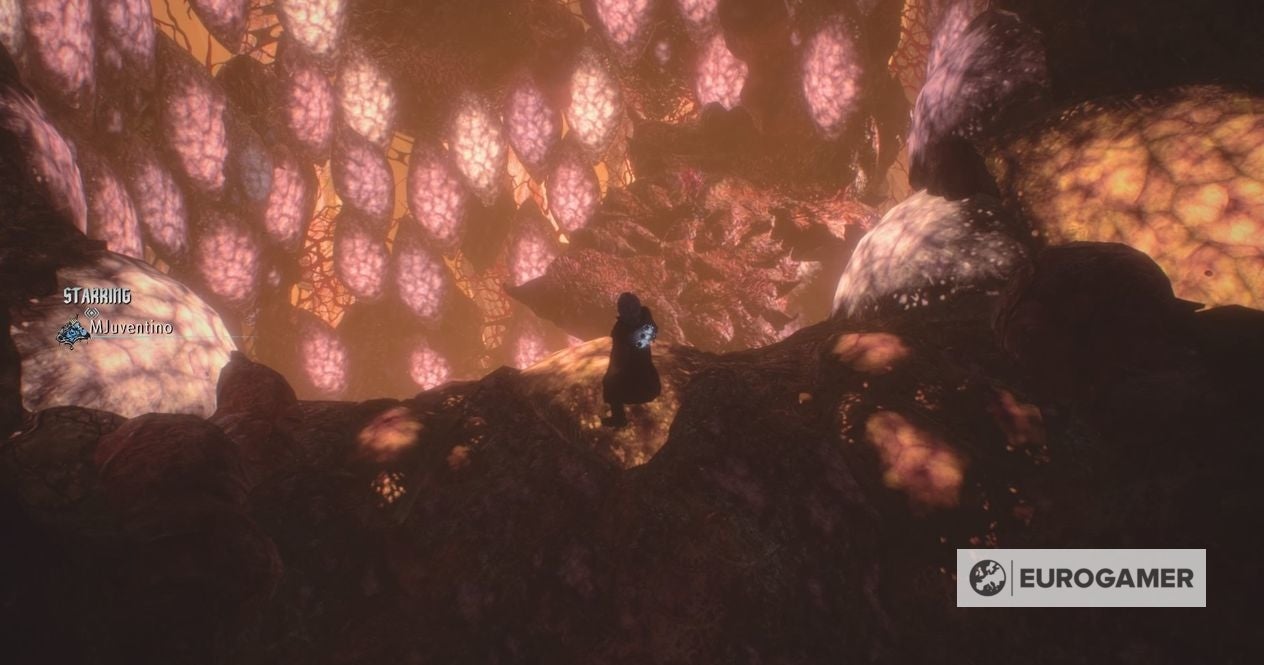
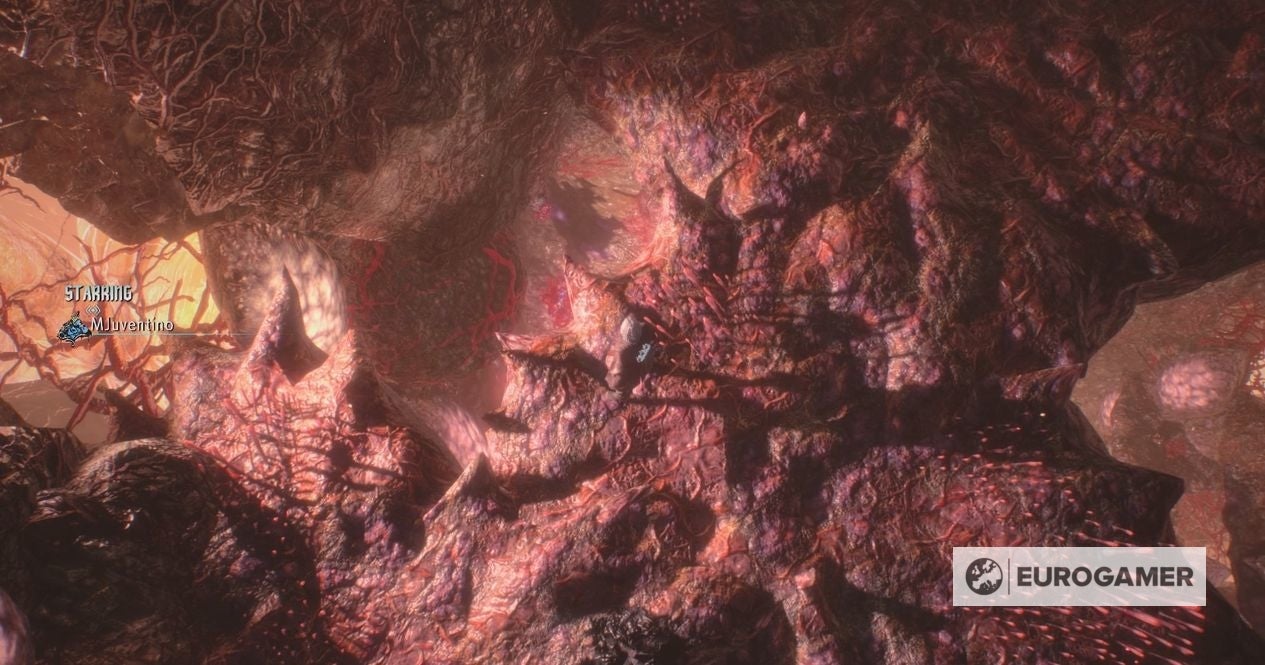
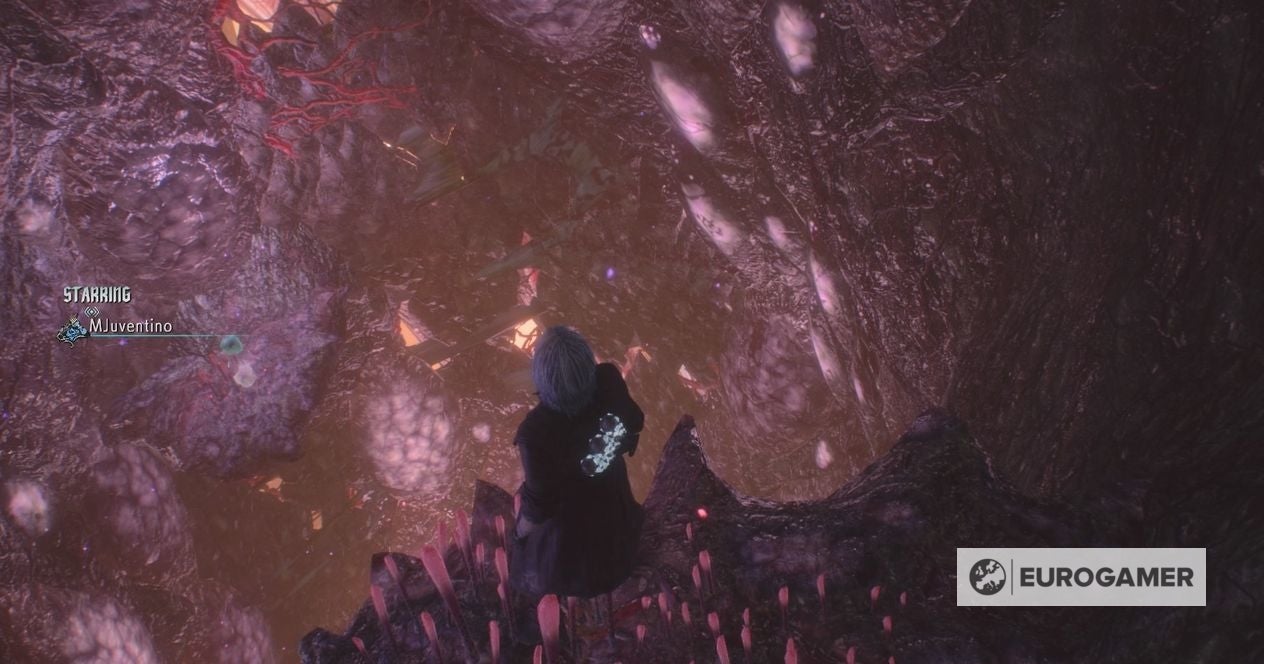
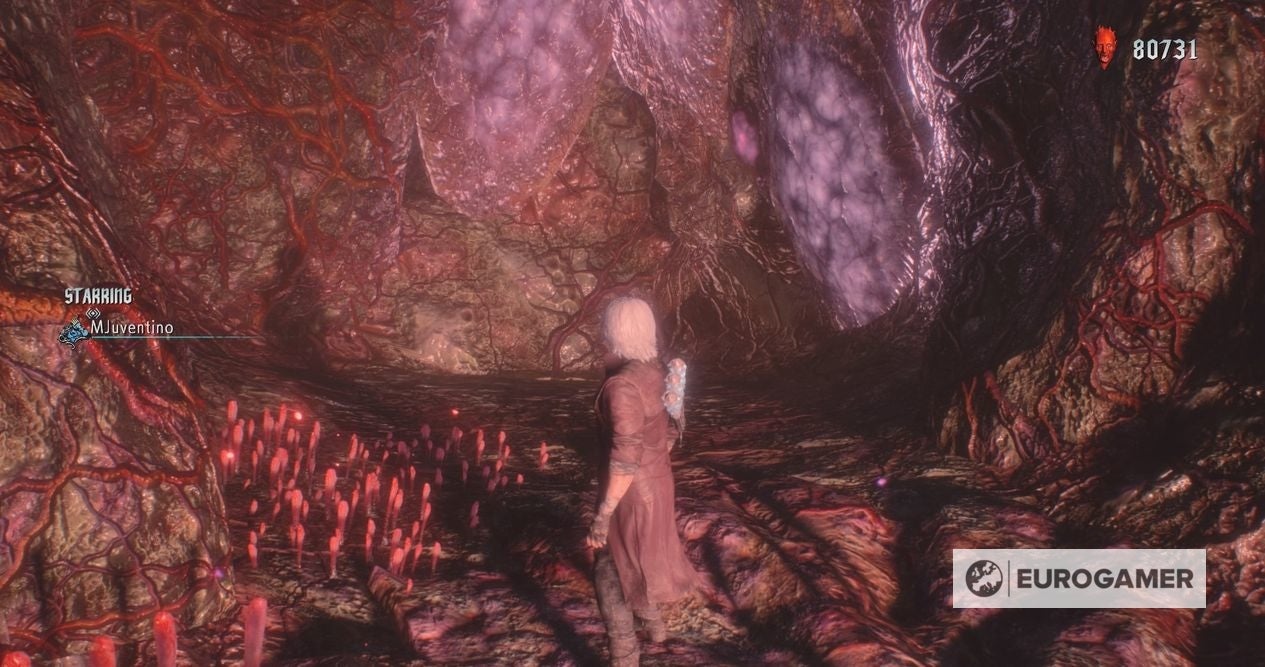
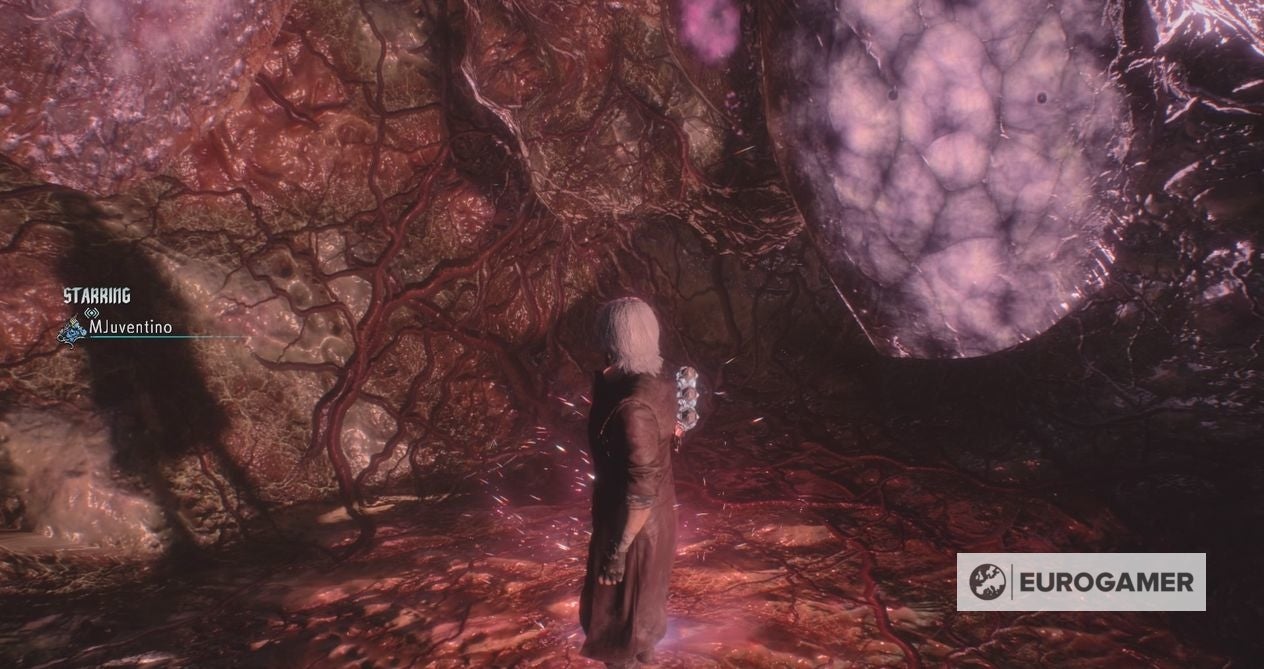
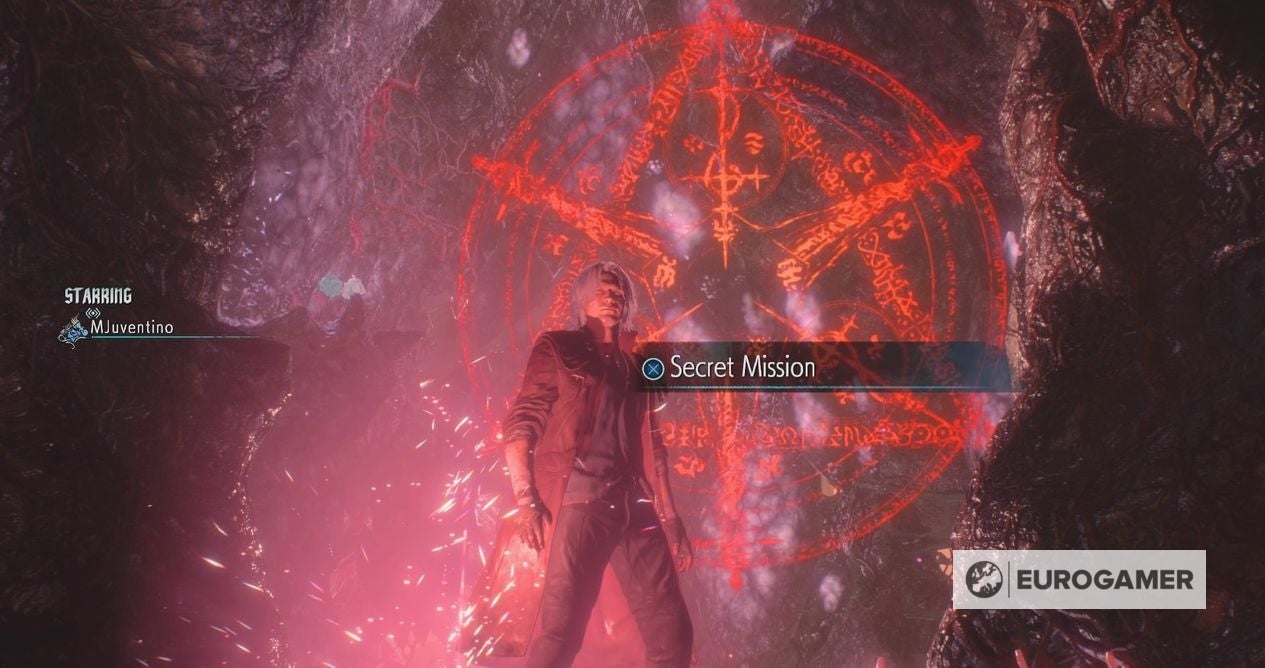
Secret missions are represented by a huge pentagram, and you’ll have to find a specific place to stand that will glow on touch, and then center the camera to align the shape accordingly. Once that’s settled, a prompt will appear with the mission objective, which goes from eliminating all enemies without taking damage or performing a kill with just one shot. Keep in mind that you don’t need to complete them immediately. A new option will show up in the main menu that lets you tackle the secret rooms at any time. Lastly, you’ll be rewarded with a Blue Orb Fragment each time, making for three Blue Orbs total, which are used to permanently increase your health bar. On this page: Once you used the second Nidhogg, the path will take you through a corridor that quickly gets blocked. Use the opening on the right to enter the room, and you’ll see a sign on the wall. The game will then teach you how to align the shape in order to activate it. For this one, the objective is simply to eliminate all enemies. A brief cutscene will play showcasing a stairway that leads to the main path, but you’ll want to jump below. Once in there, pay attention to the ceiling and you’ll notice the engravings. Stand on the spot and look above. This objective has you taking down Red Empusas before they escape. After getting past the bridge collapsing and grabbing the Nidhogg, you’ll get through a series of fights in the streets until you’ll see a giant building with a painting on it. Once you’re in that battle, call upon your minion to see it break through the wall, revealing an alternate route. Jump inside, and follow the ground floor until you find a corner on the right side. In there, grab the second Nidhogg. Exit the building and continue going onwards and you’ll get to a closed street leading to two passages. You want to go to the left where you can make use of your bugs to get inside another building. Go up the stairs, make a double jump to get to the next floor and you’ll be in the right spot looking at the sign just across the street. The objective is to collect all the red orbs inside a room, there’s 20 of them and you’ll have 30 seconds to do it. As a heads up, make sure to unlock Hanging and Quickplay to make it easier. Activate Nightmare there. If by any chance you happen to be low on energy, destroy the red blockade - it’s tied to the main path so you won’t miss it - and make your way to grab white orbs. Go back and call your minion. Once inside, a battle will trigger itself. Annihilate all demons and you’ll see a new path on the side fully opened now: there are a few crates with orbs waiting to be picked up, but you want to take the yellow stairs on the left. Up there, you’ll end up standing in the highlighting point, revealing the sign’s location. The objective is to eliminate all demons without being hit in under three minutes. Hop on the platform and keep an eye on the right side, there’s a place to land nearby that will lead you to the hidden place. You can get there in two different ways: jump from the moving platform once you’ve gained enough height (but not enough to hit the ceiling and fall, although you don’t have to worry about damage or ending in a different place here) or once you reach the limit and jumped to the main path, make a double jump to the platform from there. Once you’ve landed, just hook your way in. Grab the first, and shoot the second one so you can continue the grapple. You’ll end up looking at a giant closed room. There are two devil triggers to pick up, a few orbs, and most importantly, the highlighted point. You barely need to move the camera here: just look at the giant wall in front of you and it’s likely to activate the secret mission prompt. This one takes you to a level where to have to get from point A to point B without touching the ground. Now, once you start exploring the area you will notice a locked room with engravings on the entrance, from where you can peek inside to see a blue orb fragment. If you didn’t manage to save energy feel free to keep exploring and come back again. Just keep in mind that if you go down through the mines you won’t be able to come back. If you end up inside a massive cave, you passed it. If you gathered enough energy, go ahead and call Nightmare again. By spawning inside, it will break the blockades and let you in easily Feel free to grab everything inside and then jump to the platform at the opposite side of the door. Move the camera to face the engravings and that’s it. This objective is to eliminate all enemies in less than 20 seconds. Keep progressing through the level and you’ll end up in a giant room that has two of these doors. After killing the demons you want to go to the left room, standing from the same side as the one you were right before landing on the ground. If in doubt, if you see red orbs run straight to the other door. The latest checkpoint saves up right at the entrance, so there’s no harm in dying or wanting to retry to get to both doors. Once inside, follow the path right until seeing two platforms. Use the double jump and you’ll be standing in front of yet another room with a circle in the center. Stand there and look at the ceiling, facing the angle from the path you just came from. This secret challenge asks you to kill an enemy with a single shot in its weak point. Just break the first one and then head back to the main area. You’ll notice a small tower within. Get inside by jumping from the walls at the sides and you’ll find your glowing point. Look to the wall and the secret mission will trigger. This one is about maintaining an S rank or higher while you defeat a number of demons. To get this one, make a double jump to the right opposite side of the room. If you can’t manage to get there, try to go to a lower step and jump from there. You’ll quickly notice the standing point. Face at the door and the mission will trigger itself. This one is about staying in the air for more than 15 seconds by performing attack combos. Break through the demonic presence, and keep running until you find yourself inside a bone cave. There’s a short passage to the left that appears to be empty at first, but once you get to the end, you’ll see the highlighted point. Face backward and you’ll quickly notice the secret mission prompt. This one is all about getting all the way through the level without touching the ground. Just throw it over and recall it back by holding down the same button to hop on it. From there it’s pretty straightforward, just follow the red orbs until you ultimately reach the other end. There are more Punch Lines lying on the floor in case you fail, so don’t worry if you fall or just happen to get hit by an enemy. Once you arrive to the other side, keep heading straight and get the blue orb fragment. Move a bit further and you’ll fall to the ground, where Nero will say that he feels a presence. Get on the highlighted point and look above. There’s you Secret Mission 11, in which you have to run straight to the goal in under 30 seconds. Look below and fall in the big platform, and then do a short jump to the one just below. For reference, look at the red orbs with a violet lighting behind. That’s where you need to go. Once inside, keep moving straight and then jump below. You’ll find the highlight point there, and the last secret mission is just there in the ceiling. In here, just collect a set amount of orbs to complete it. And that’s it - you’re done with the Devil May Cry 5 Secret Mission locations! Congratulations!