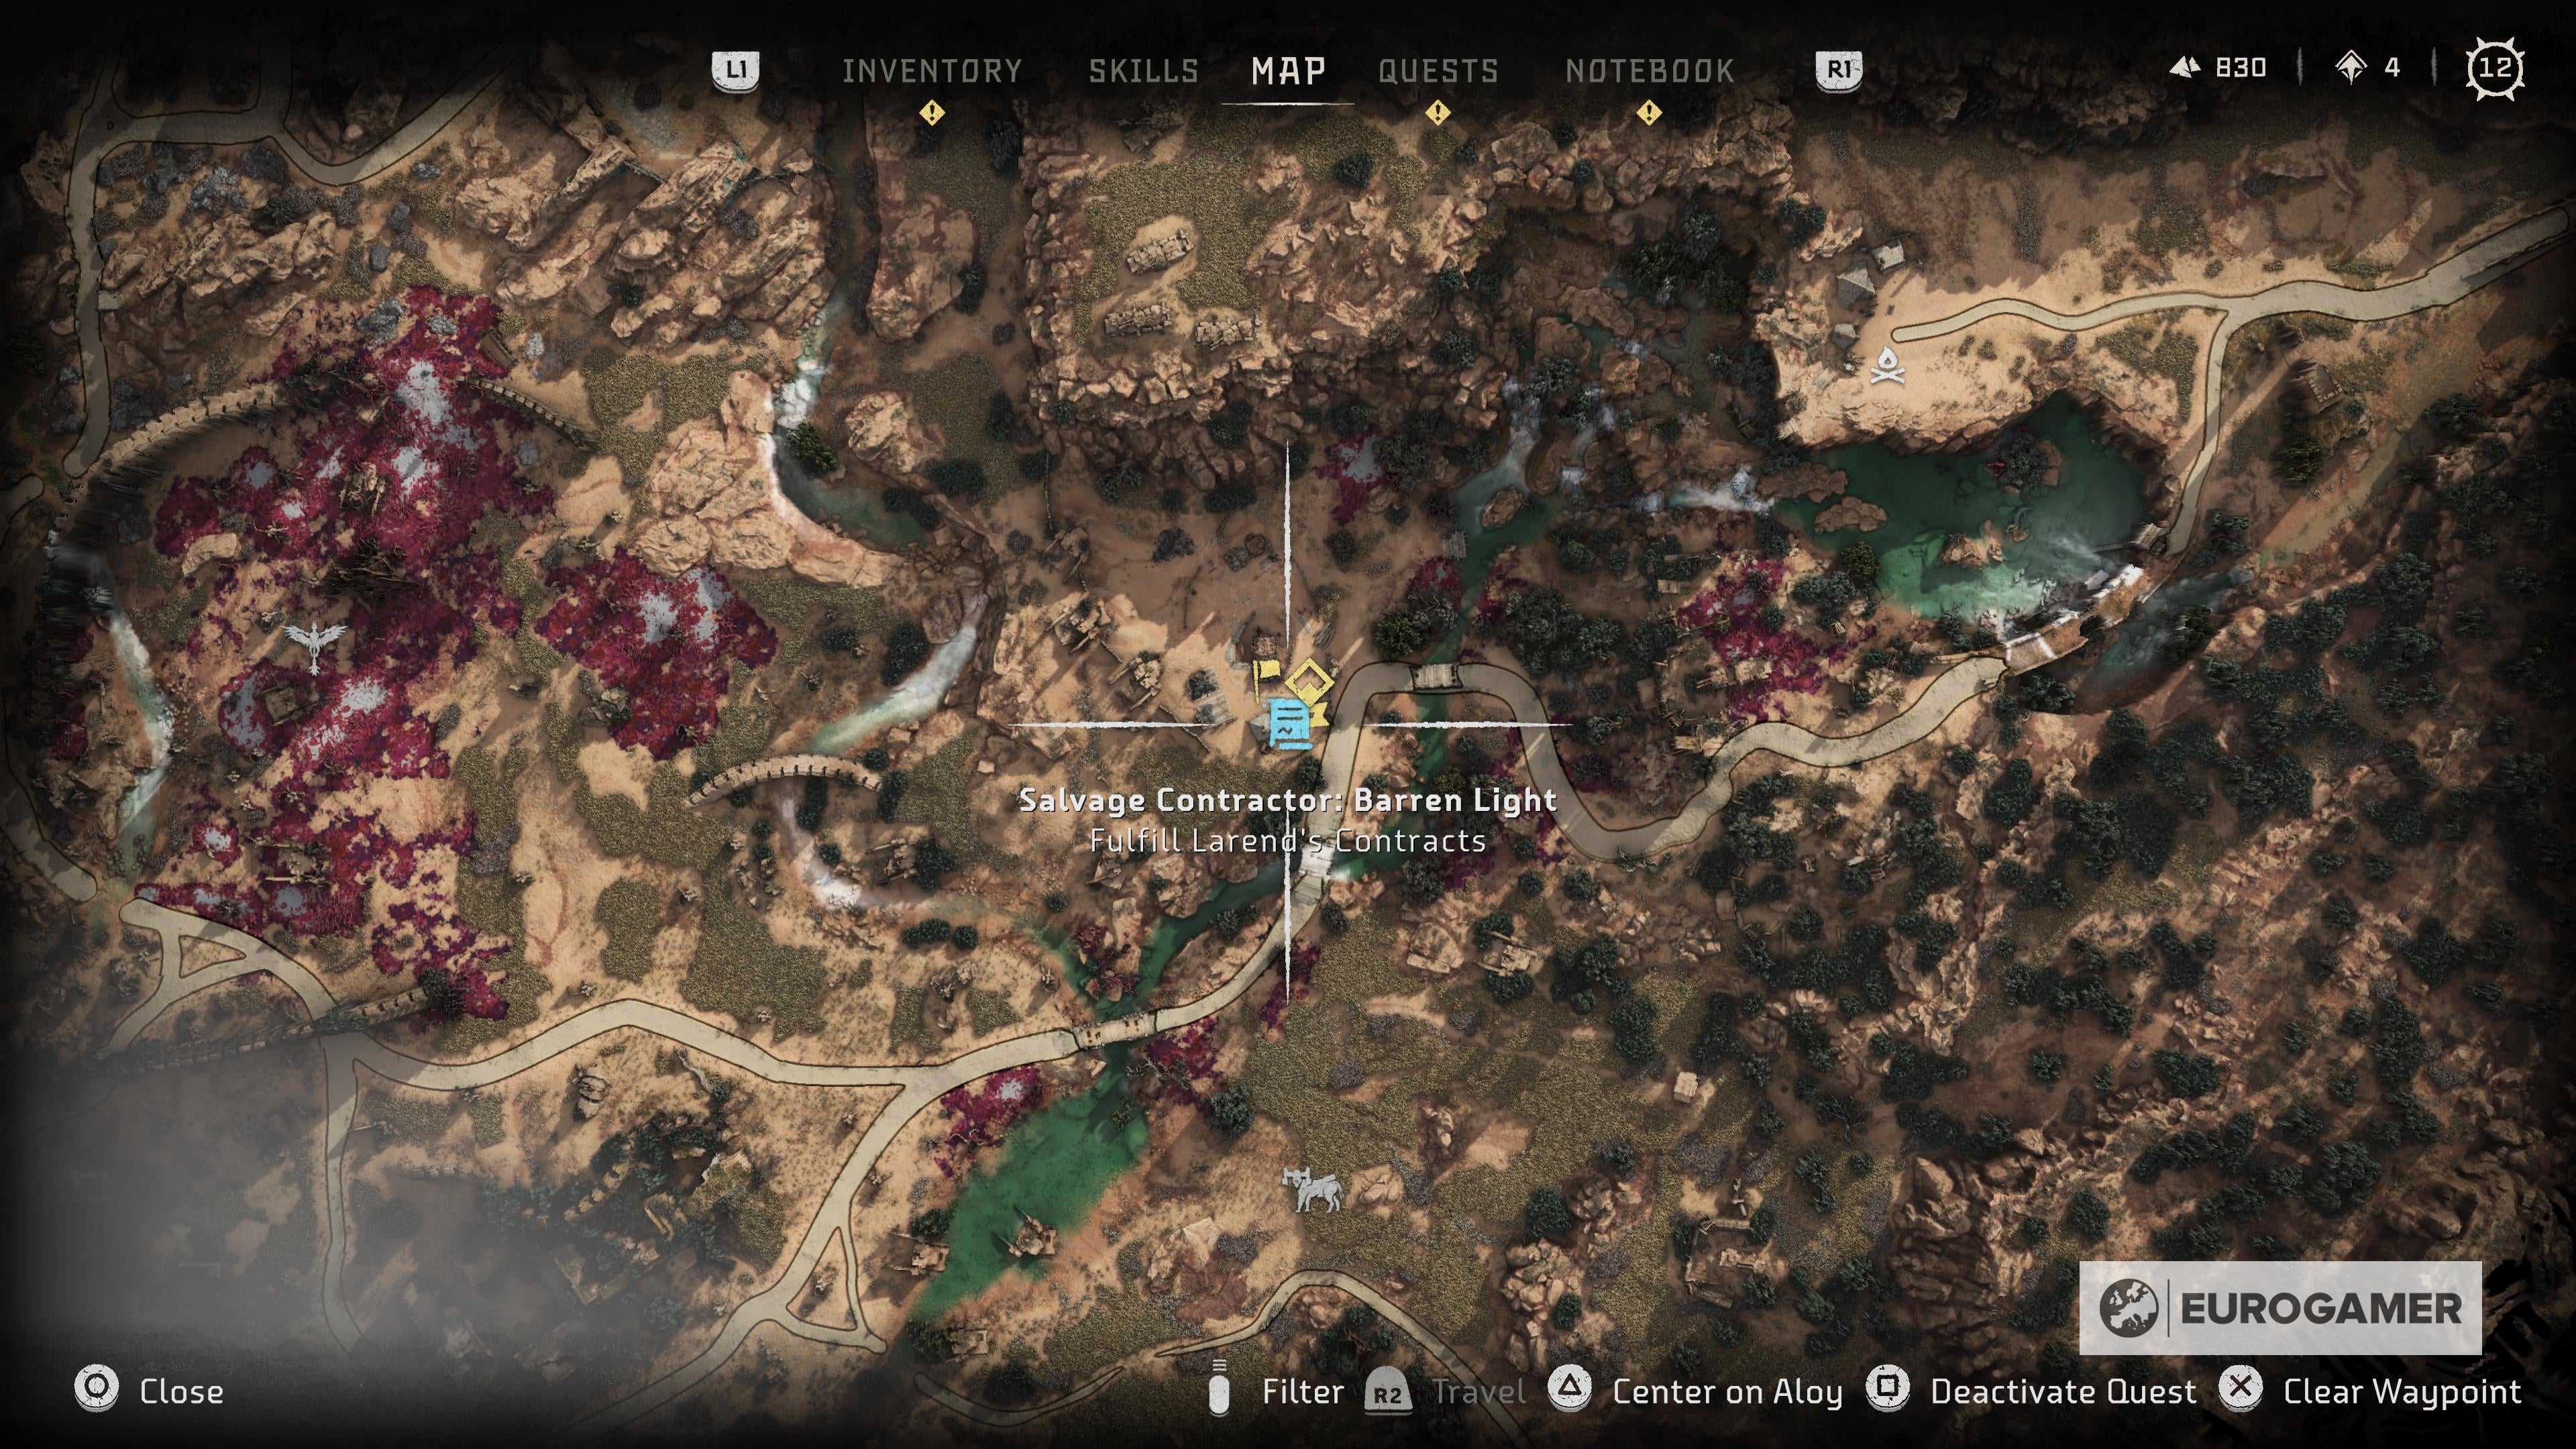
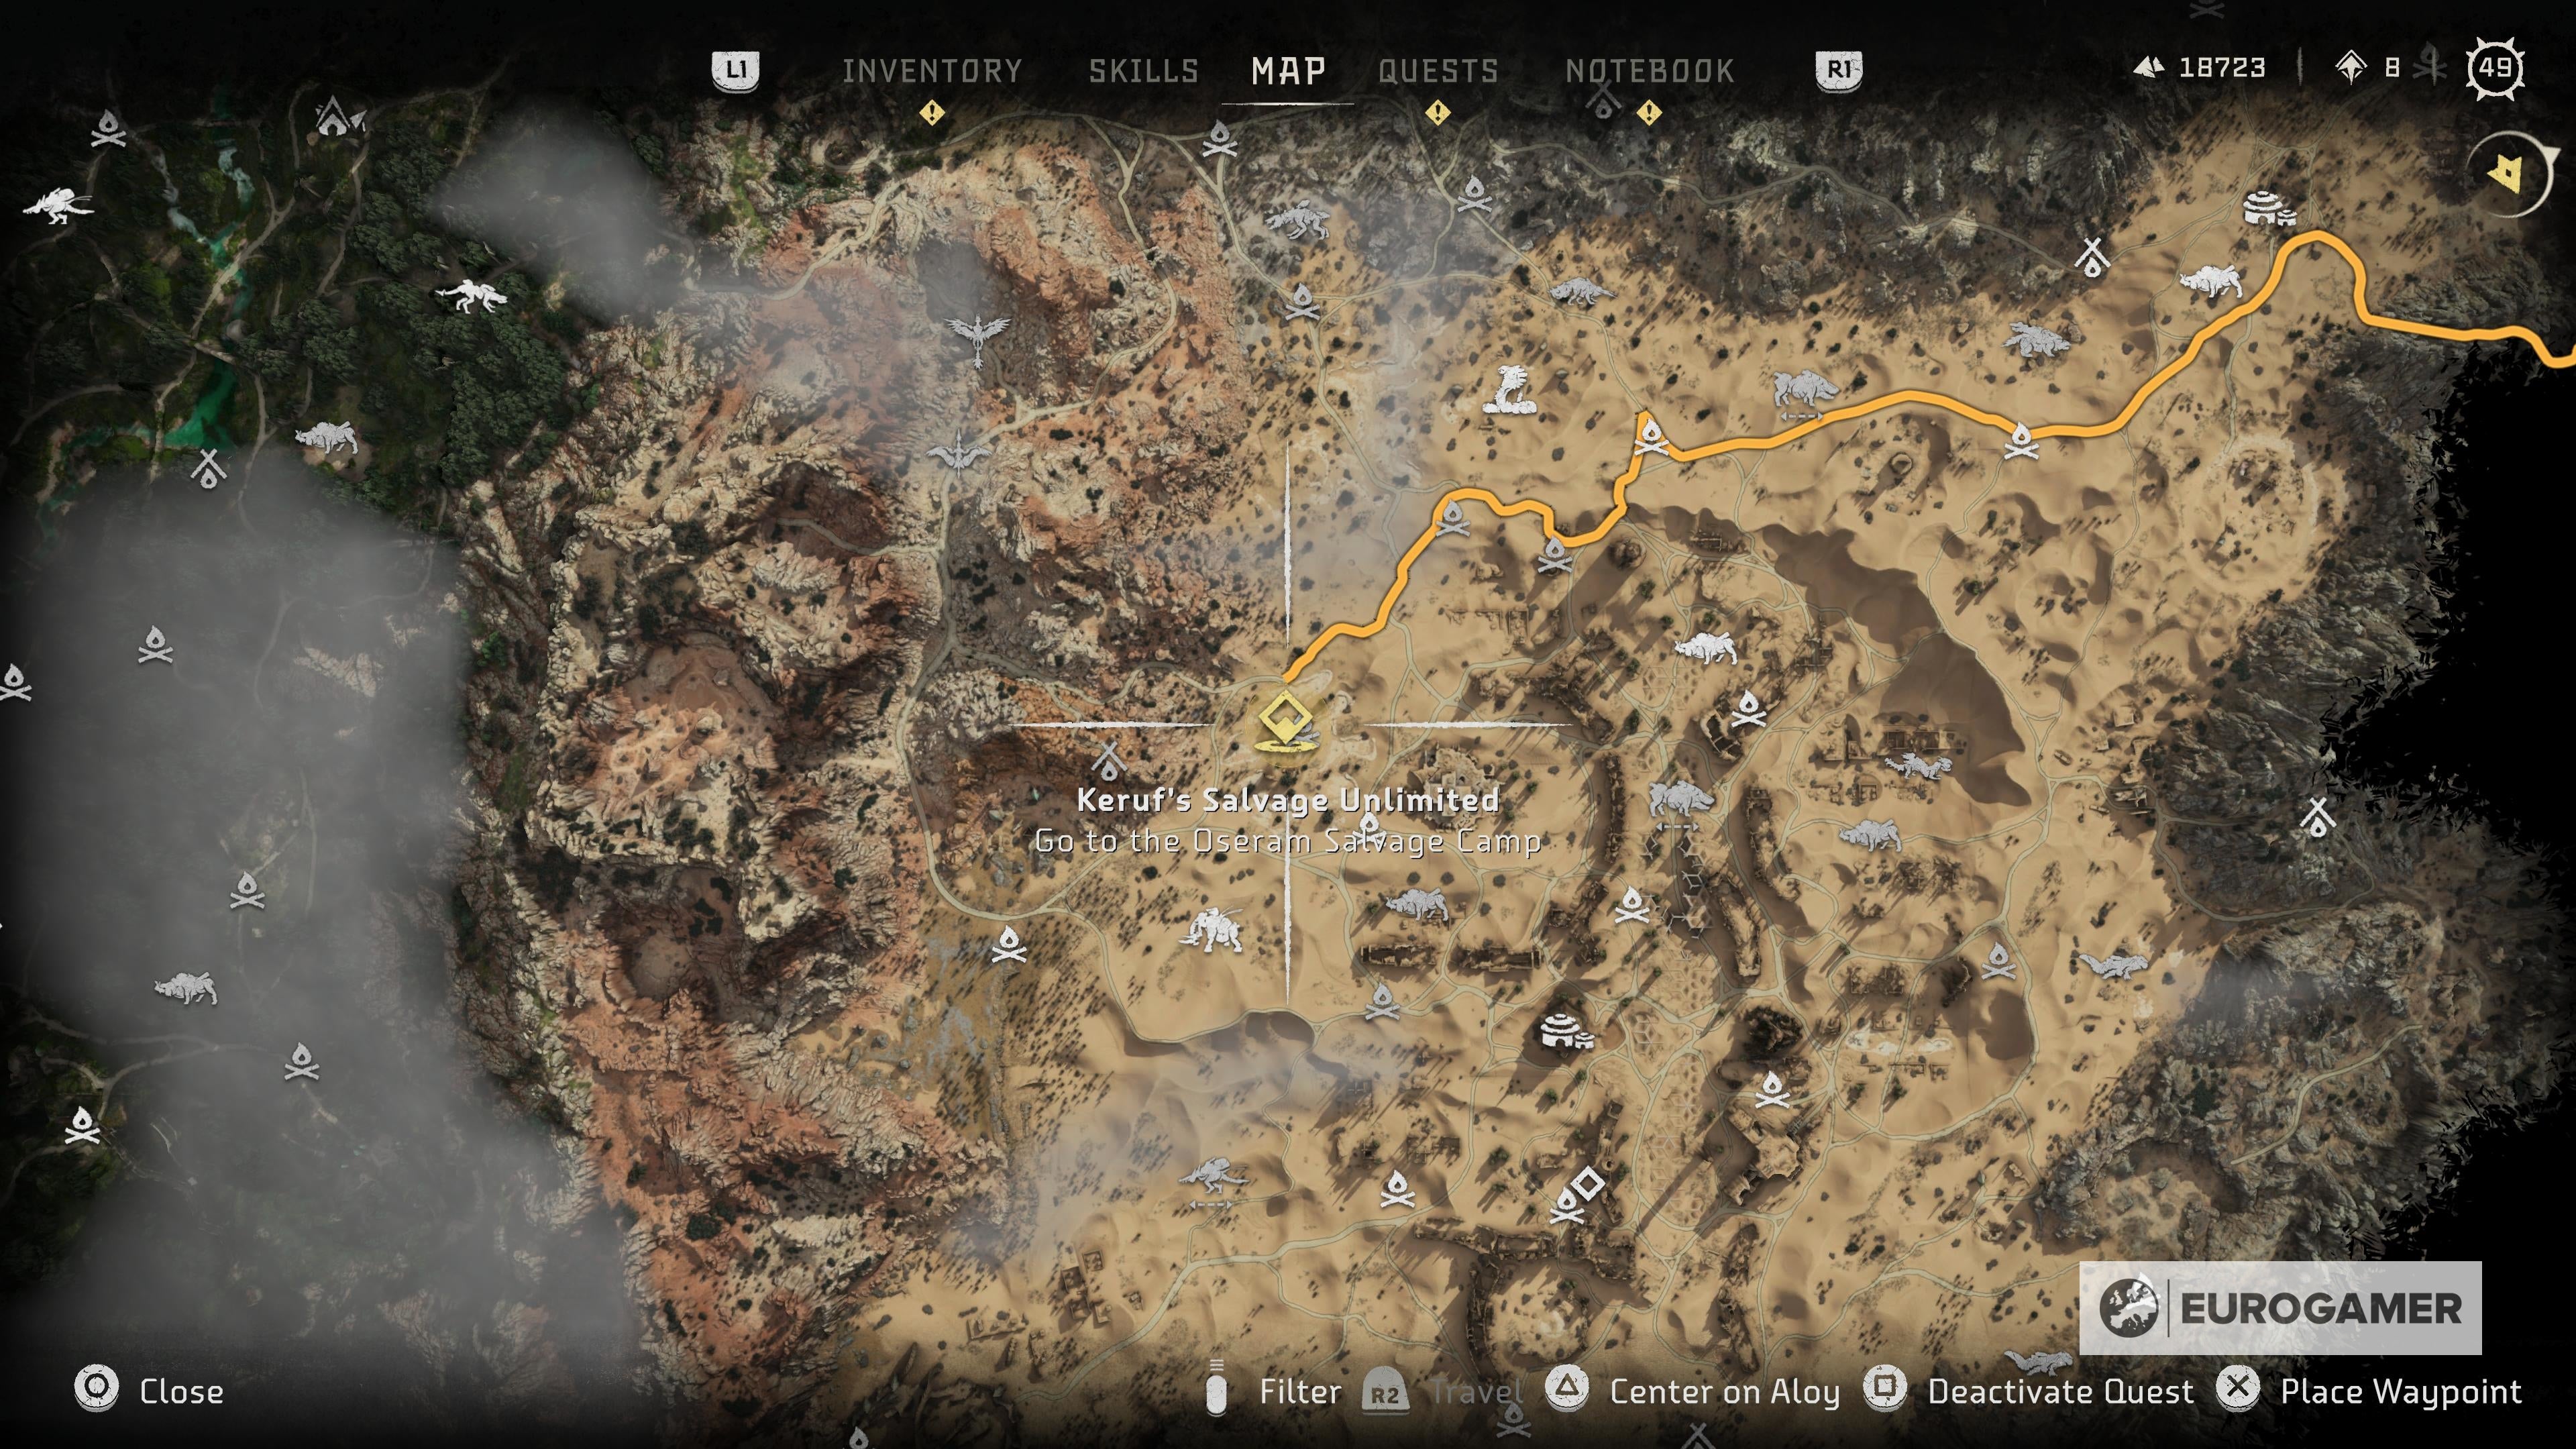
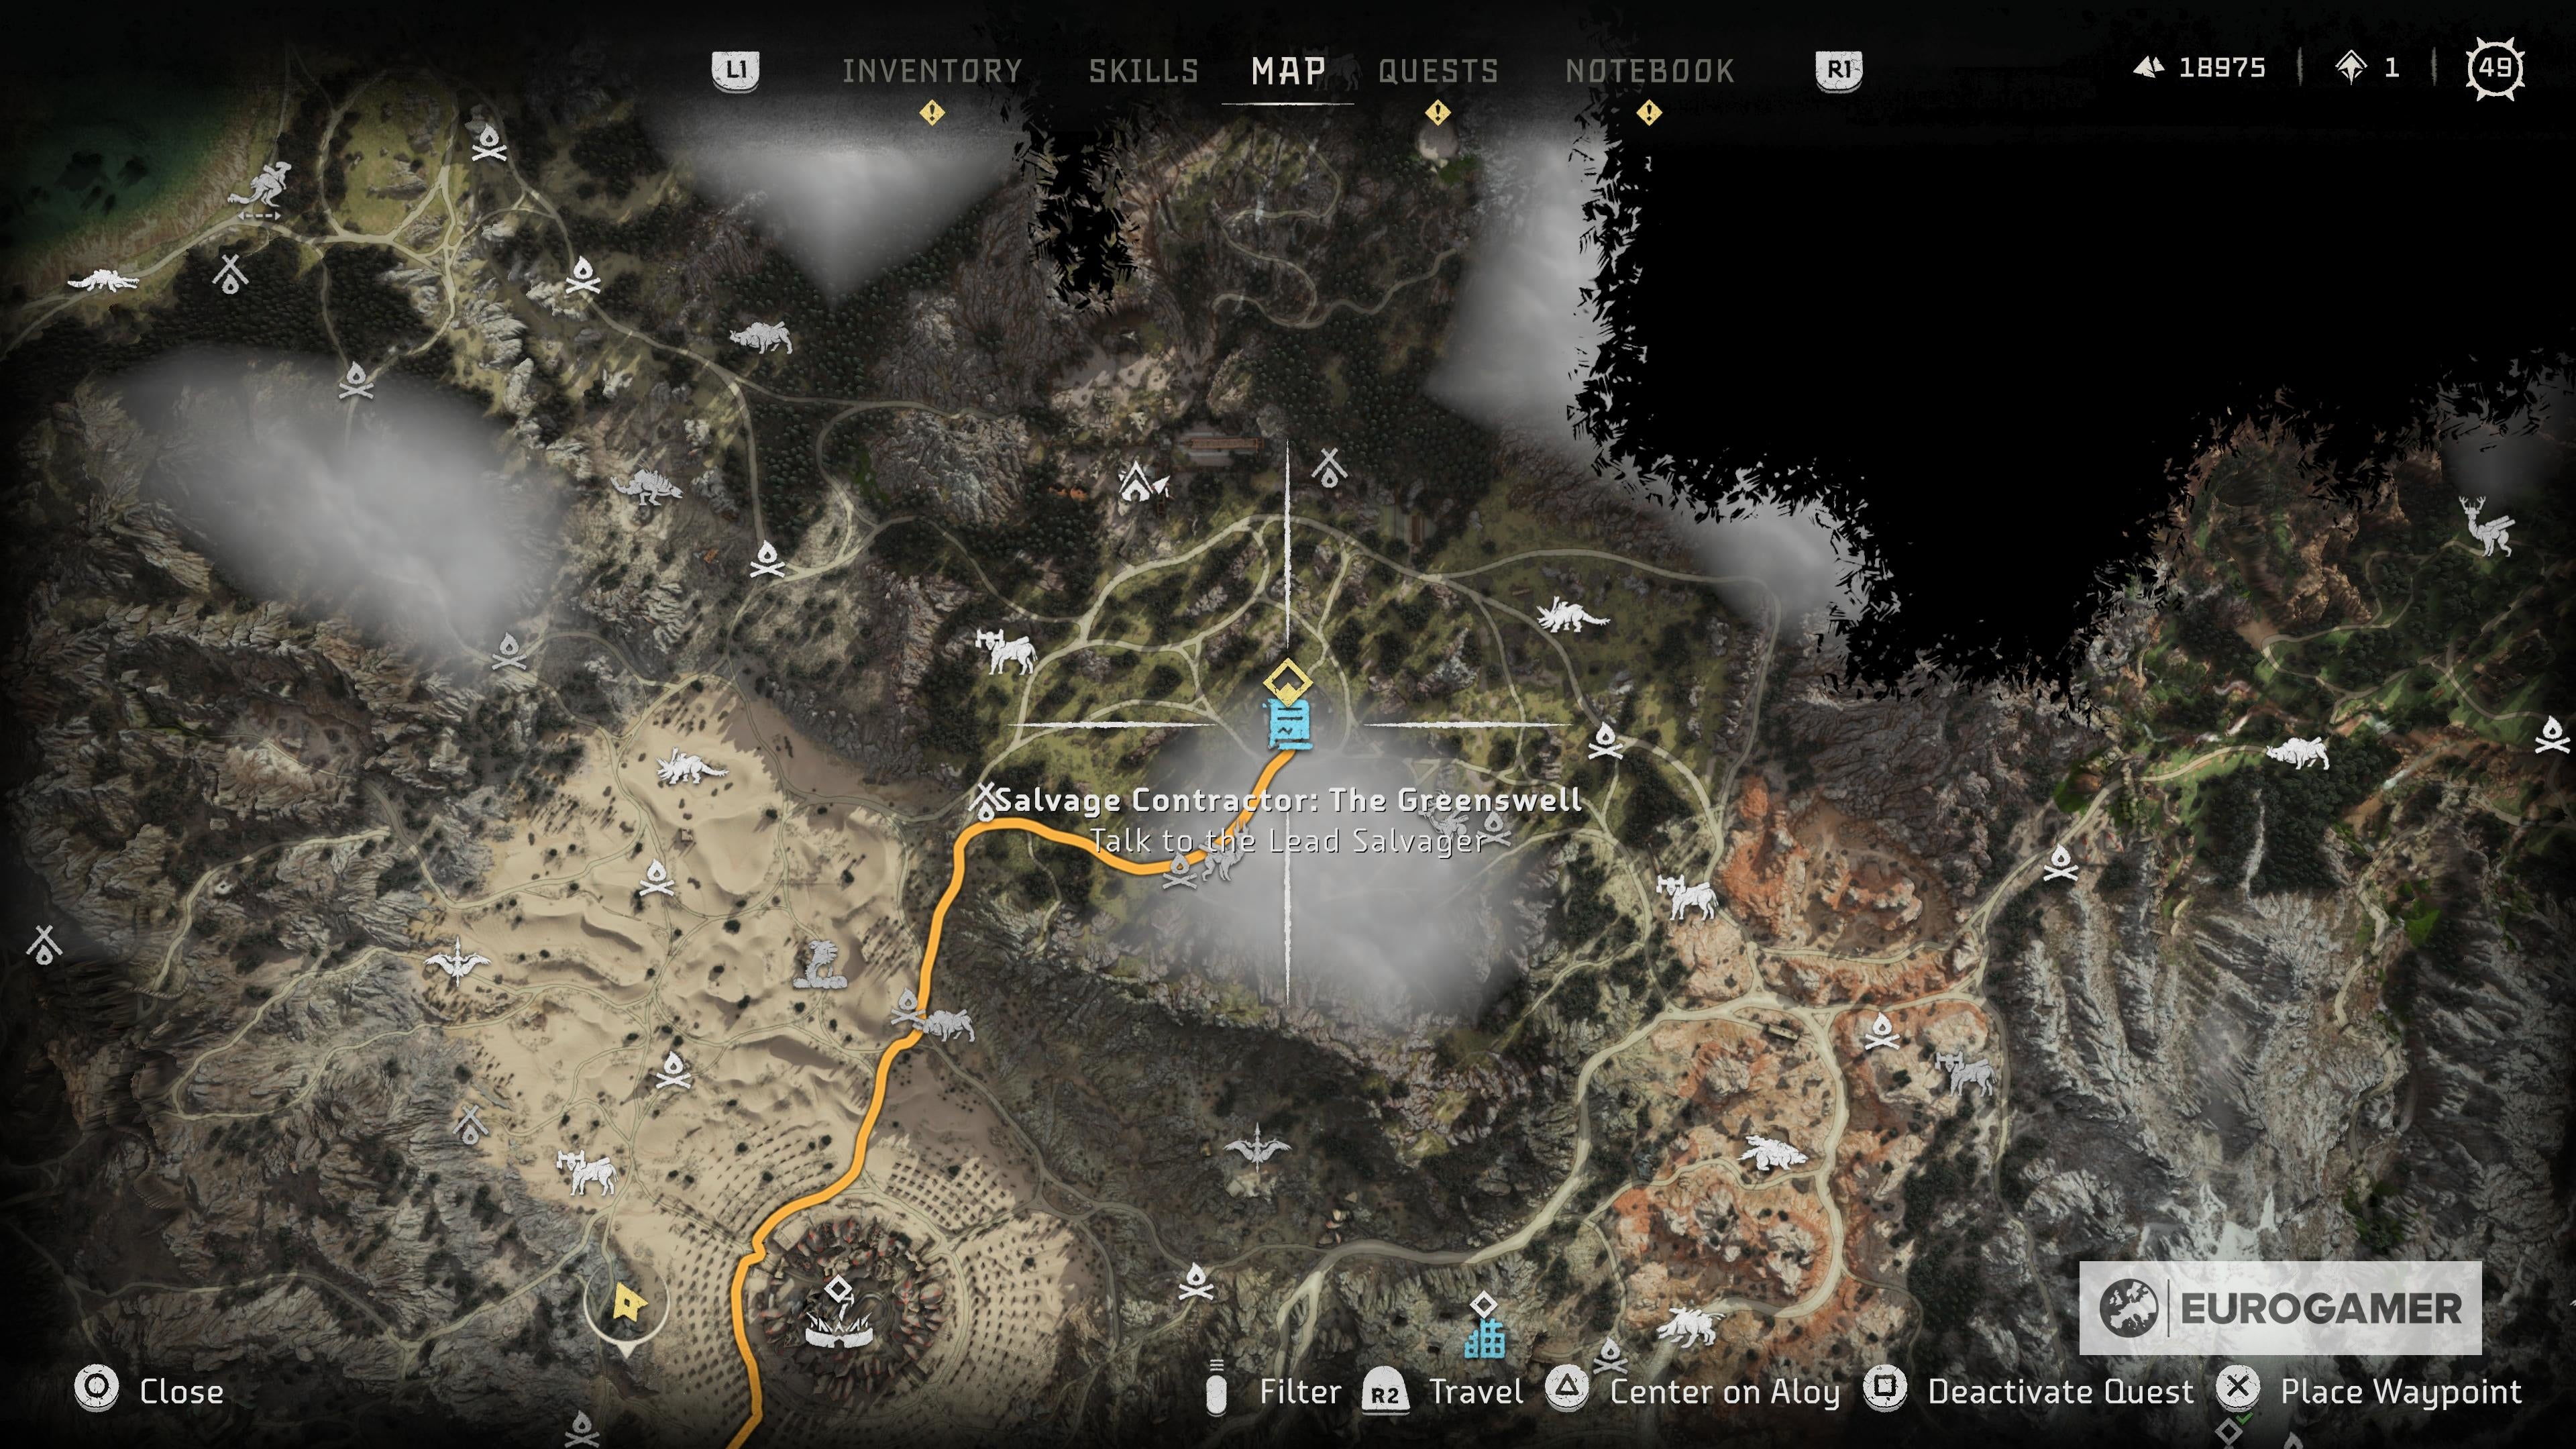
Aside from Keruf, there are four salvagers you’ll need to visit across the Forbidden West - Larend, Runda, Handa and Danur - and each one has a set of quests for you to complete. Beginning with Keruf’s Salvage Unlimited, completing all of the Salvager Contracts will grant you the best armor in Horizon: Forbidden West. On this page: In order to start these Salvage Contracts, you will need to complete the Main Quest, The Embassy. This will give you full access to No Man’s Land and the first Salvager you need to speak to, Larend. To complete Keruf’s Salvage Unlimited you will need to complete the following tasks:
Talk to the Lead Salvager Fulfill Larend’s Contracts Go to the Oseram Salvage Camp Talk to the Lead Salvager Fulfill Runda’s Contracts Talk to the Lead Salvager Fulfill Handa’s Contracts Find Other Salvage Camps Fulfill Danur’s Contracts Talk to Keruf
Aloy has returned in Horizon: Forbidden West! To help you get started in her new quest, visit our pages on how levelling and skill points work, along with how to upgrade your inventory pouches. We’ve also looked at how to climb the Tallneck in Cinnabar Sands, cauldron locations and the door code for Death’s Door mission. If he can craft the best armor in the West, then he can bring in a lot of shards. But he needs your help with four contracts. Once you complete them, he will have all the parts he needs to construct his armor. Here are Larend’s four salvage contracts:
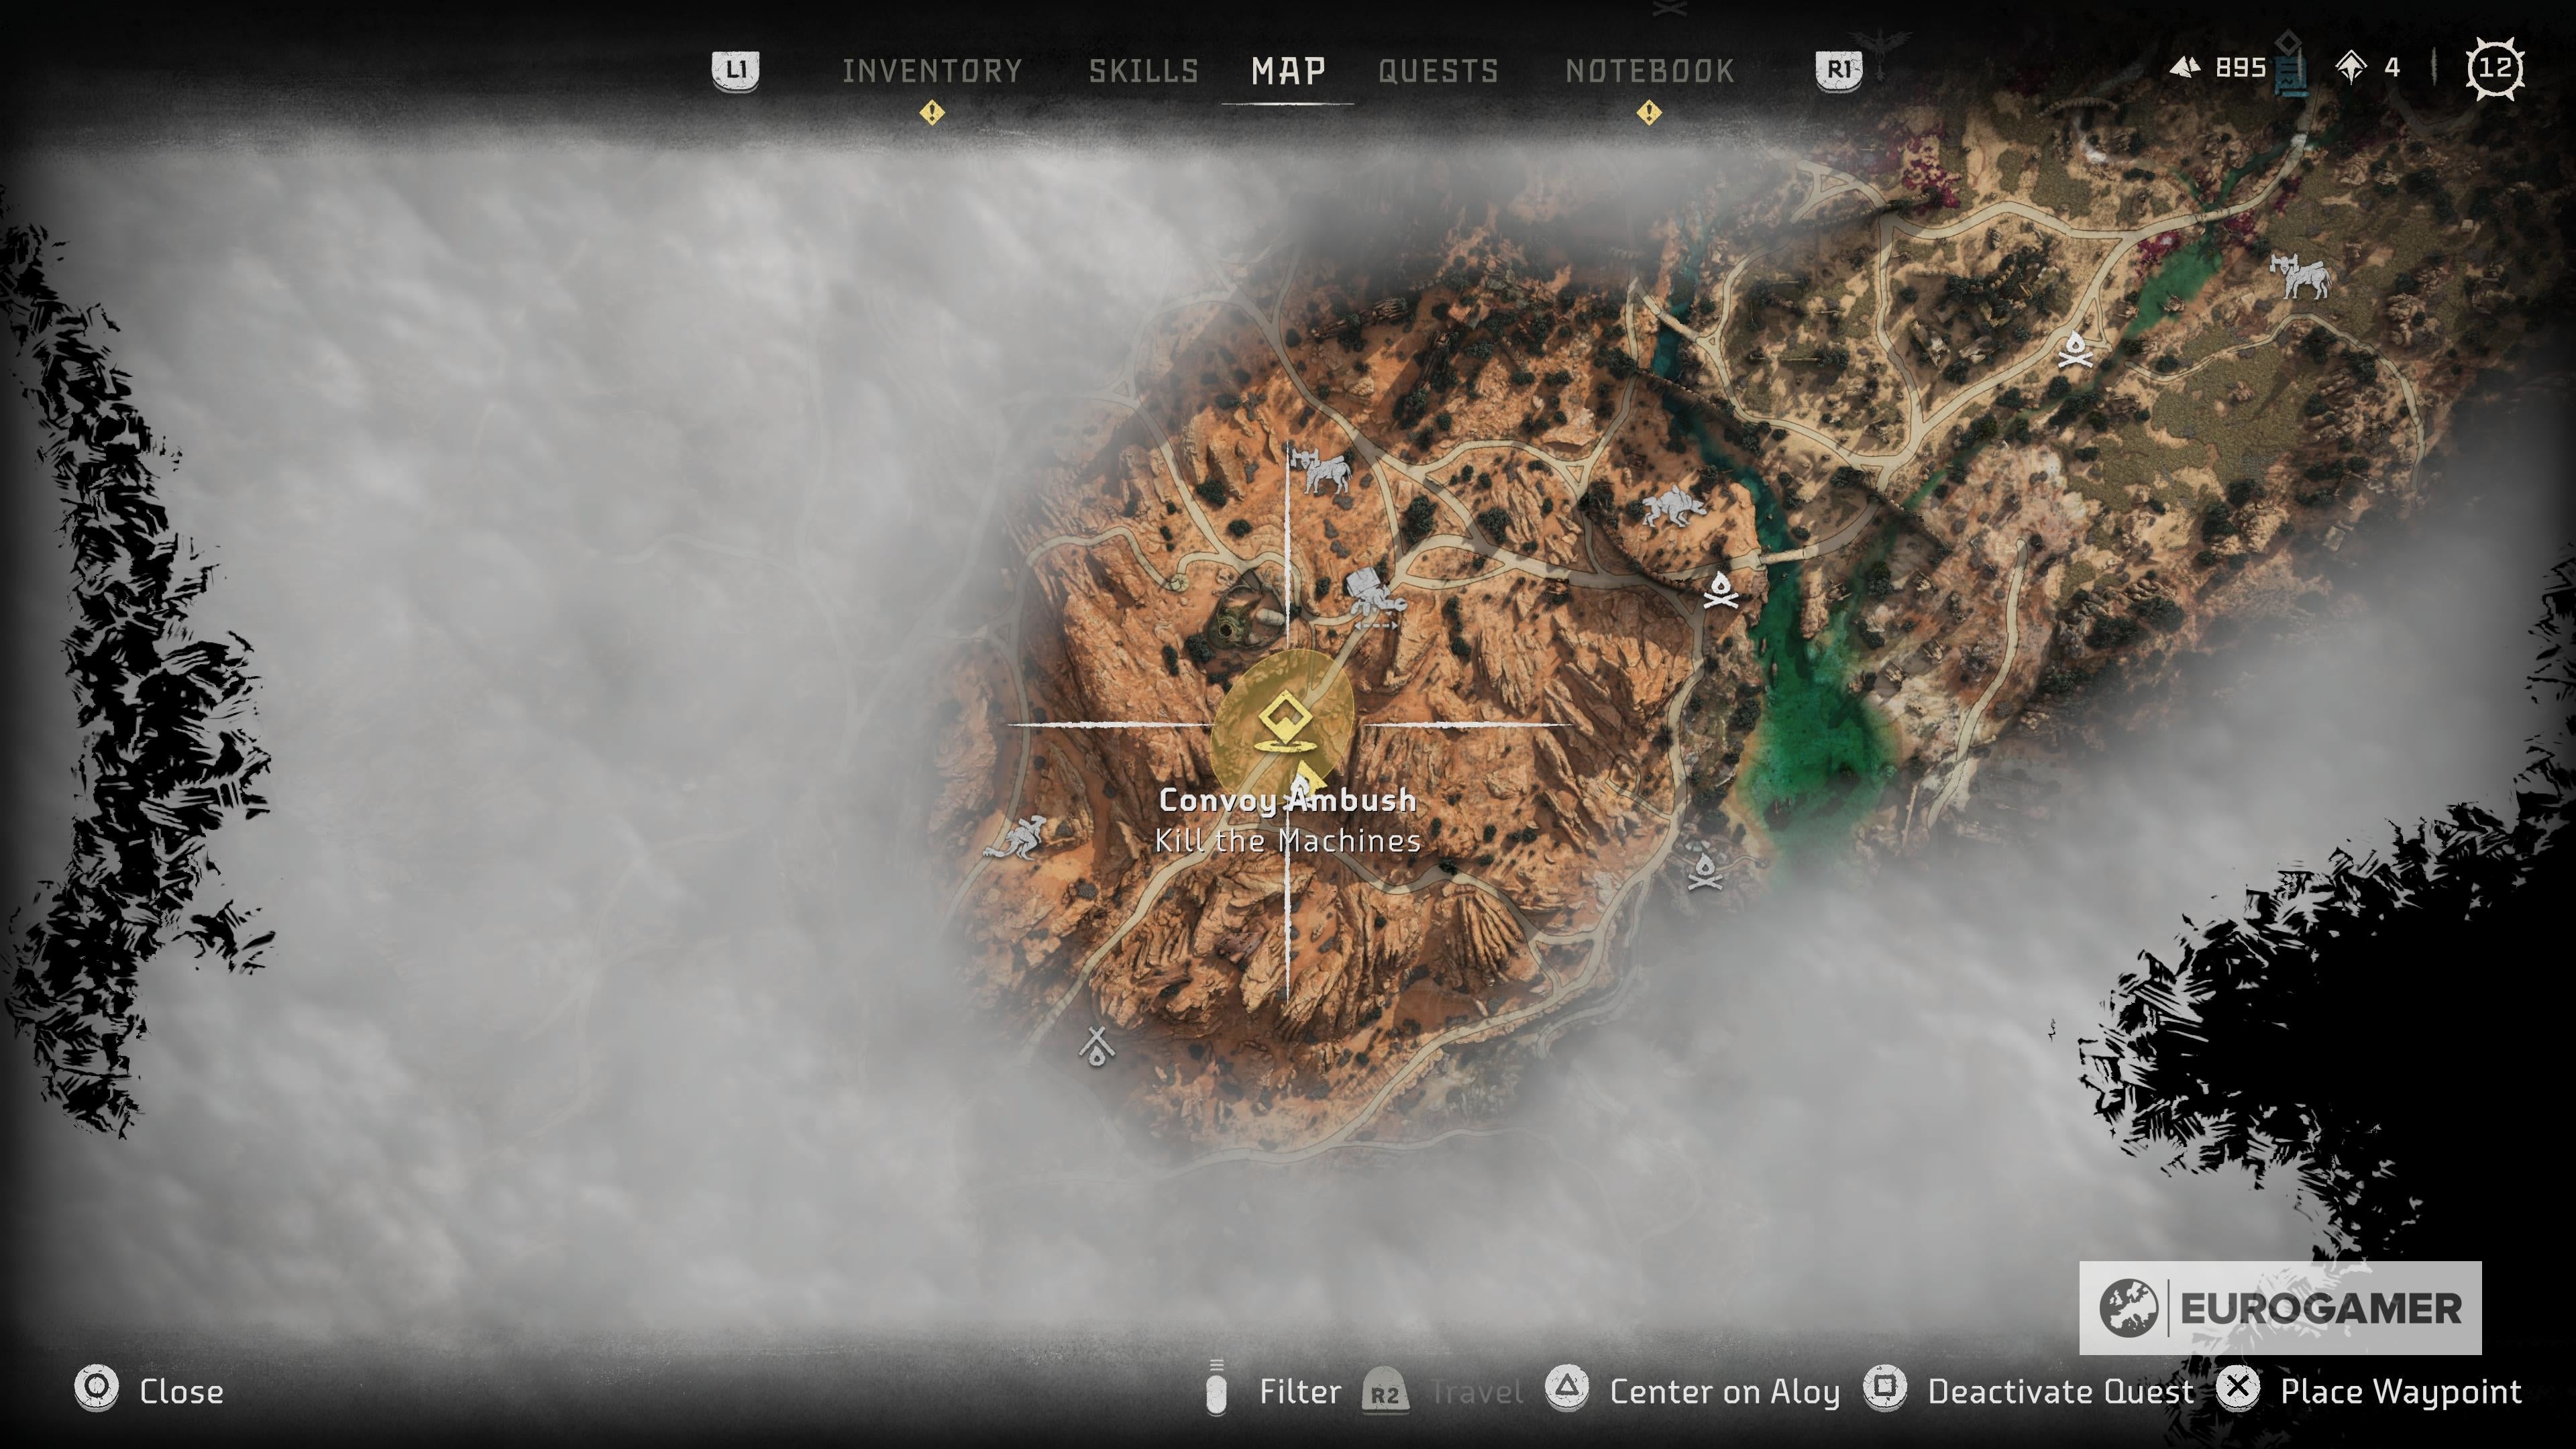
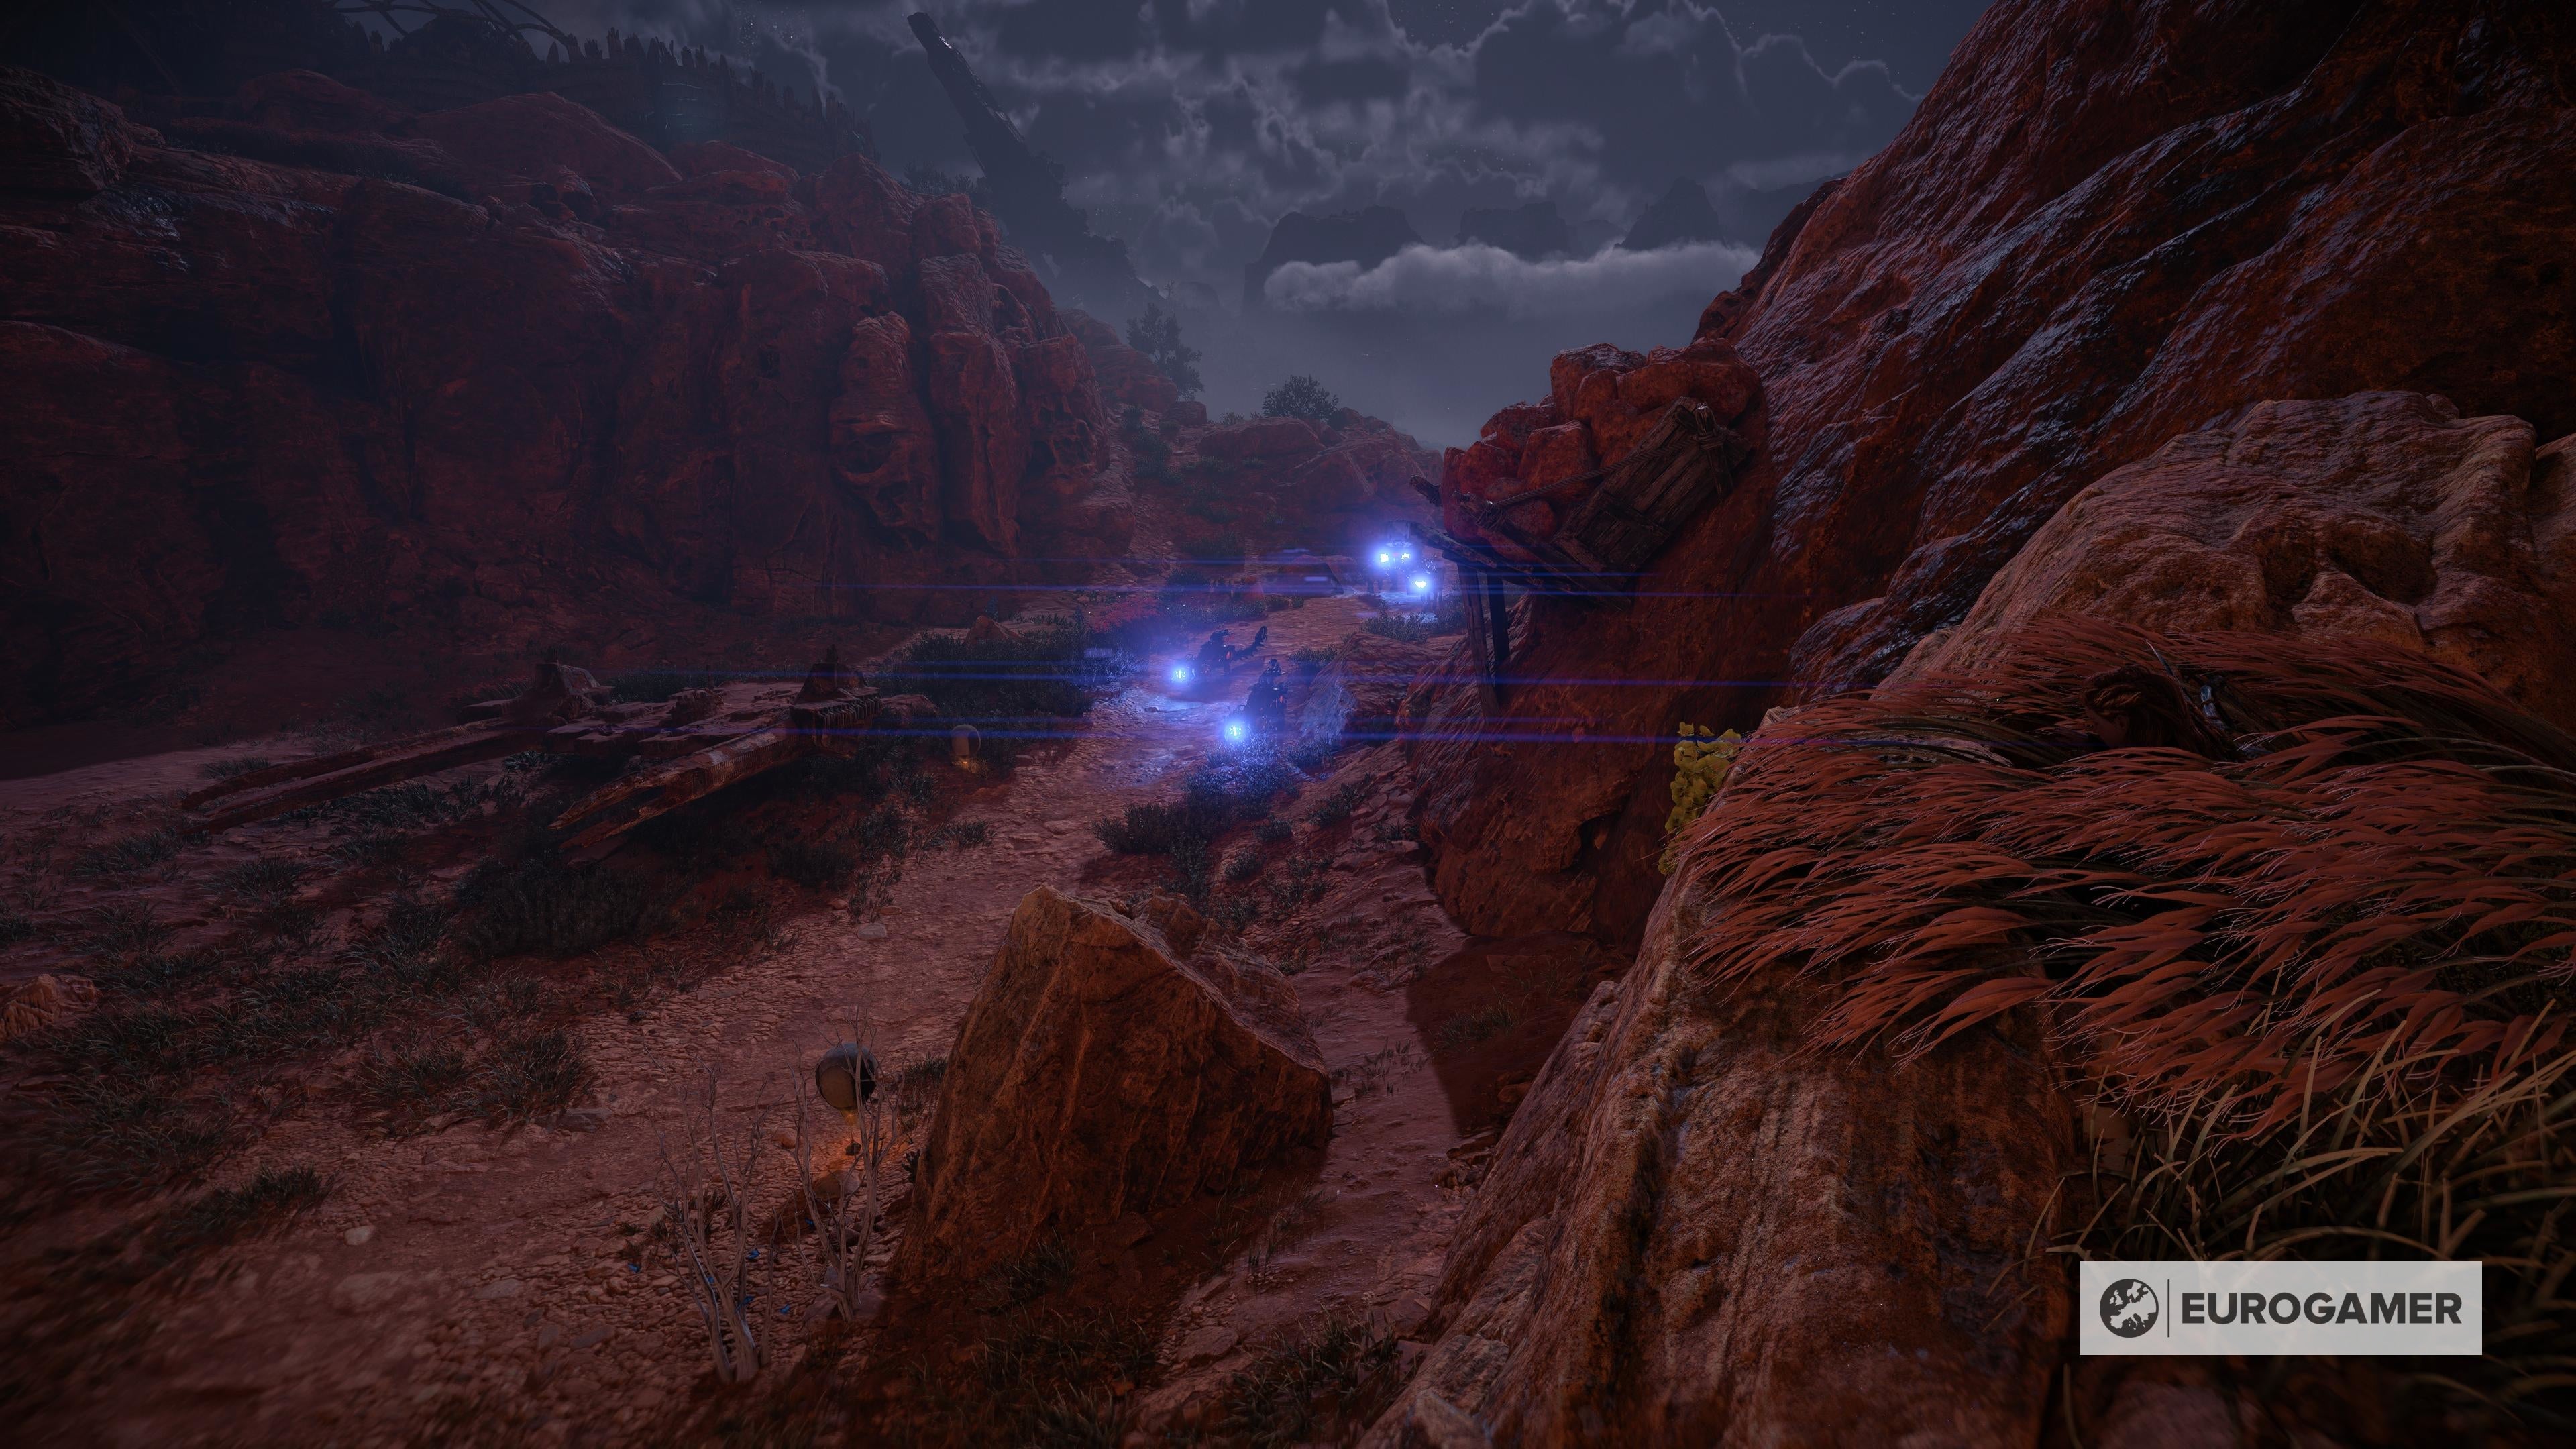
Convoy Ambush Scavengers Alarm Antennas Elusive Fanghorn
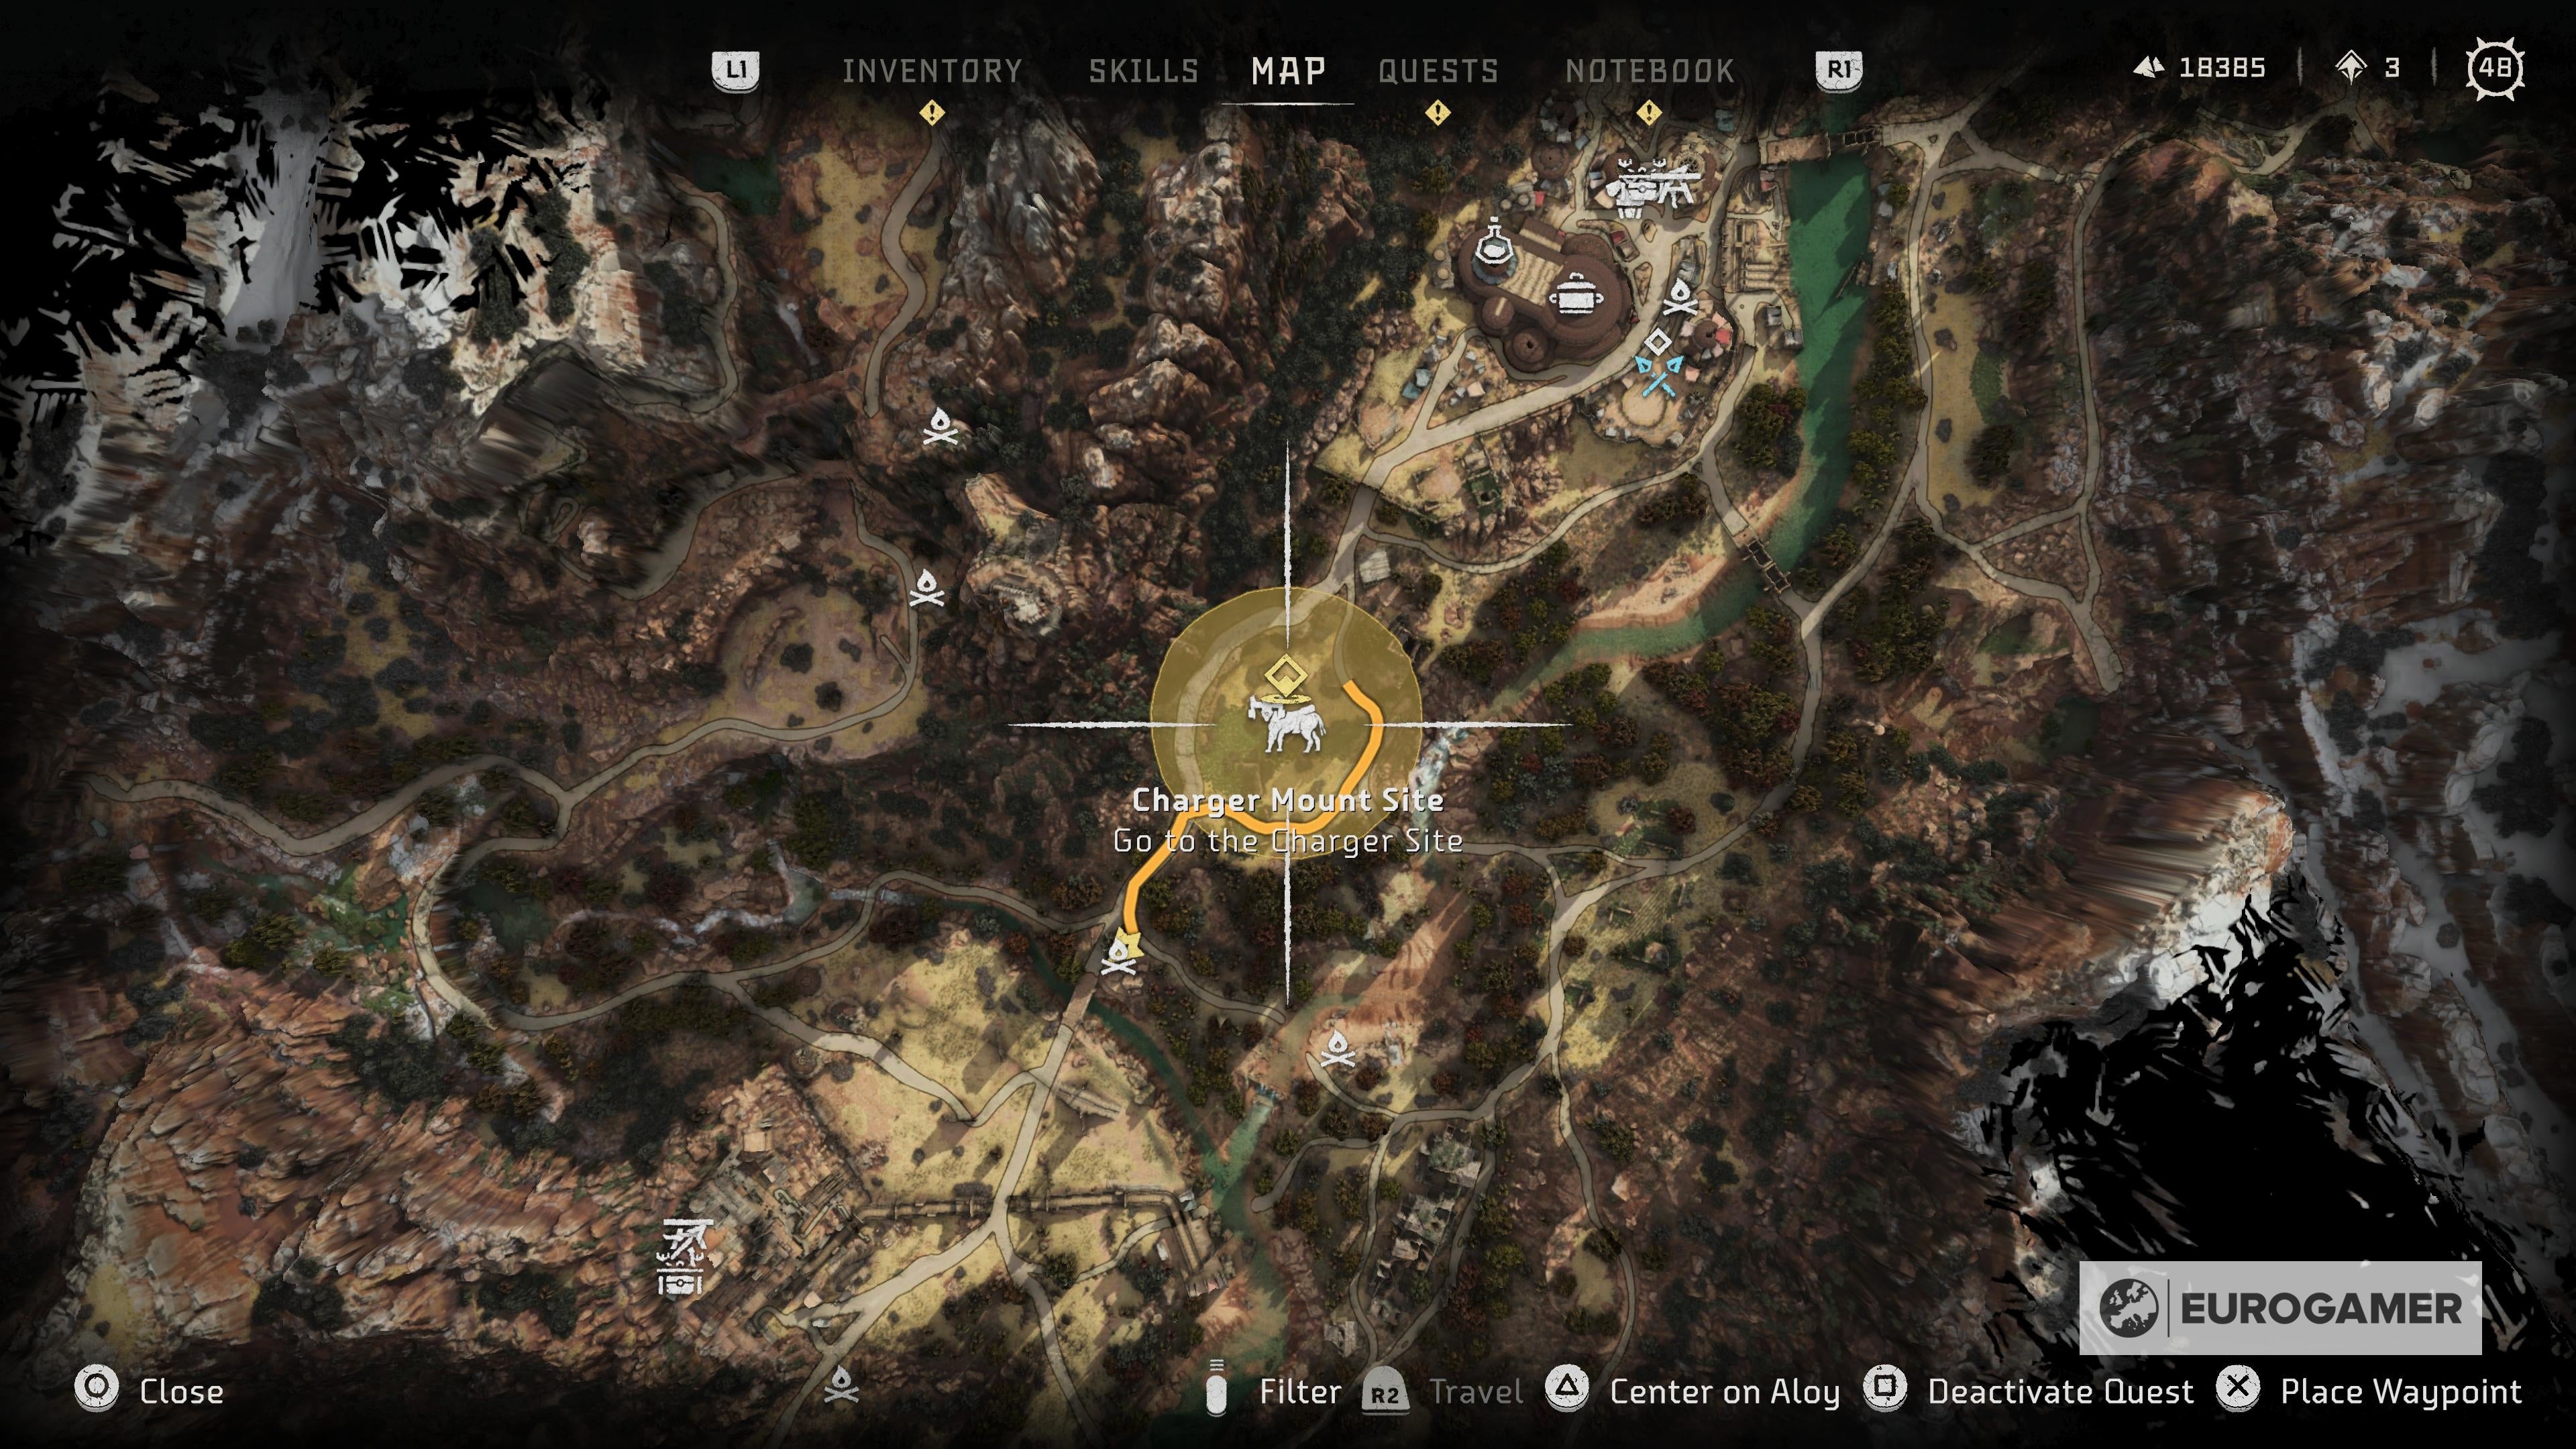
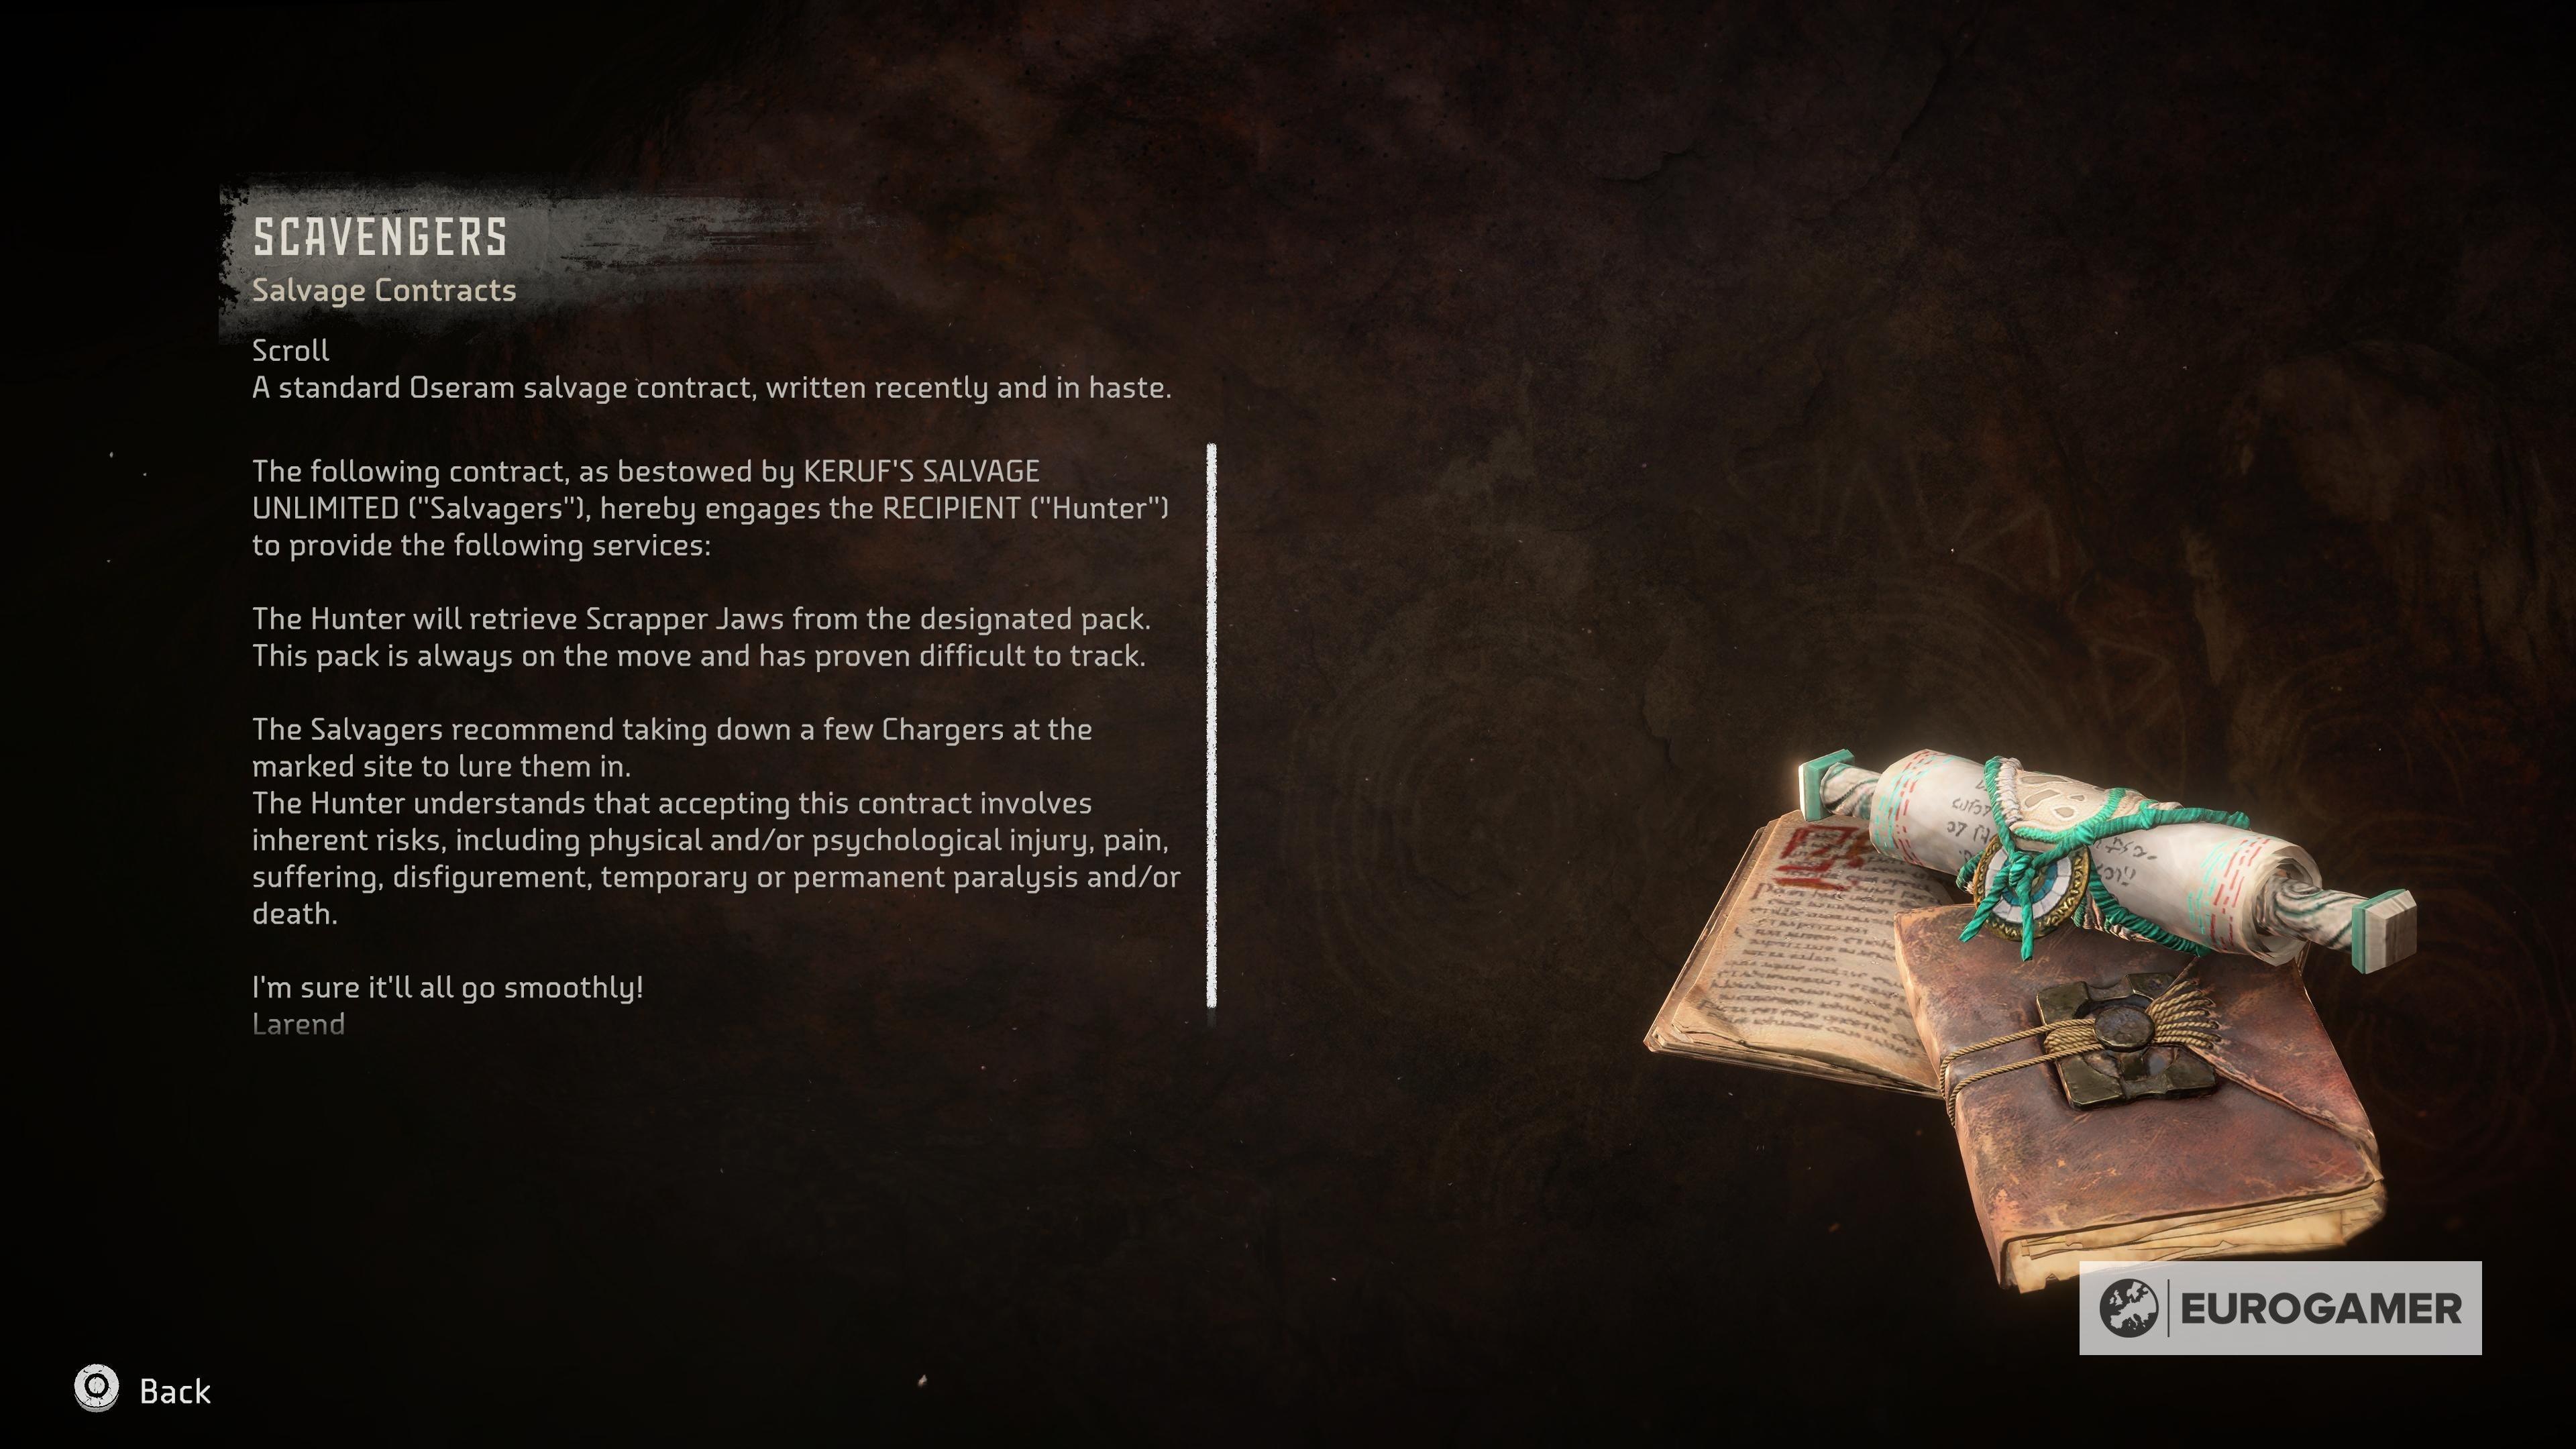
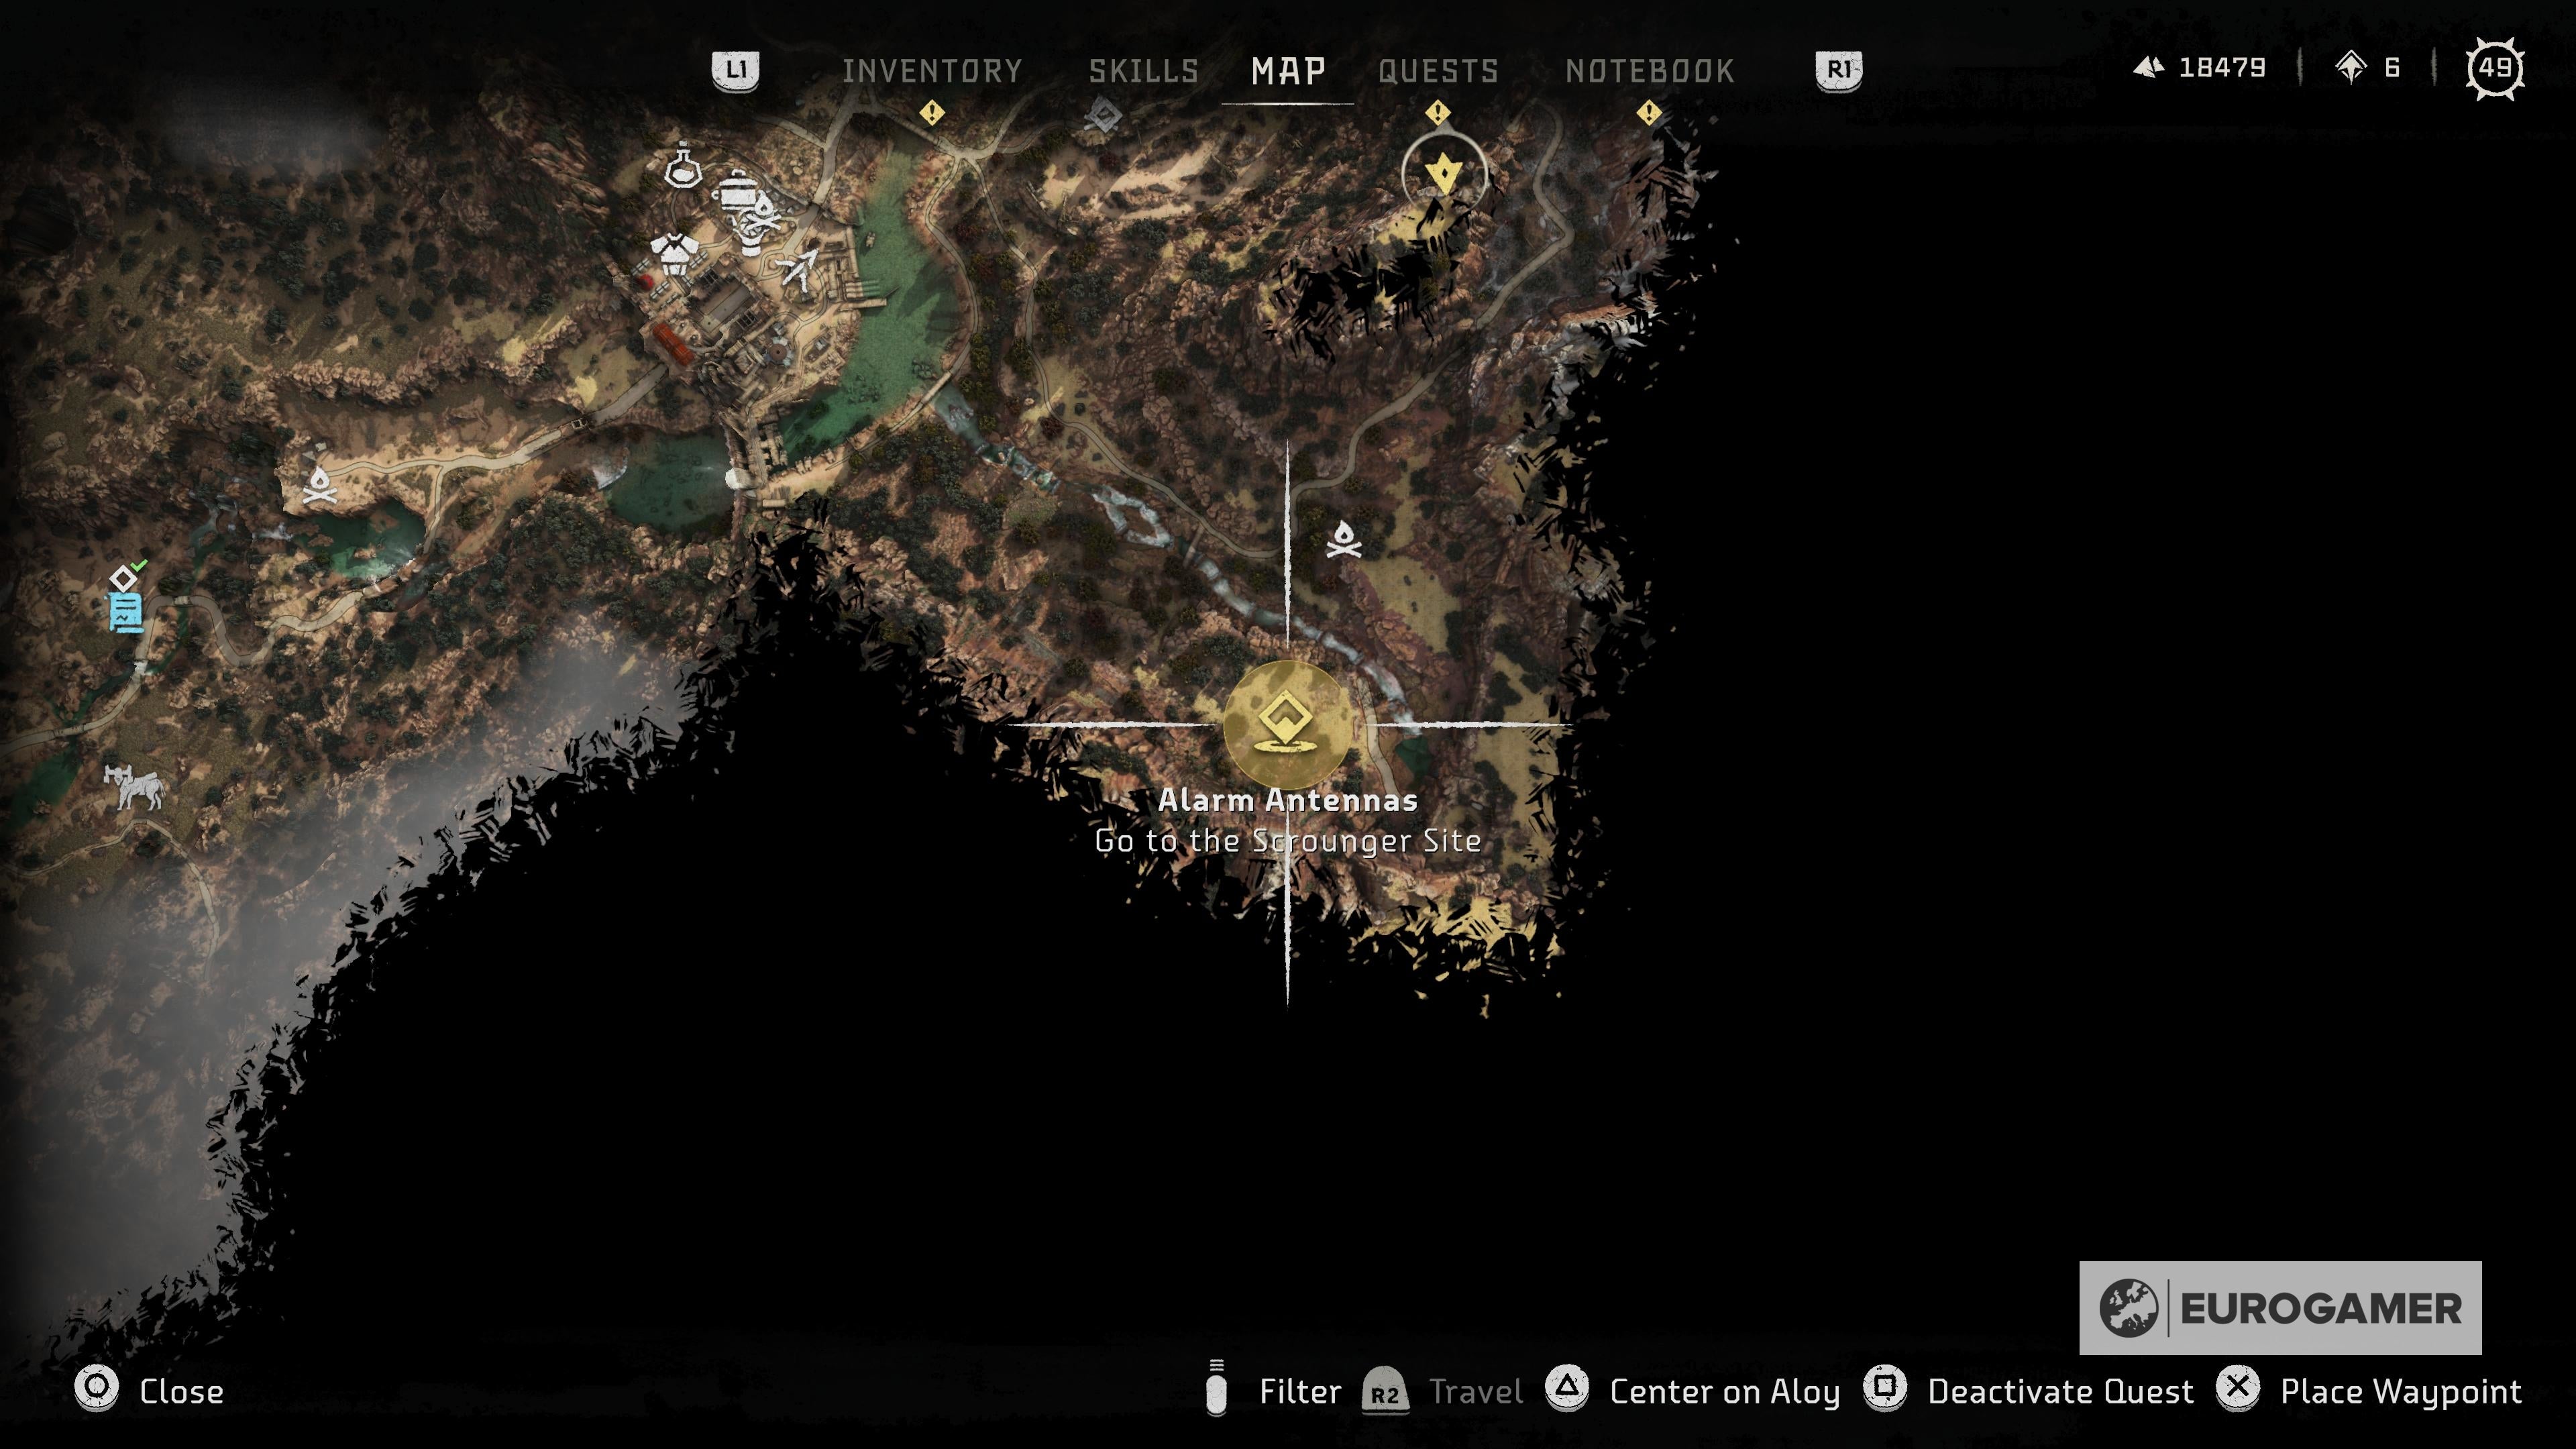
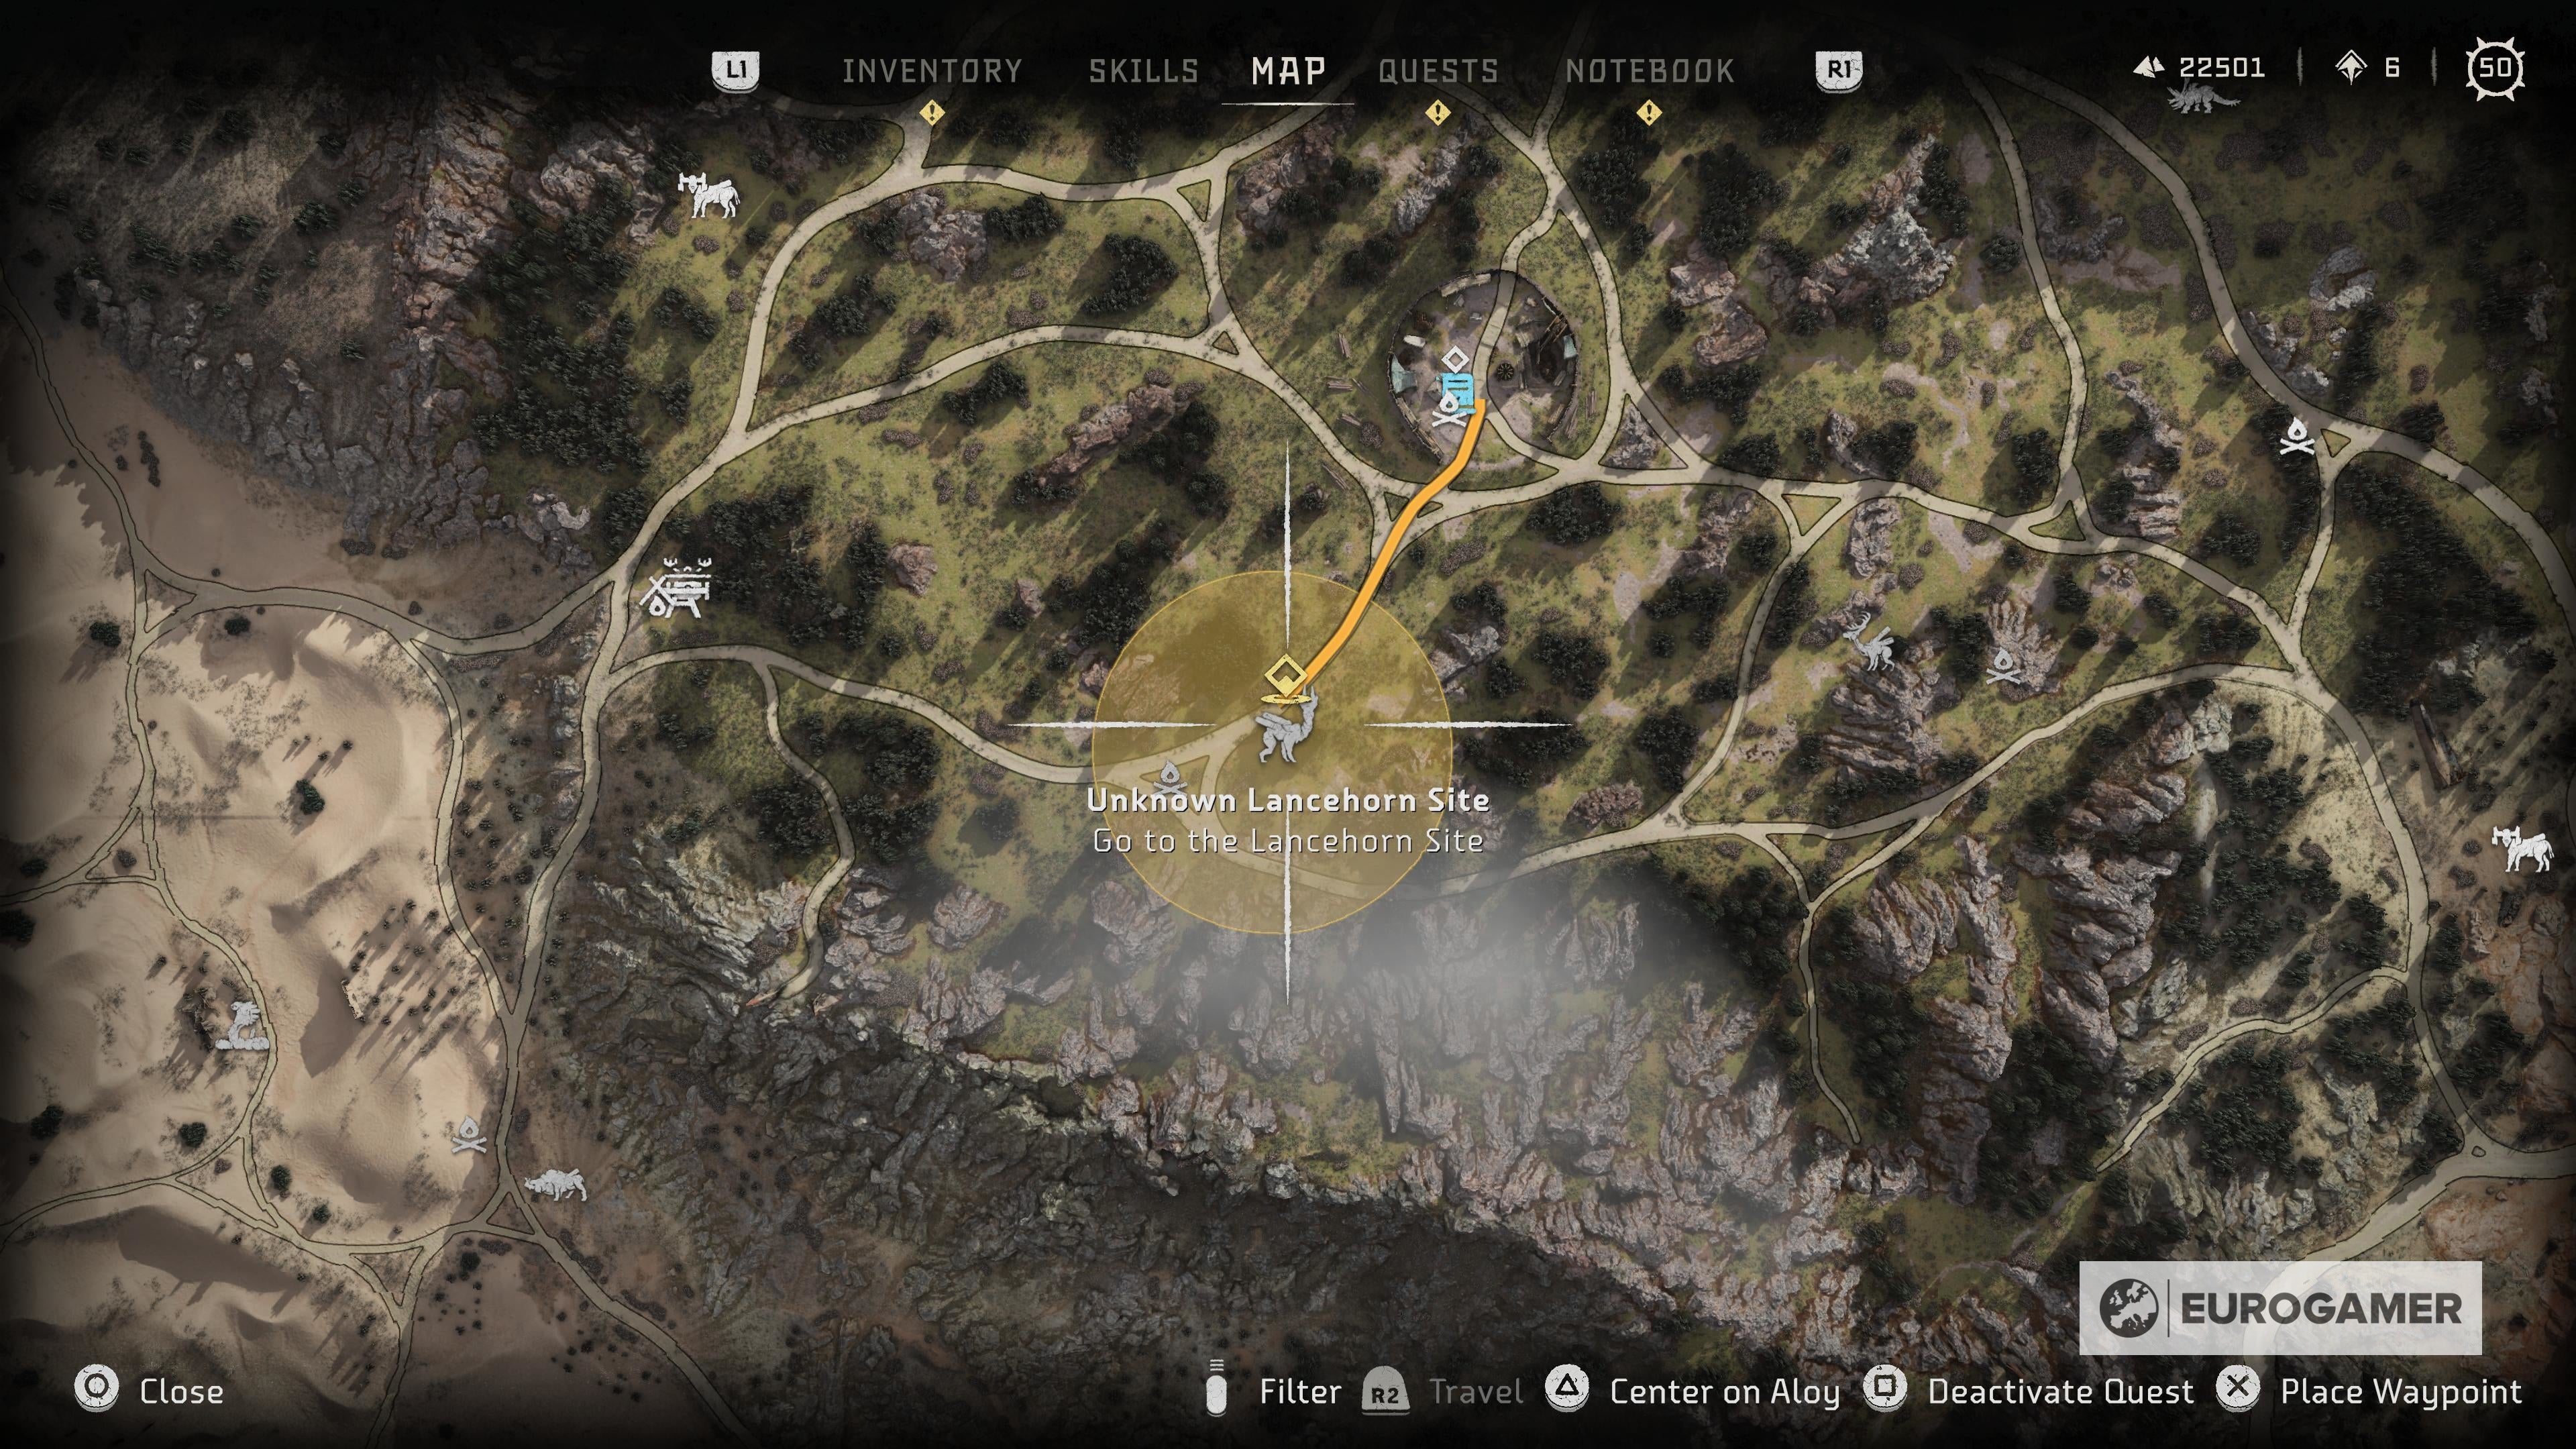
Convoy Ambush In Convoy Ambush, you must ambush a Shell-Walker Convoy out in the desert in order to obtain plating from a Shell-Walker Crate. Larend will have traps and a shelter prepared for you. Once you are there, set up some additional traps and let time pass. In the evening, the convoy will appear. Defeat the machines and loot the Shell-Walker. Return to Larend with the plating he needs. Scavengers In Scavengers, Larend believes that Scrapper Jaws will be an excellent addition to his armor. You will need to go to a Charger site south of Chainscrape and kill a few of the machines there. This will lure in the Scrappers you need. Kill the Scrappers and loot 3 Scrapper Jaws. Return to Larend with the jaws. Alarm Antennas In Alarm Antennas, Larend needs you to go to a Scrounger site to the southeast of Barren Light. Once you are there, kill the Scroungers and loot 3 Scrounger Alarm Antennas. Return to Larend with the parts he needs. Elusive Fanghorn For this contract, you will need to go to the riverbank south of Larend’s camp and look for a Fanghorn. Search for the Fanghorn tracks, and when you find them, highlight and follow them. You will not be able to catch the Fanghorn on foot, so you will need a mount to chase after the machine. Kill the Fanghorn and take the salvage back to Larend. Now that Larend has all the parts he needs, he can now craft his armor. Runda will have four contracts to complete:
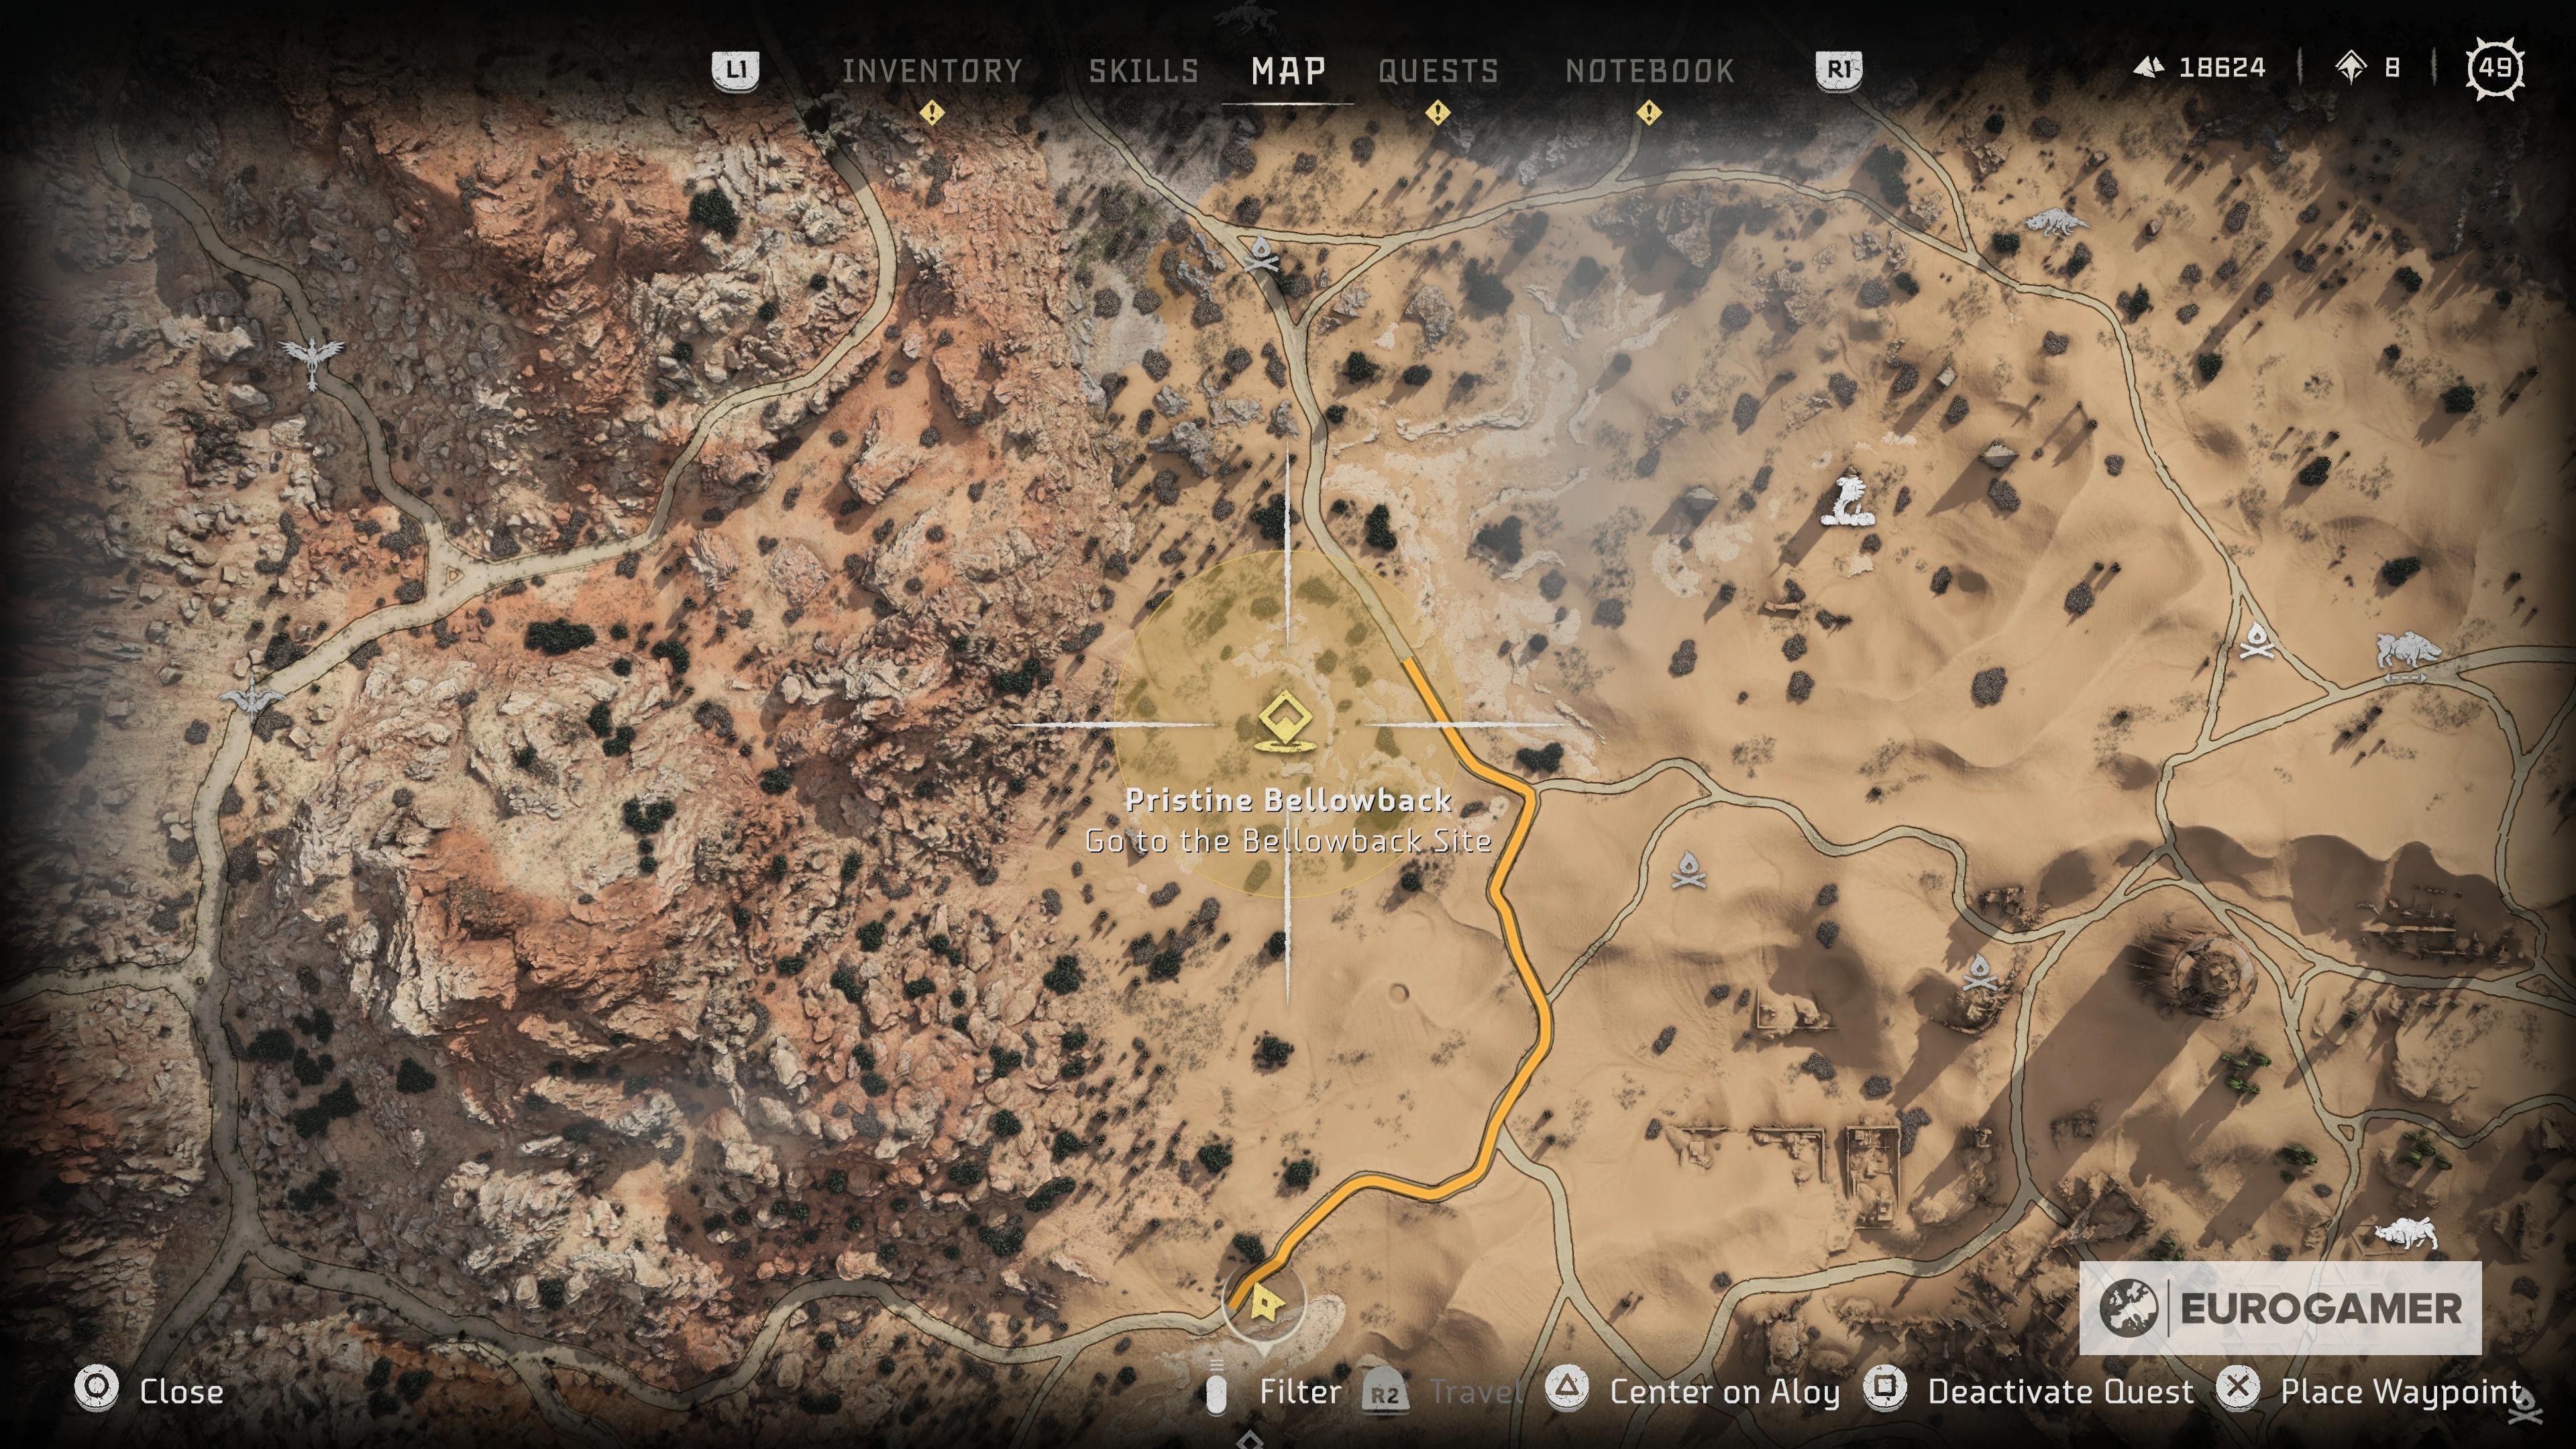
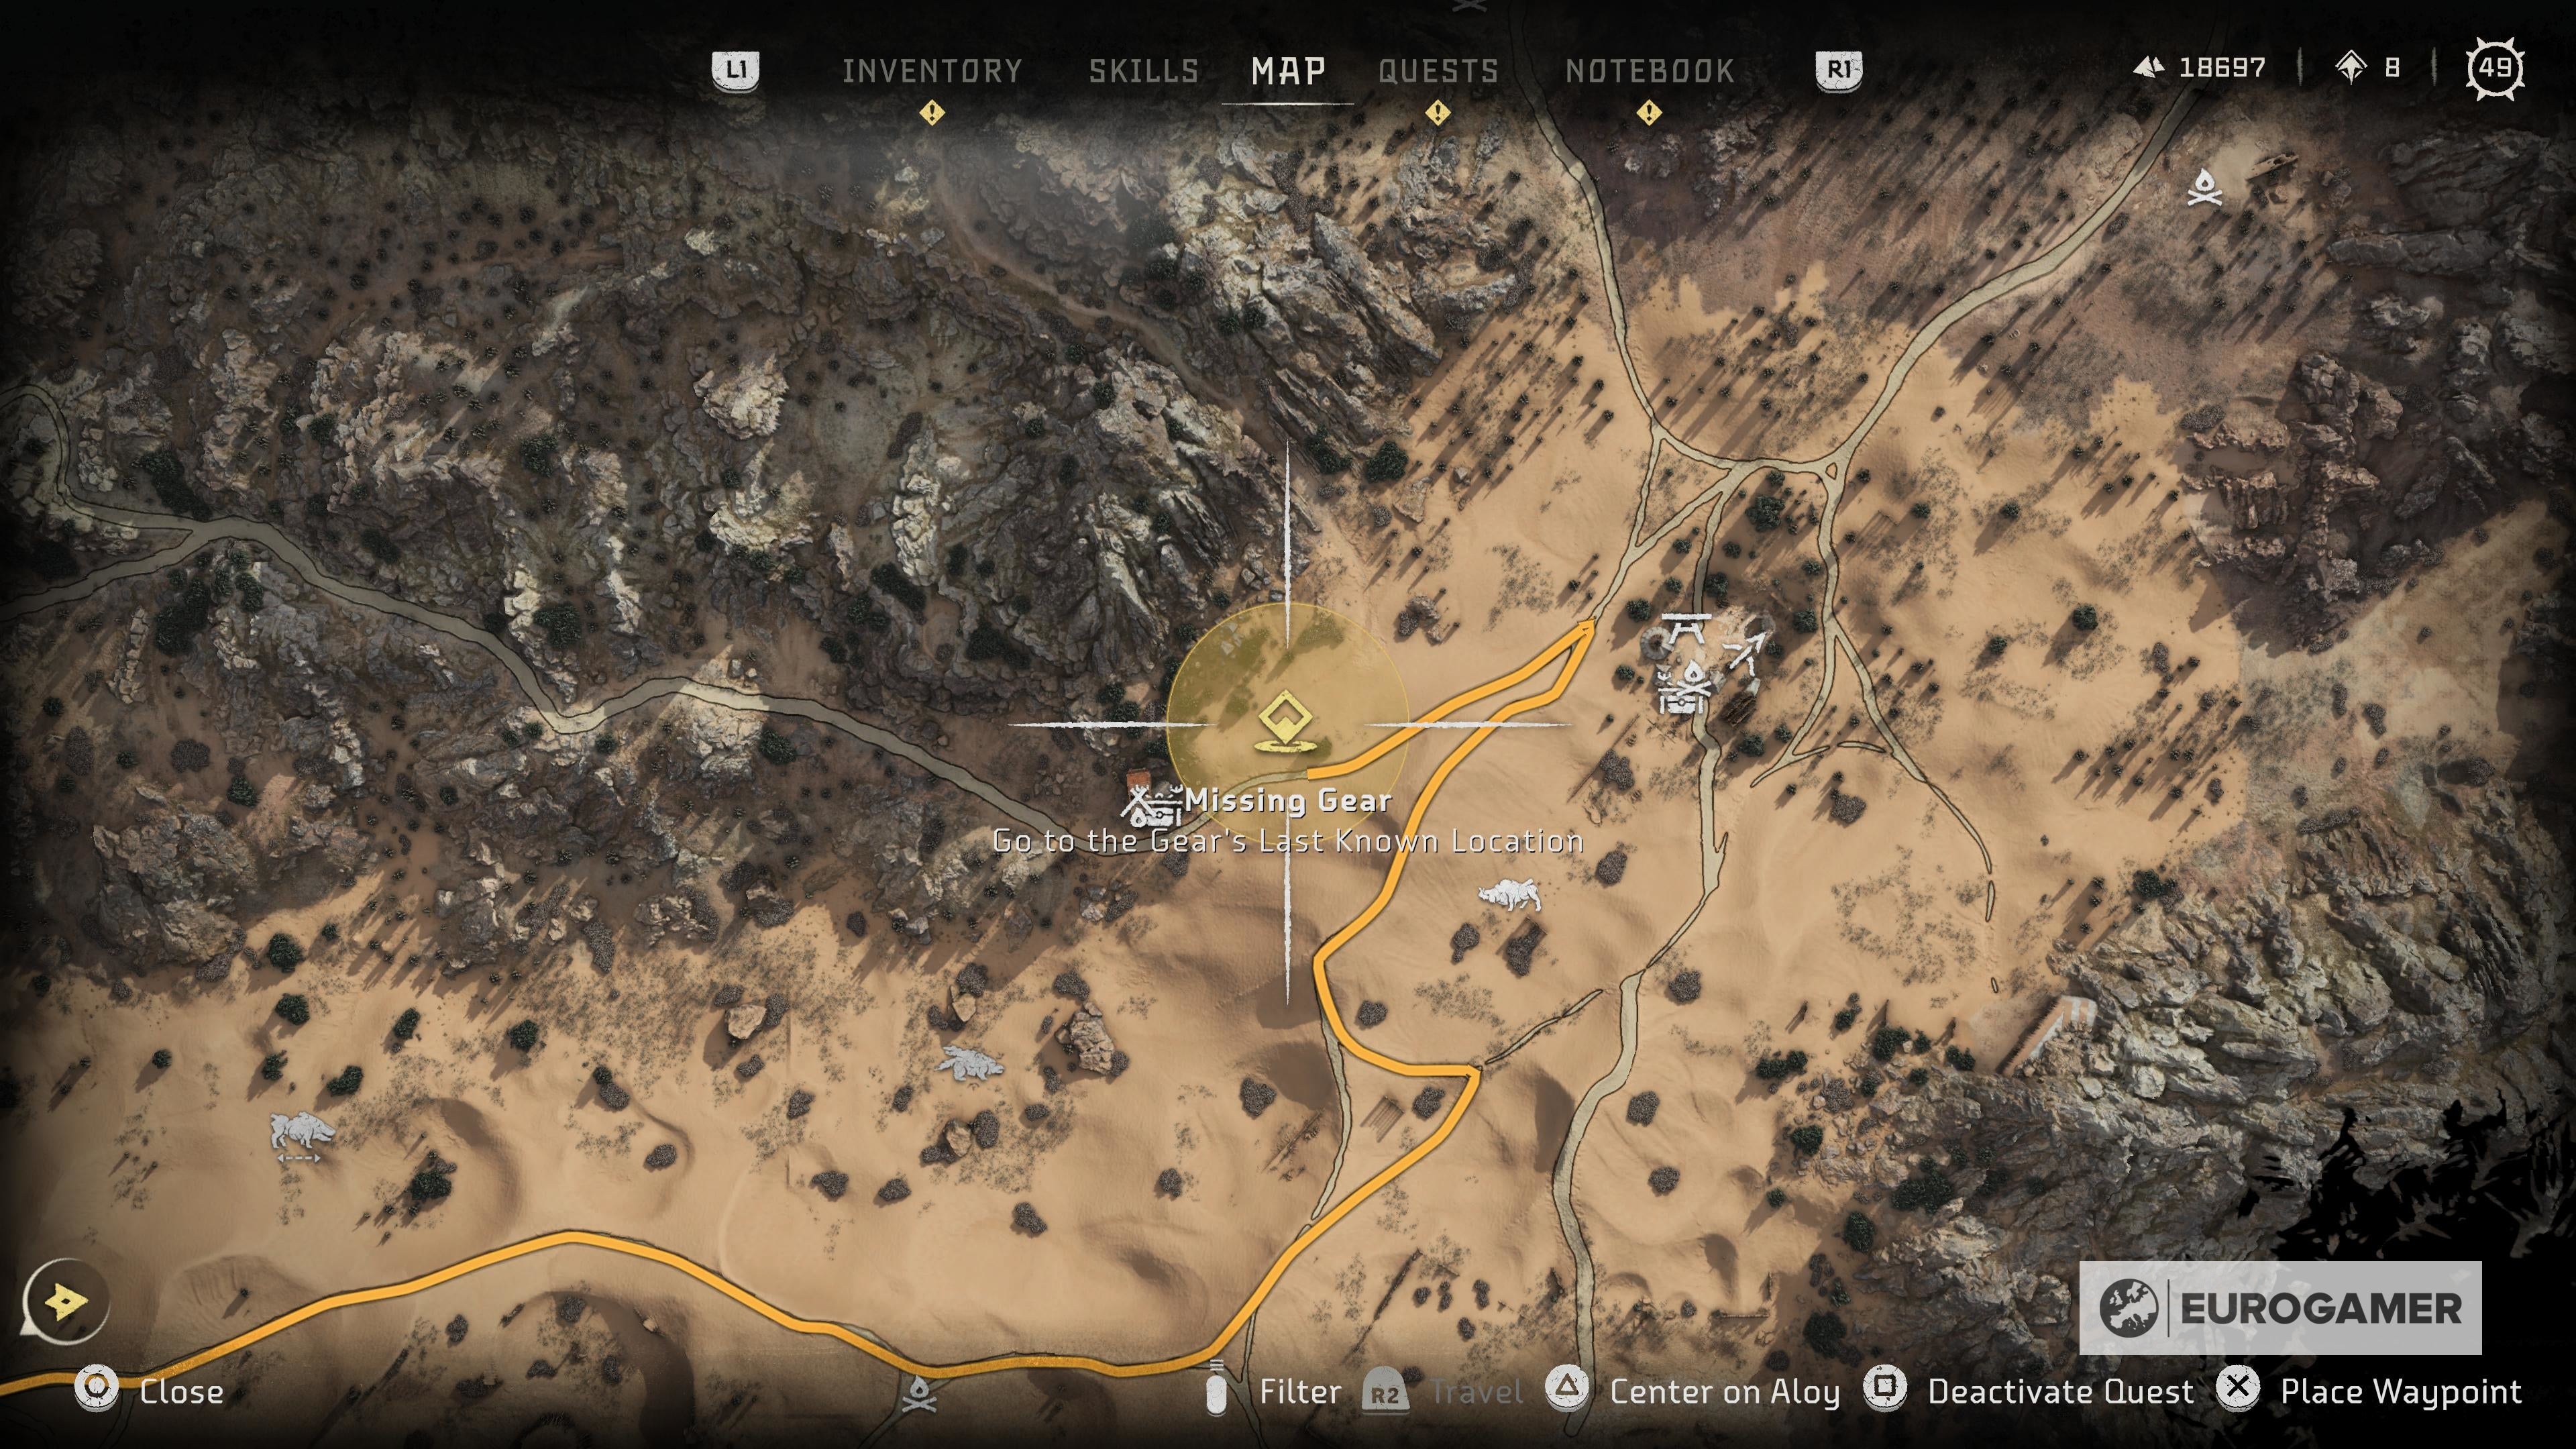
Lost Supplies Pristine Bellowback Missing Gear Rollerback Salvage
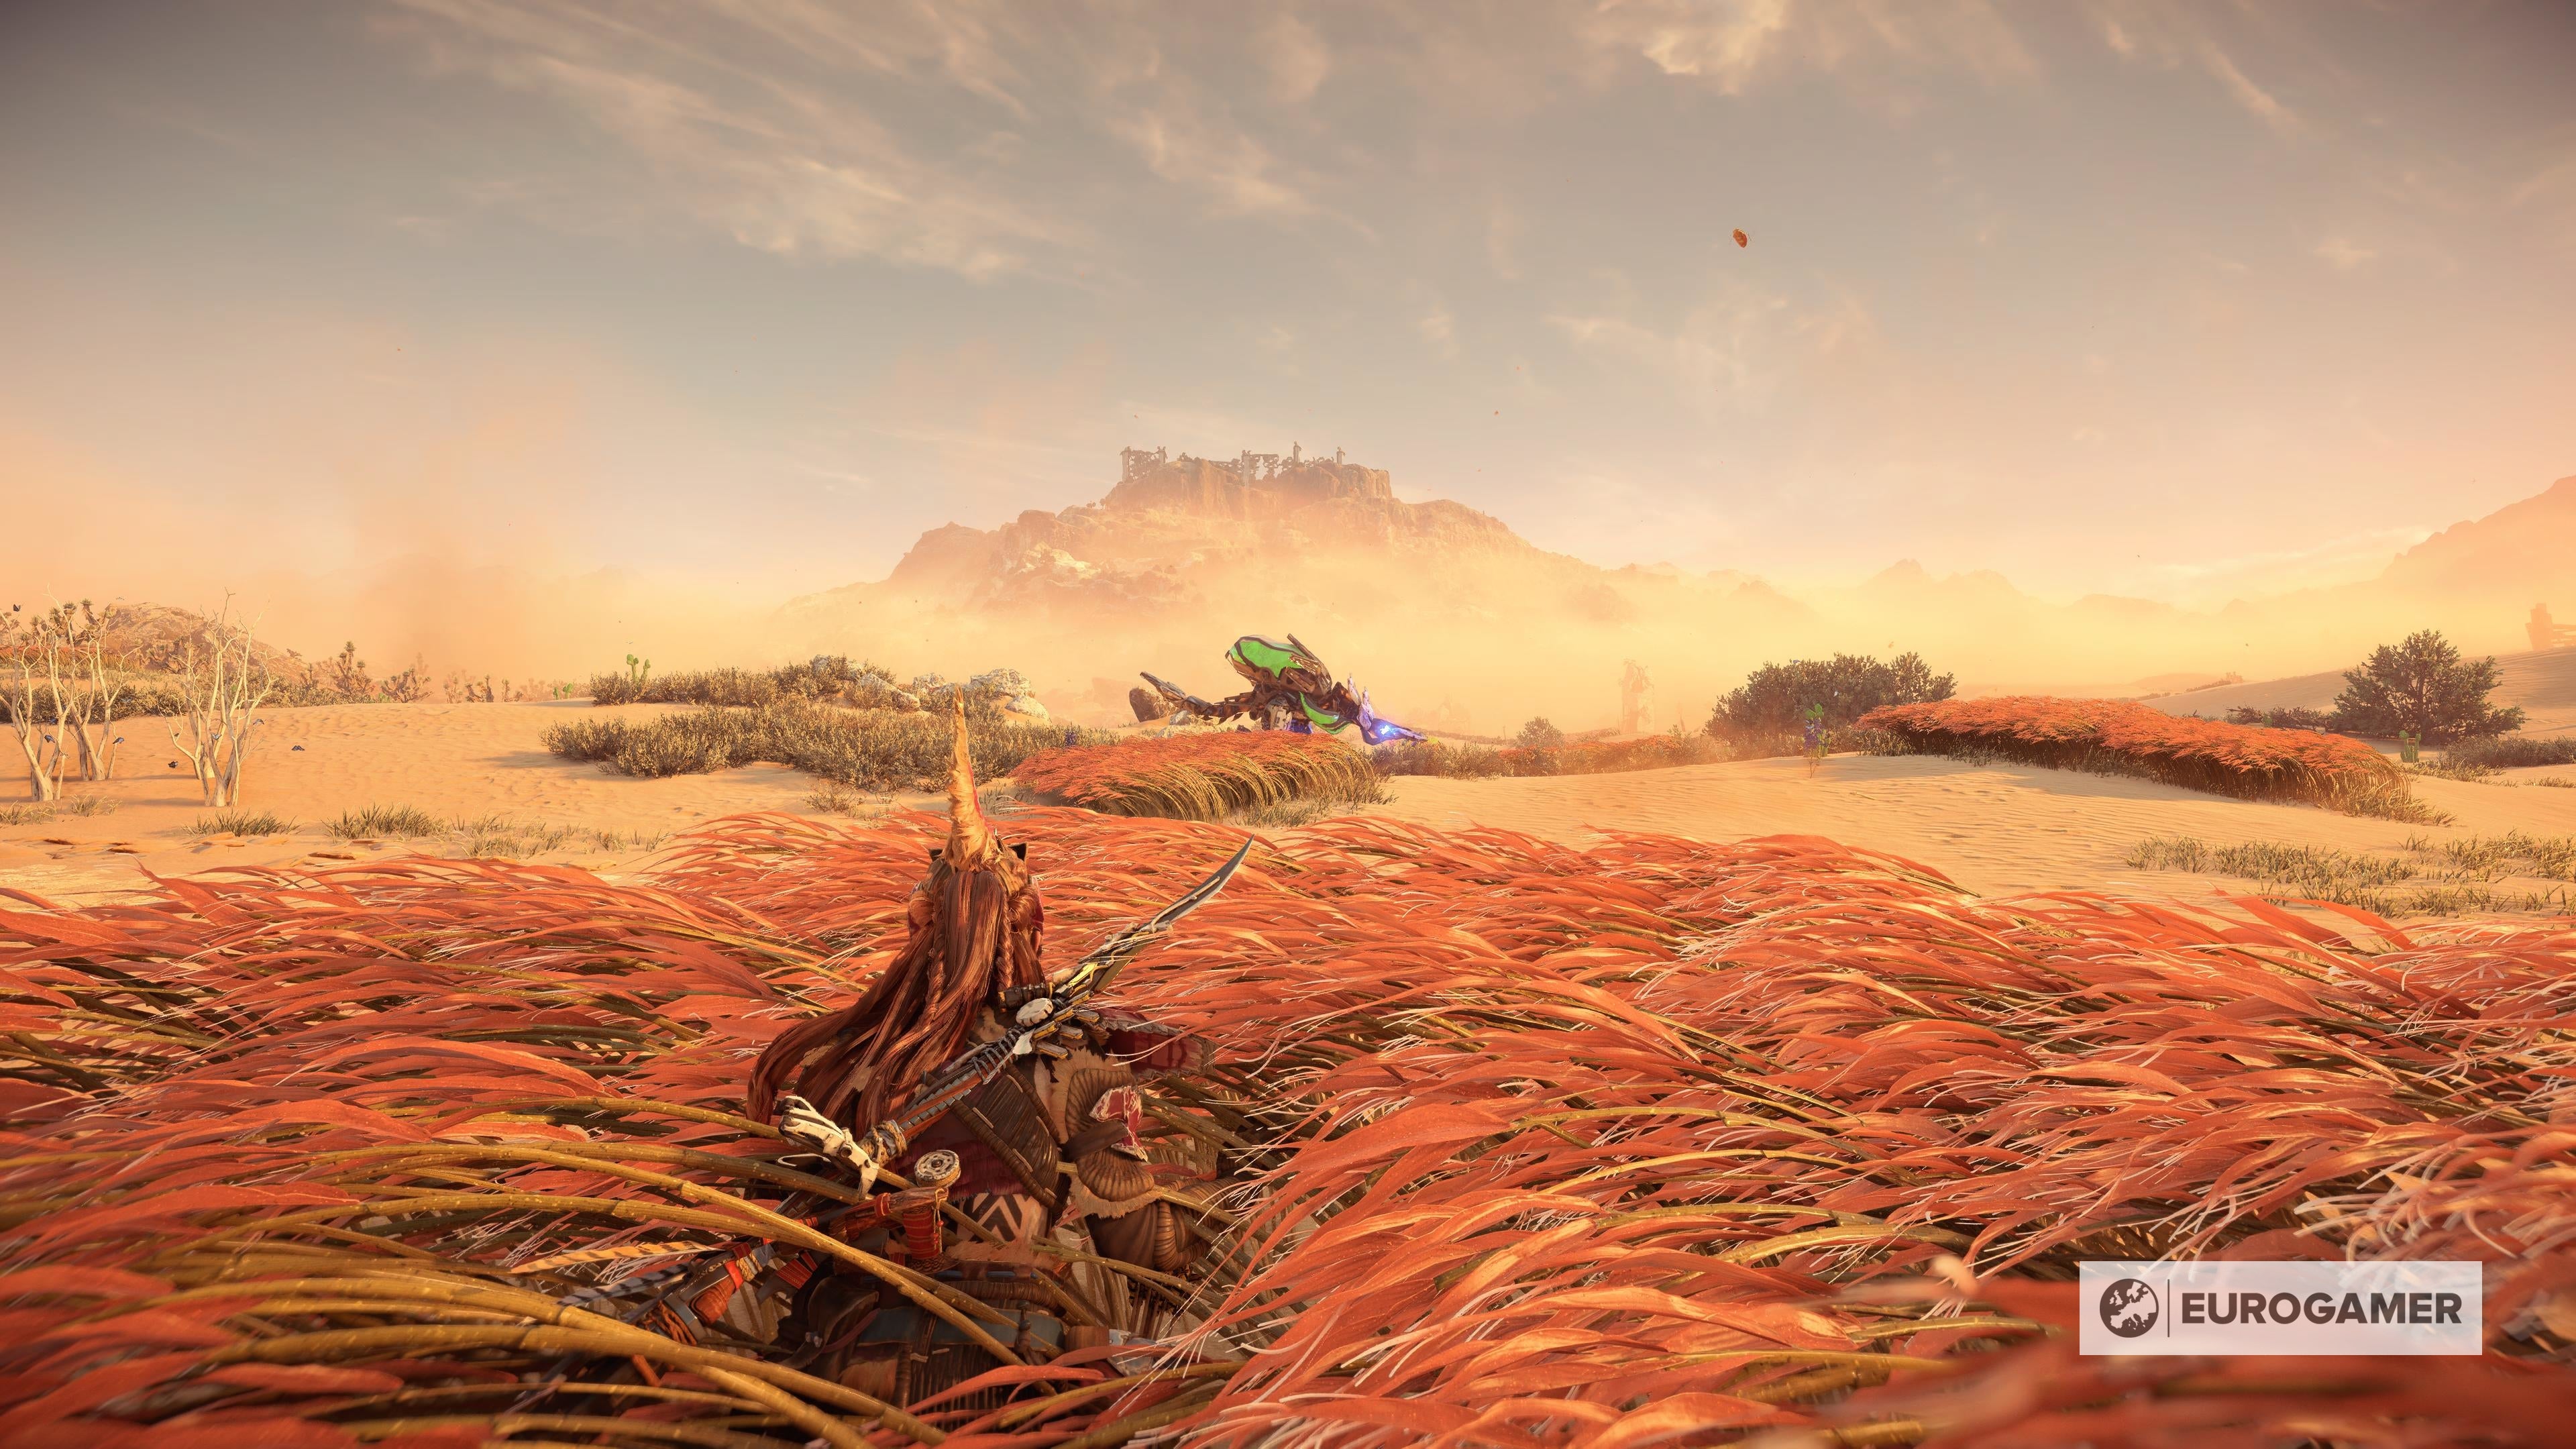
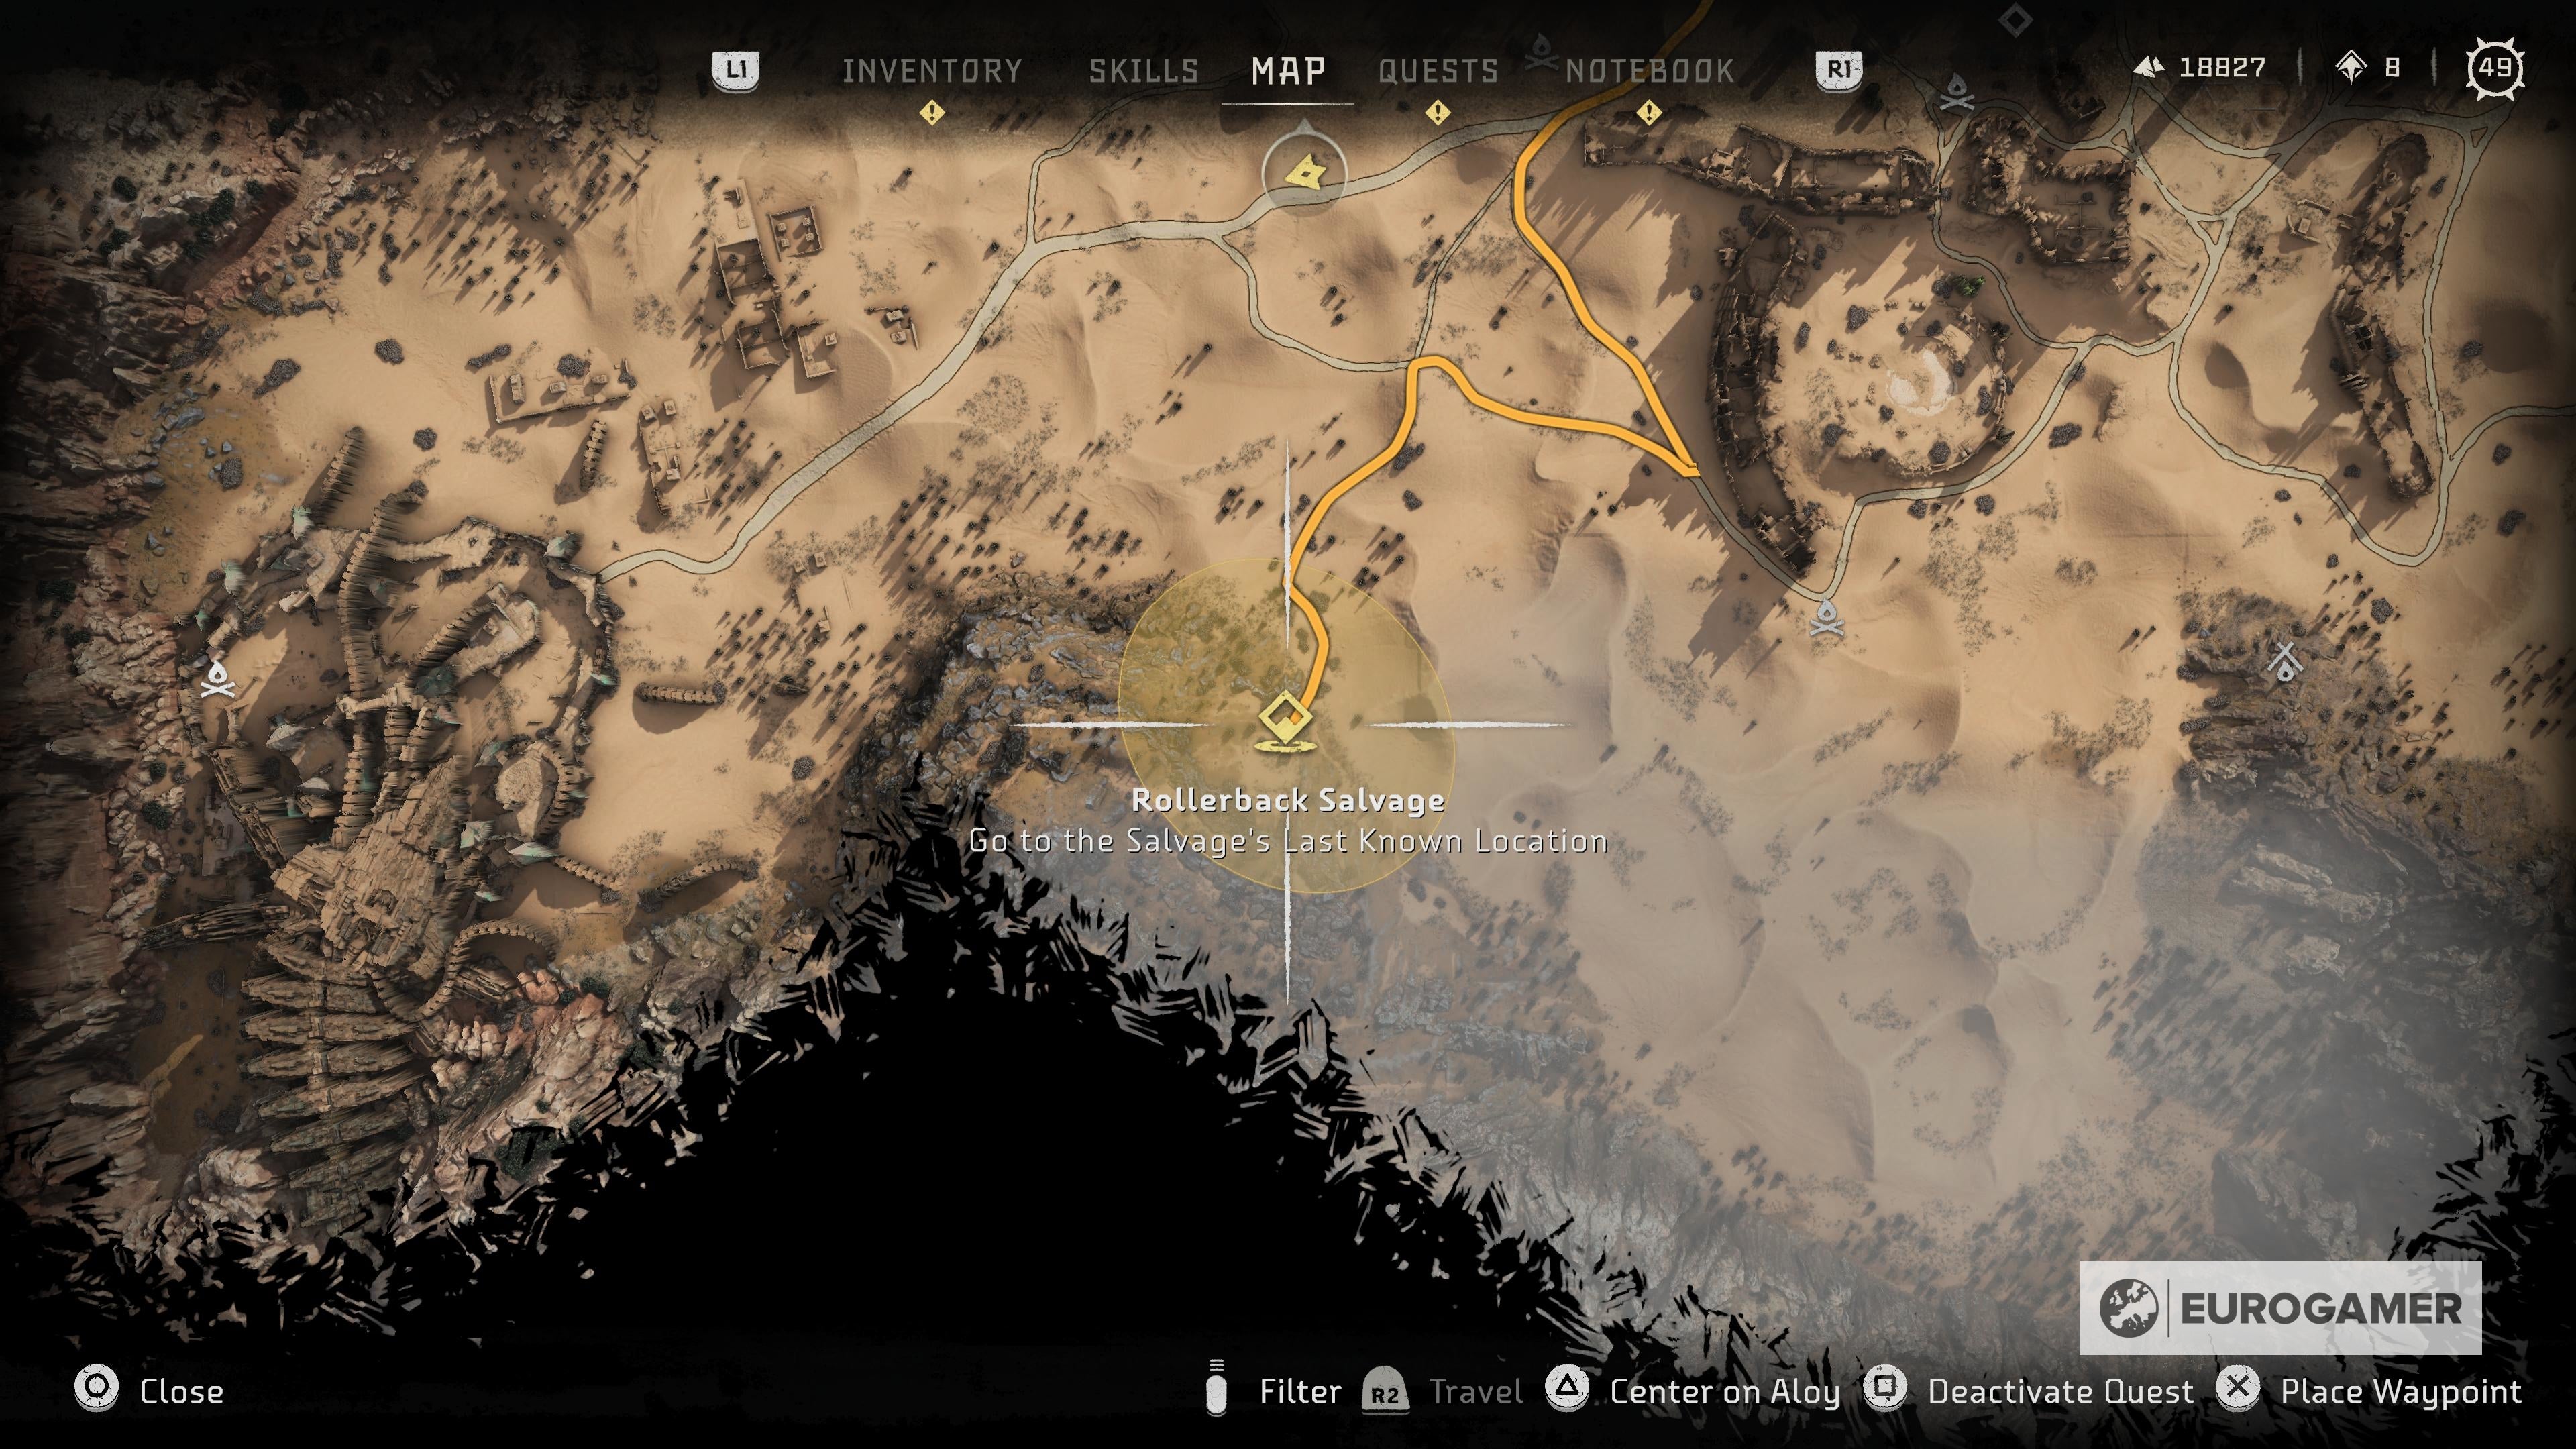
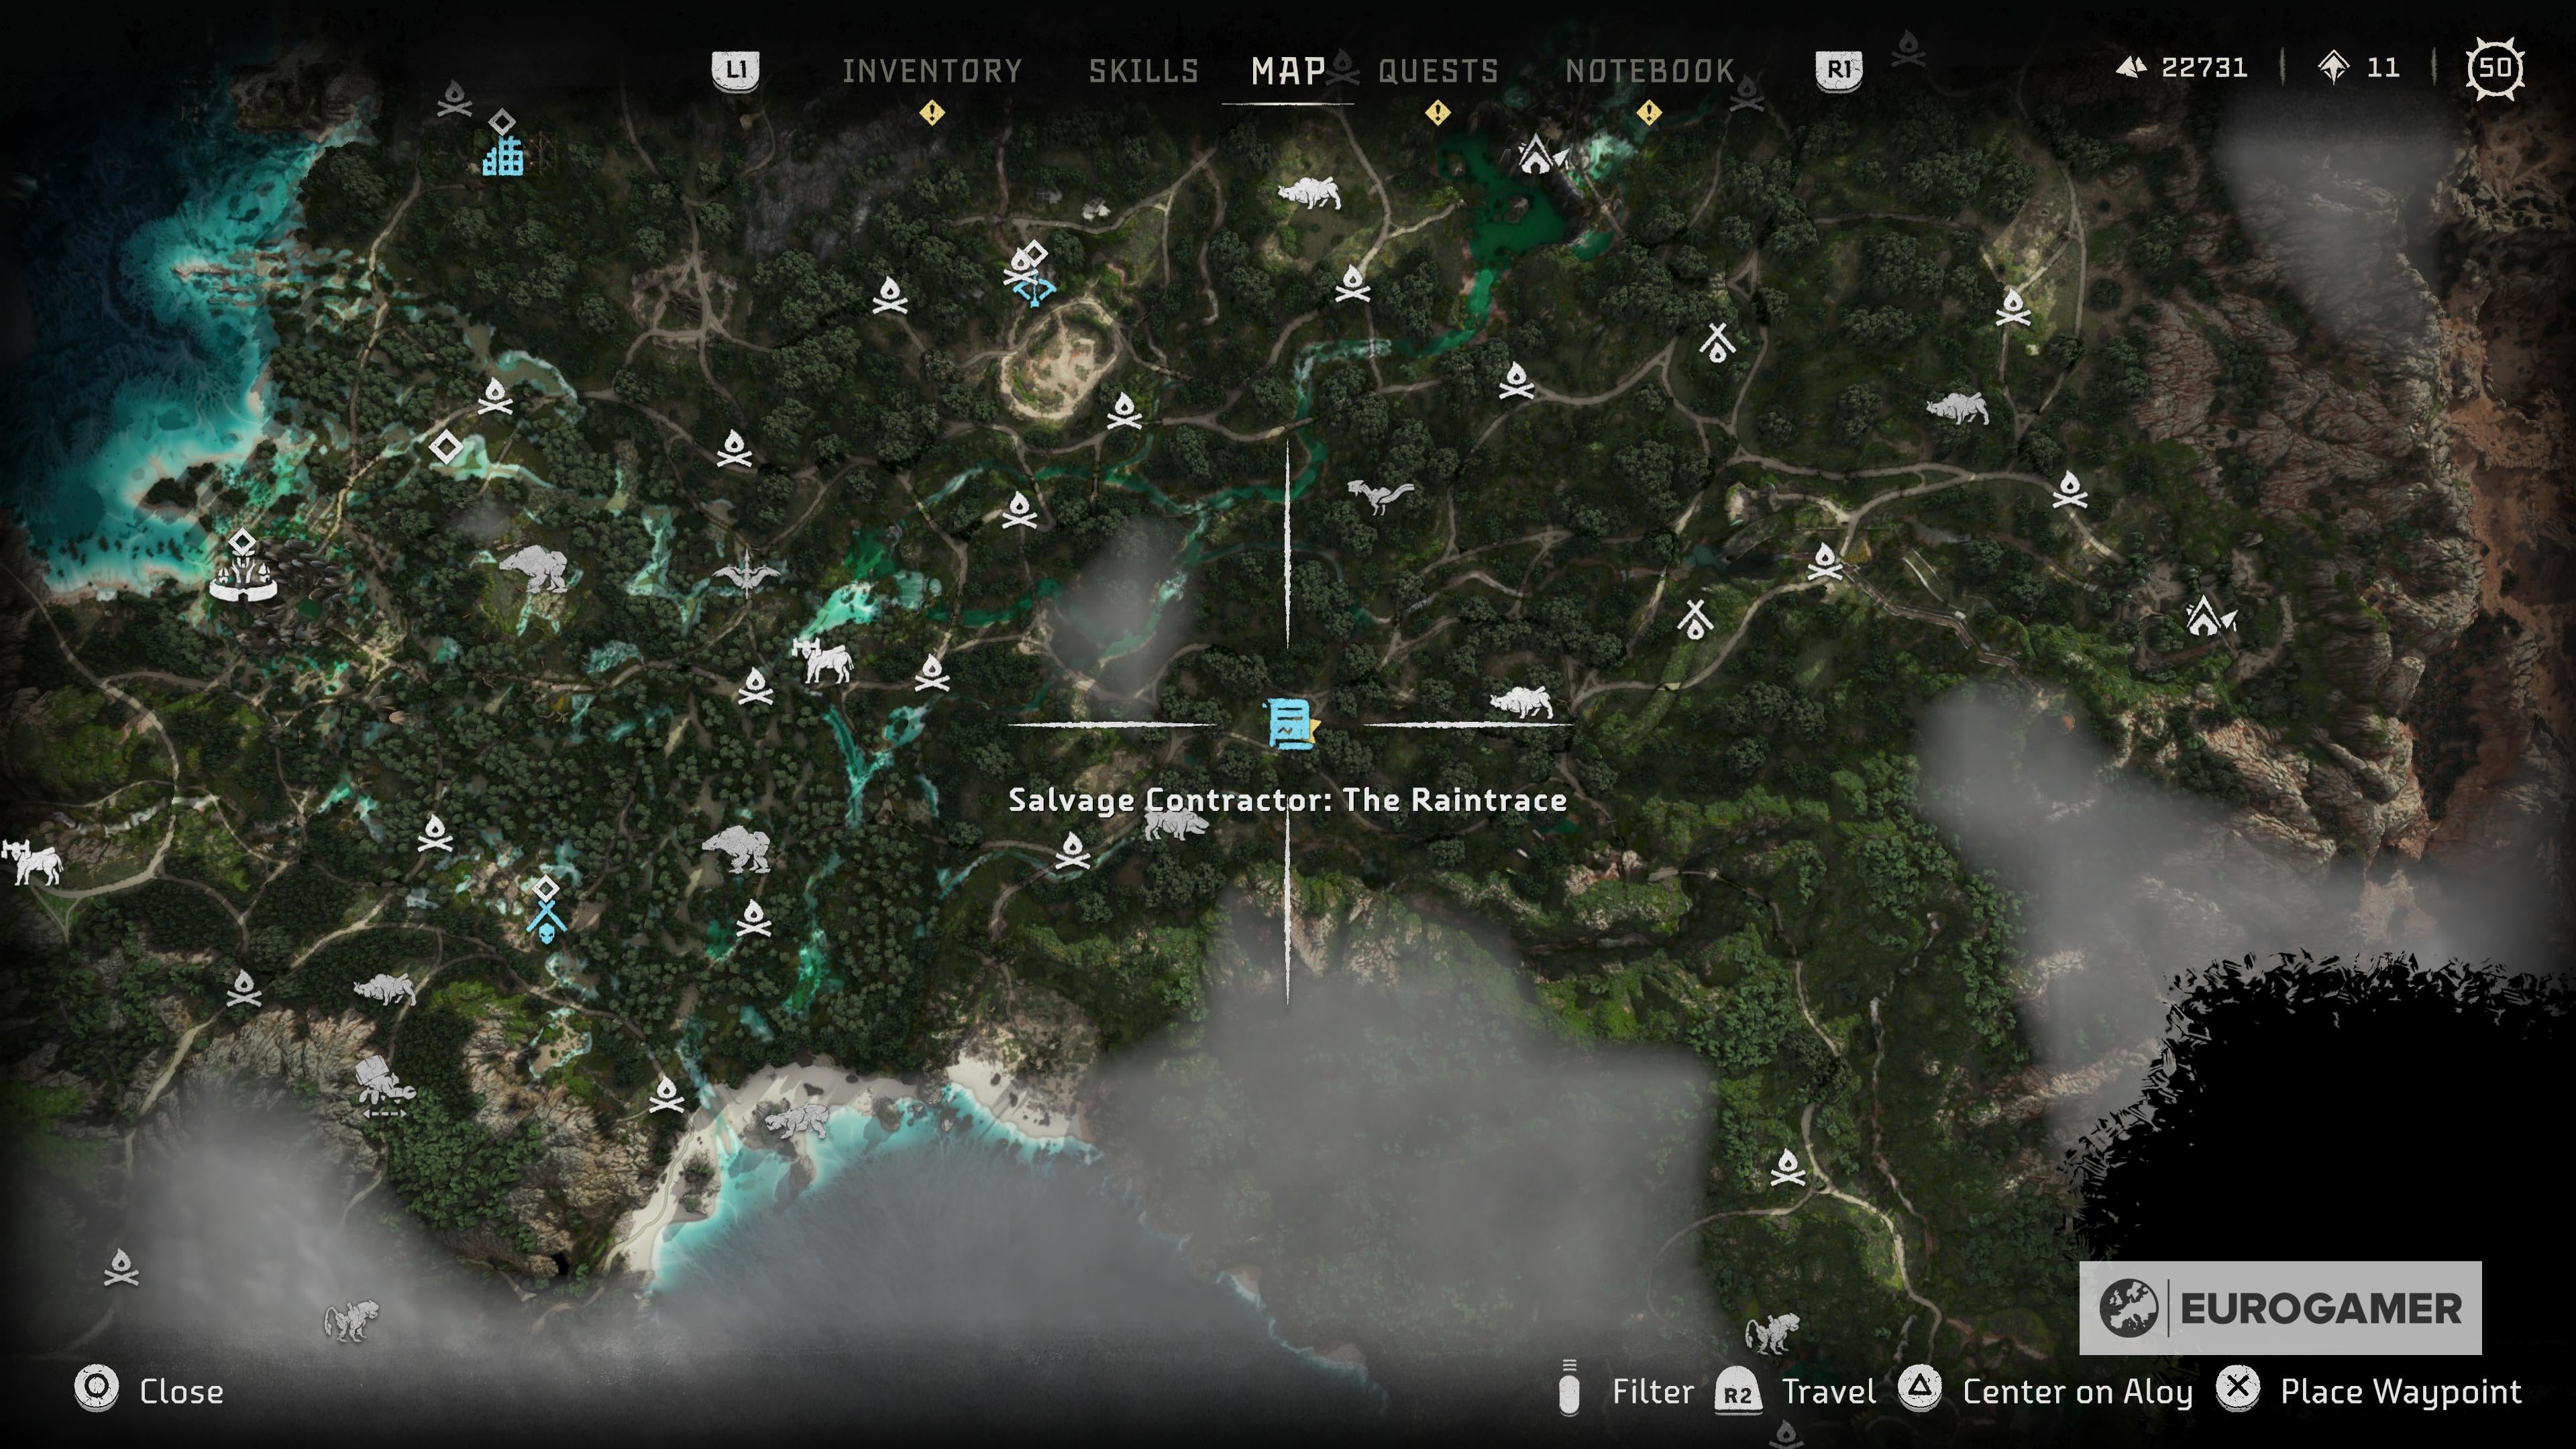
Lost Supplies For this contract, Runda asks Aloy to find their lost supplies that have been scattered out in the desert. To find the supplies, you will need to override a Bristleback. Follow the markers to the different supply locations and let the Bristleback dig around. Collect the supplies and return to Runda. Pristine Bellowback For this contract, Runda needs a Bellowback’s Cargo Sac, so that her people can set up a defensive perimeter around their camp. You will need to go to a nearby Bellowback site and kill a Bellowback, leaving its Cargo Sac intact. Bring the Sac back to Runda. Missing Gear Runda asks Aloy for help in retrieving their missing gear. The gear location will be west of Camp Nowhere. Get there and look for a broken-down cart in the sand. Investigate the cart and the nearby debris, then highlight and follow the machine tracks to a Sunwing nest. The missing gear will be a scrap pile. You can either quietly loot the pile or fight the Sunwing. Return the missing gear to Runda. Rollerback Salvage With her camp having everything they need, Runda asks Aloy to help her recover the Rollerback salvage she needs to complete her armor. The Rollerback location will be southwest of Hidden Ember near the mountains. When you arrive at the salvage site, a Shellsnapper will come out from the sand. Defeat it and then loot the 5 pieces of salvage you need. Return to Runda with what you find. Now that he has everything she needs to make the armor, Runda gets to work. Handa will have five contracts to complete:
Ancient Relics Property Retrieval Plowhorns and Plants Ravager Cannon Speedy Lancehorns
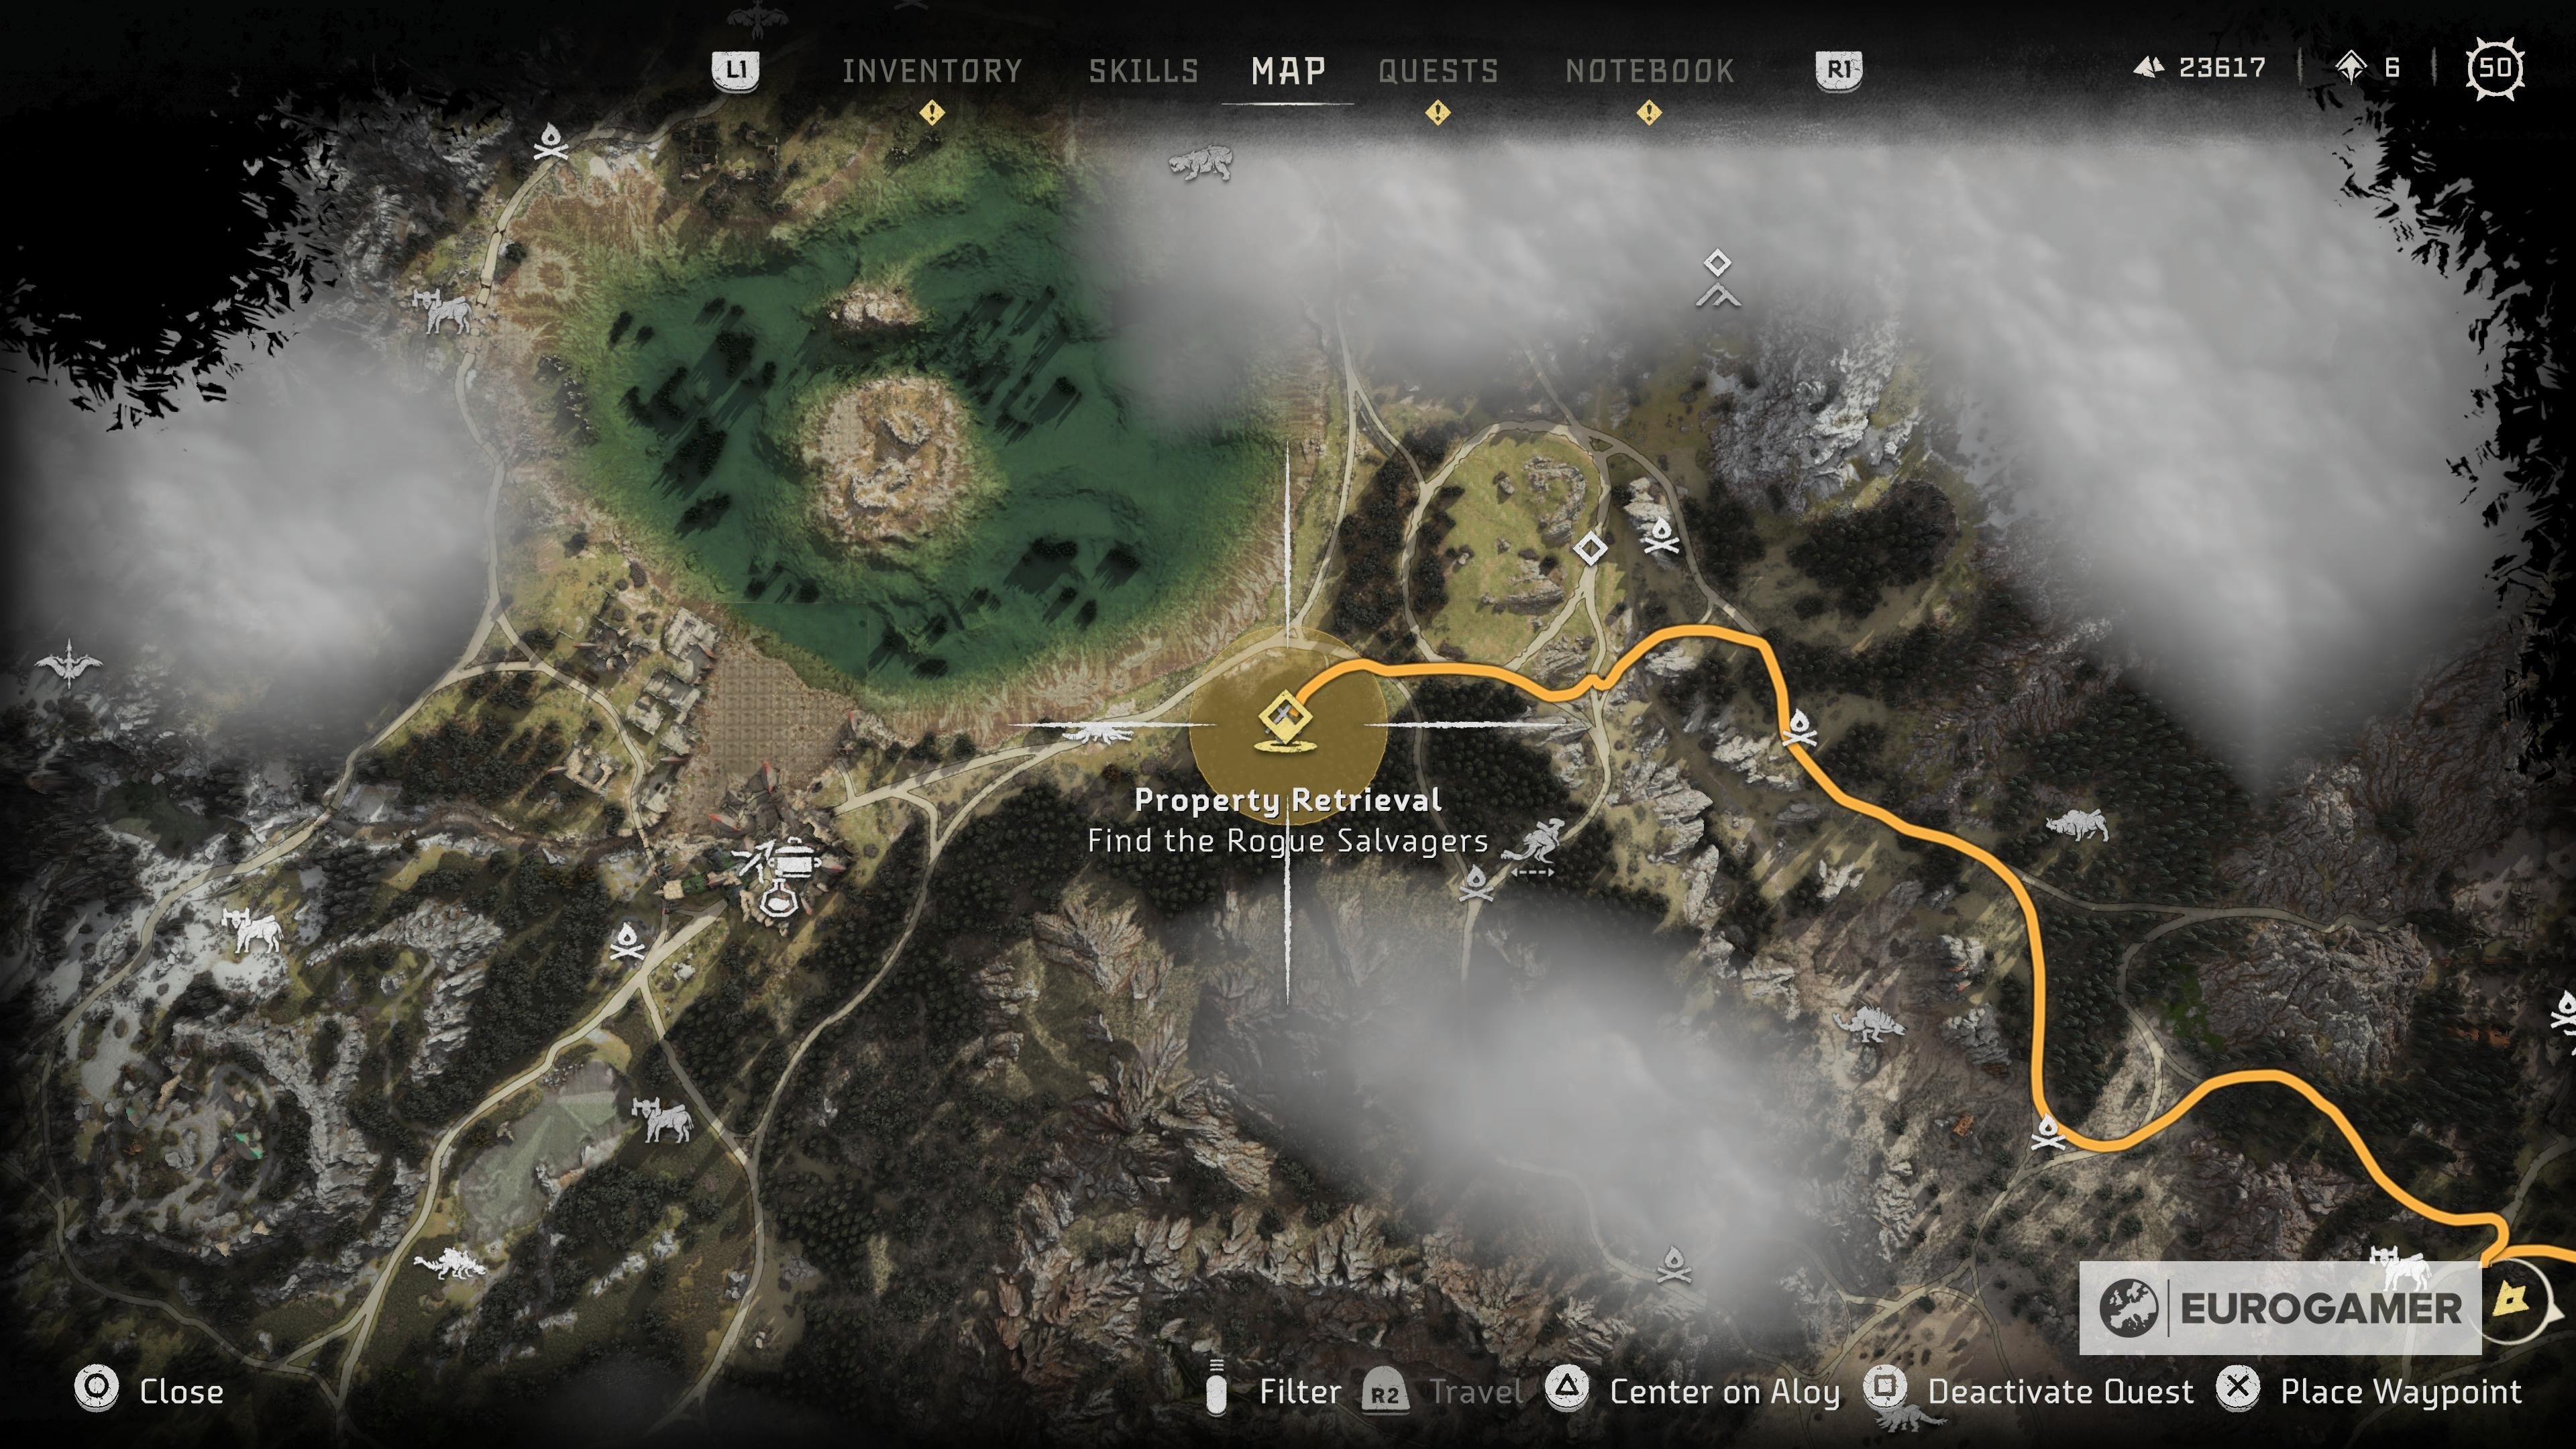
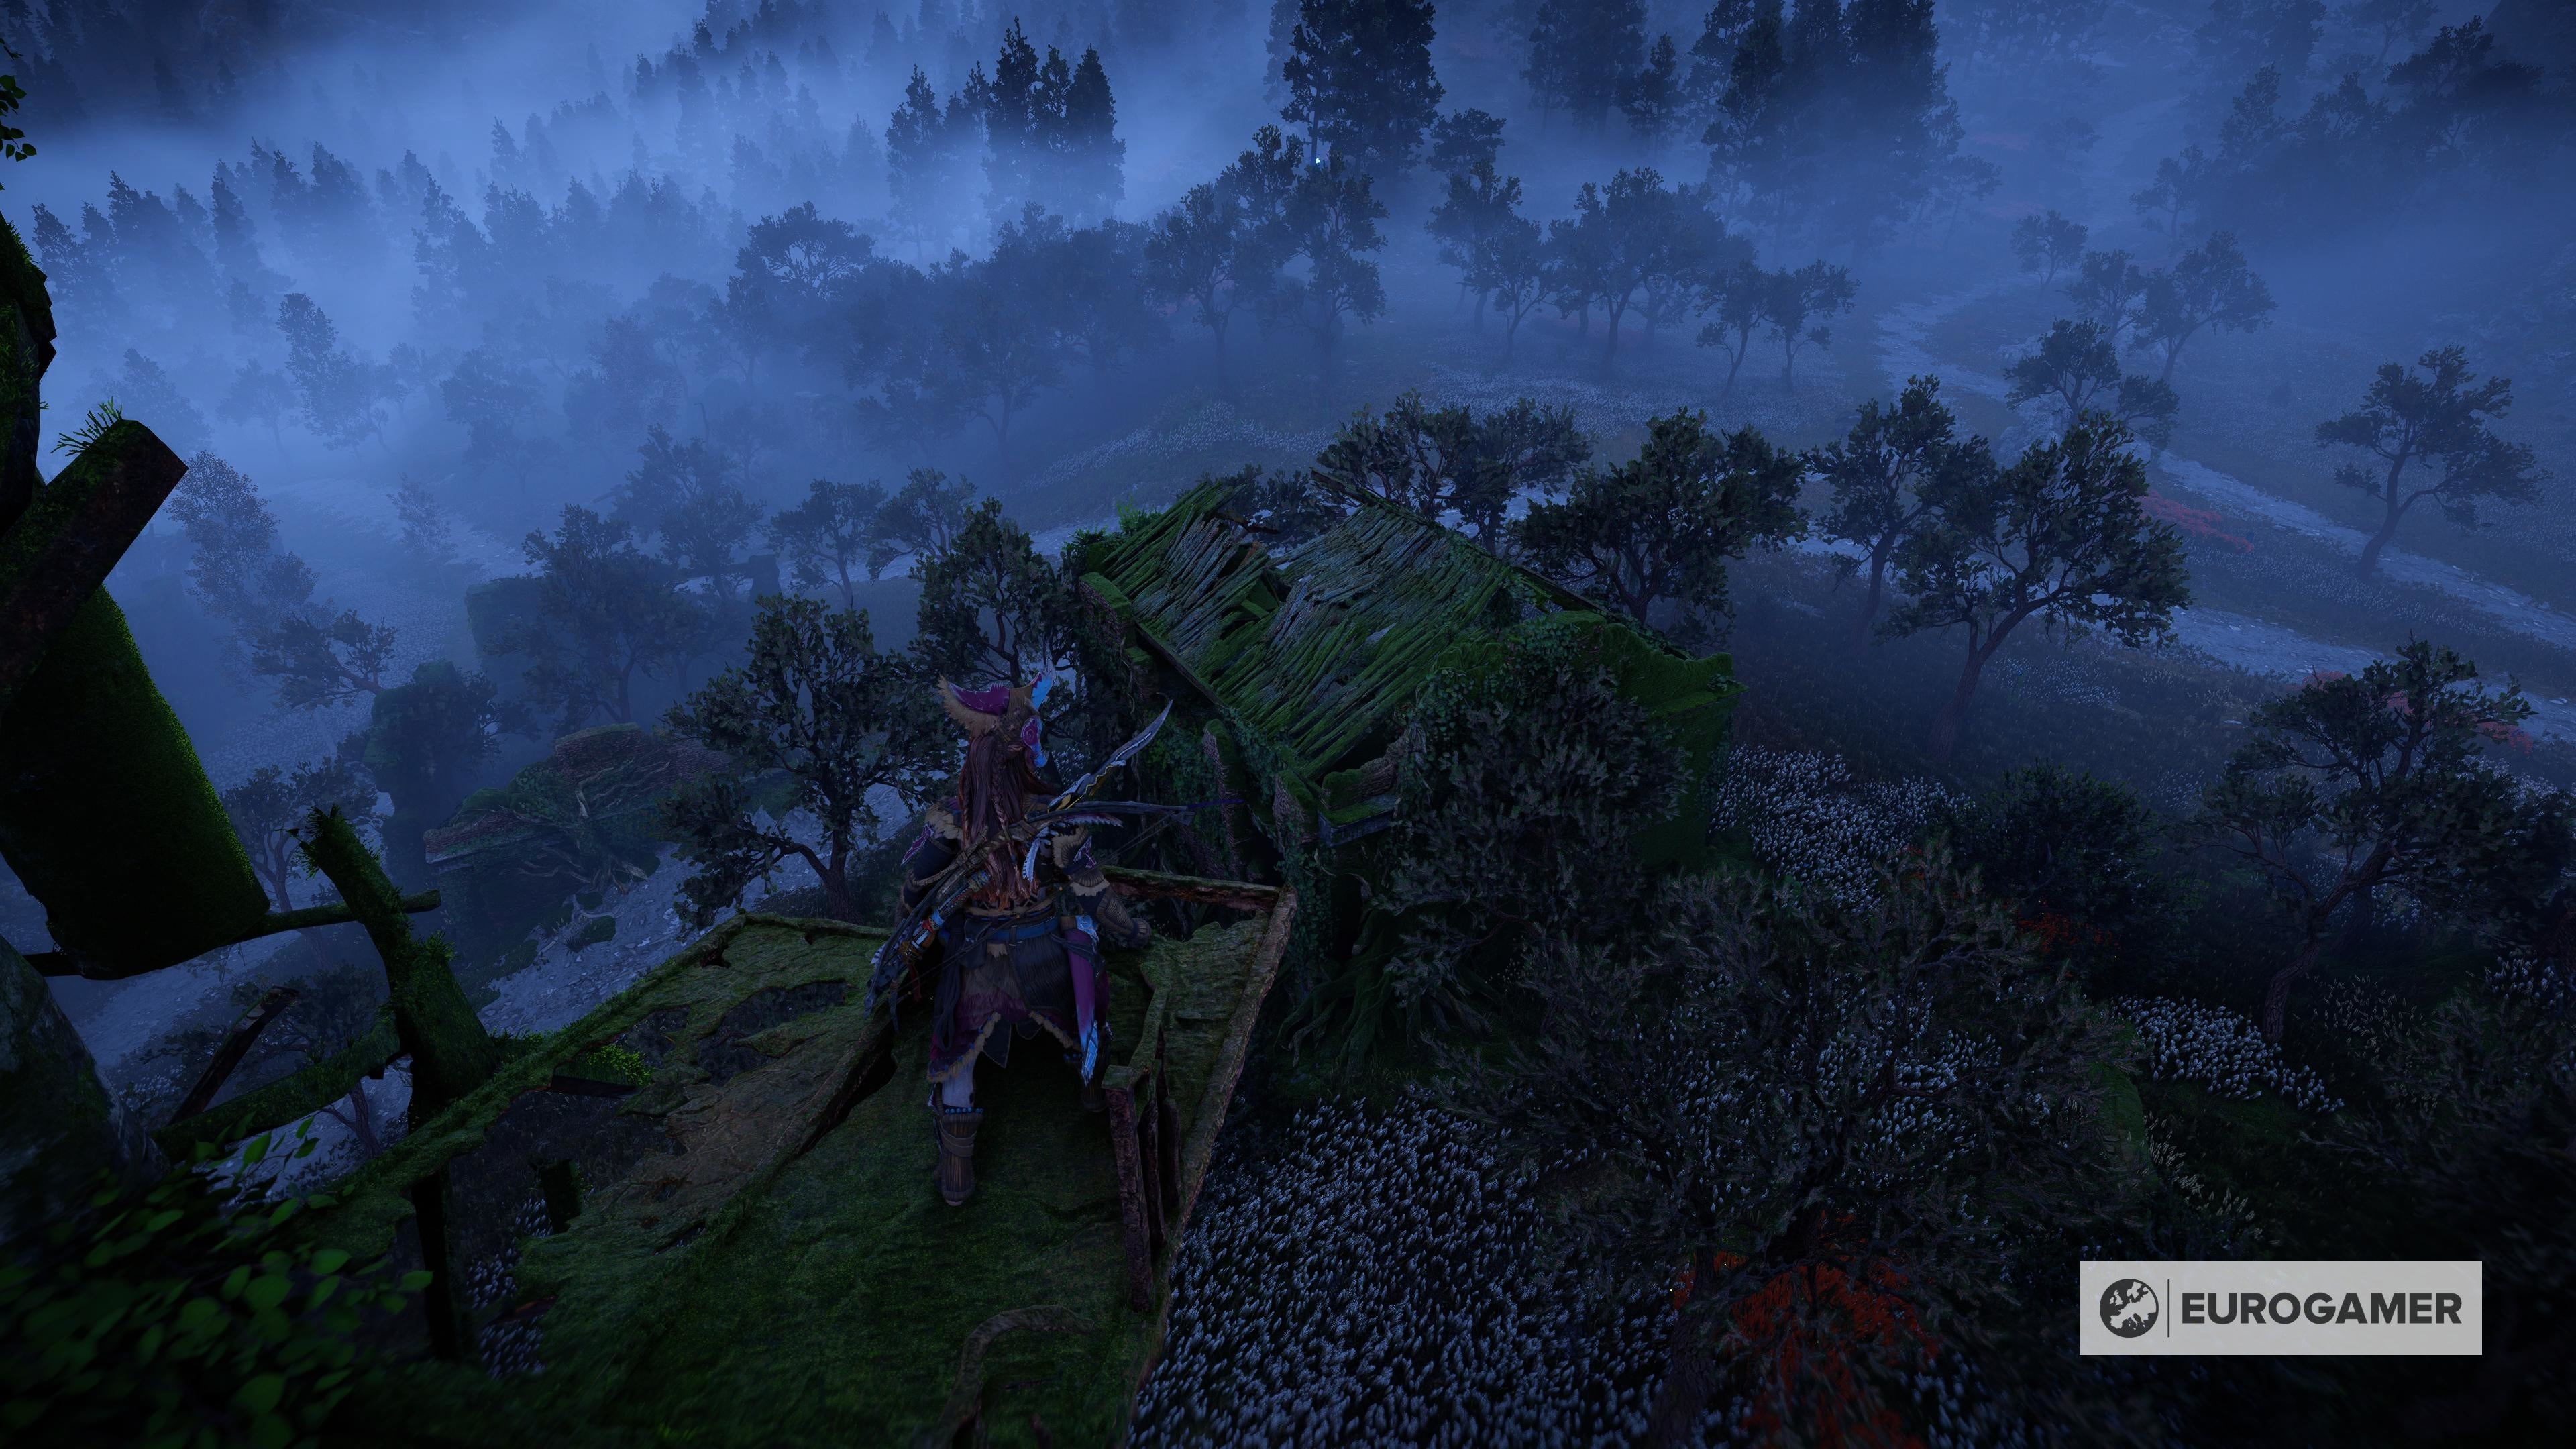
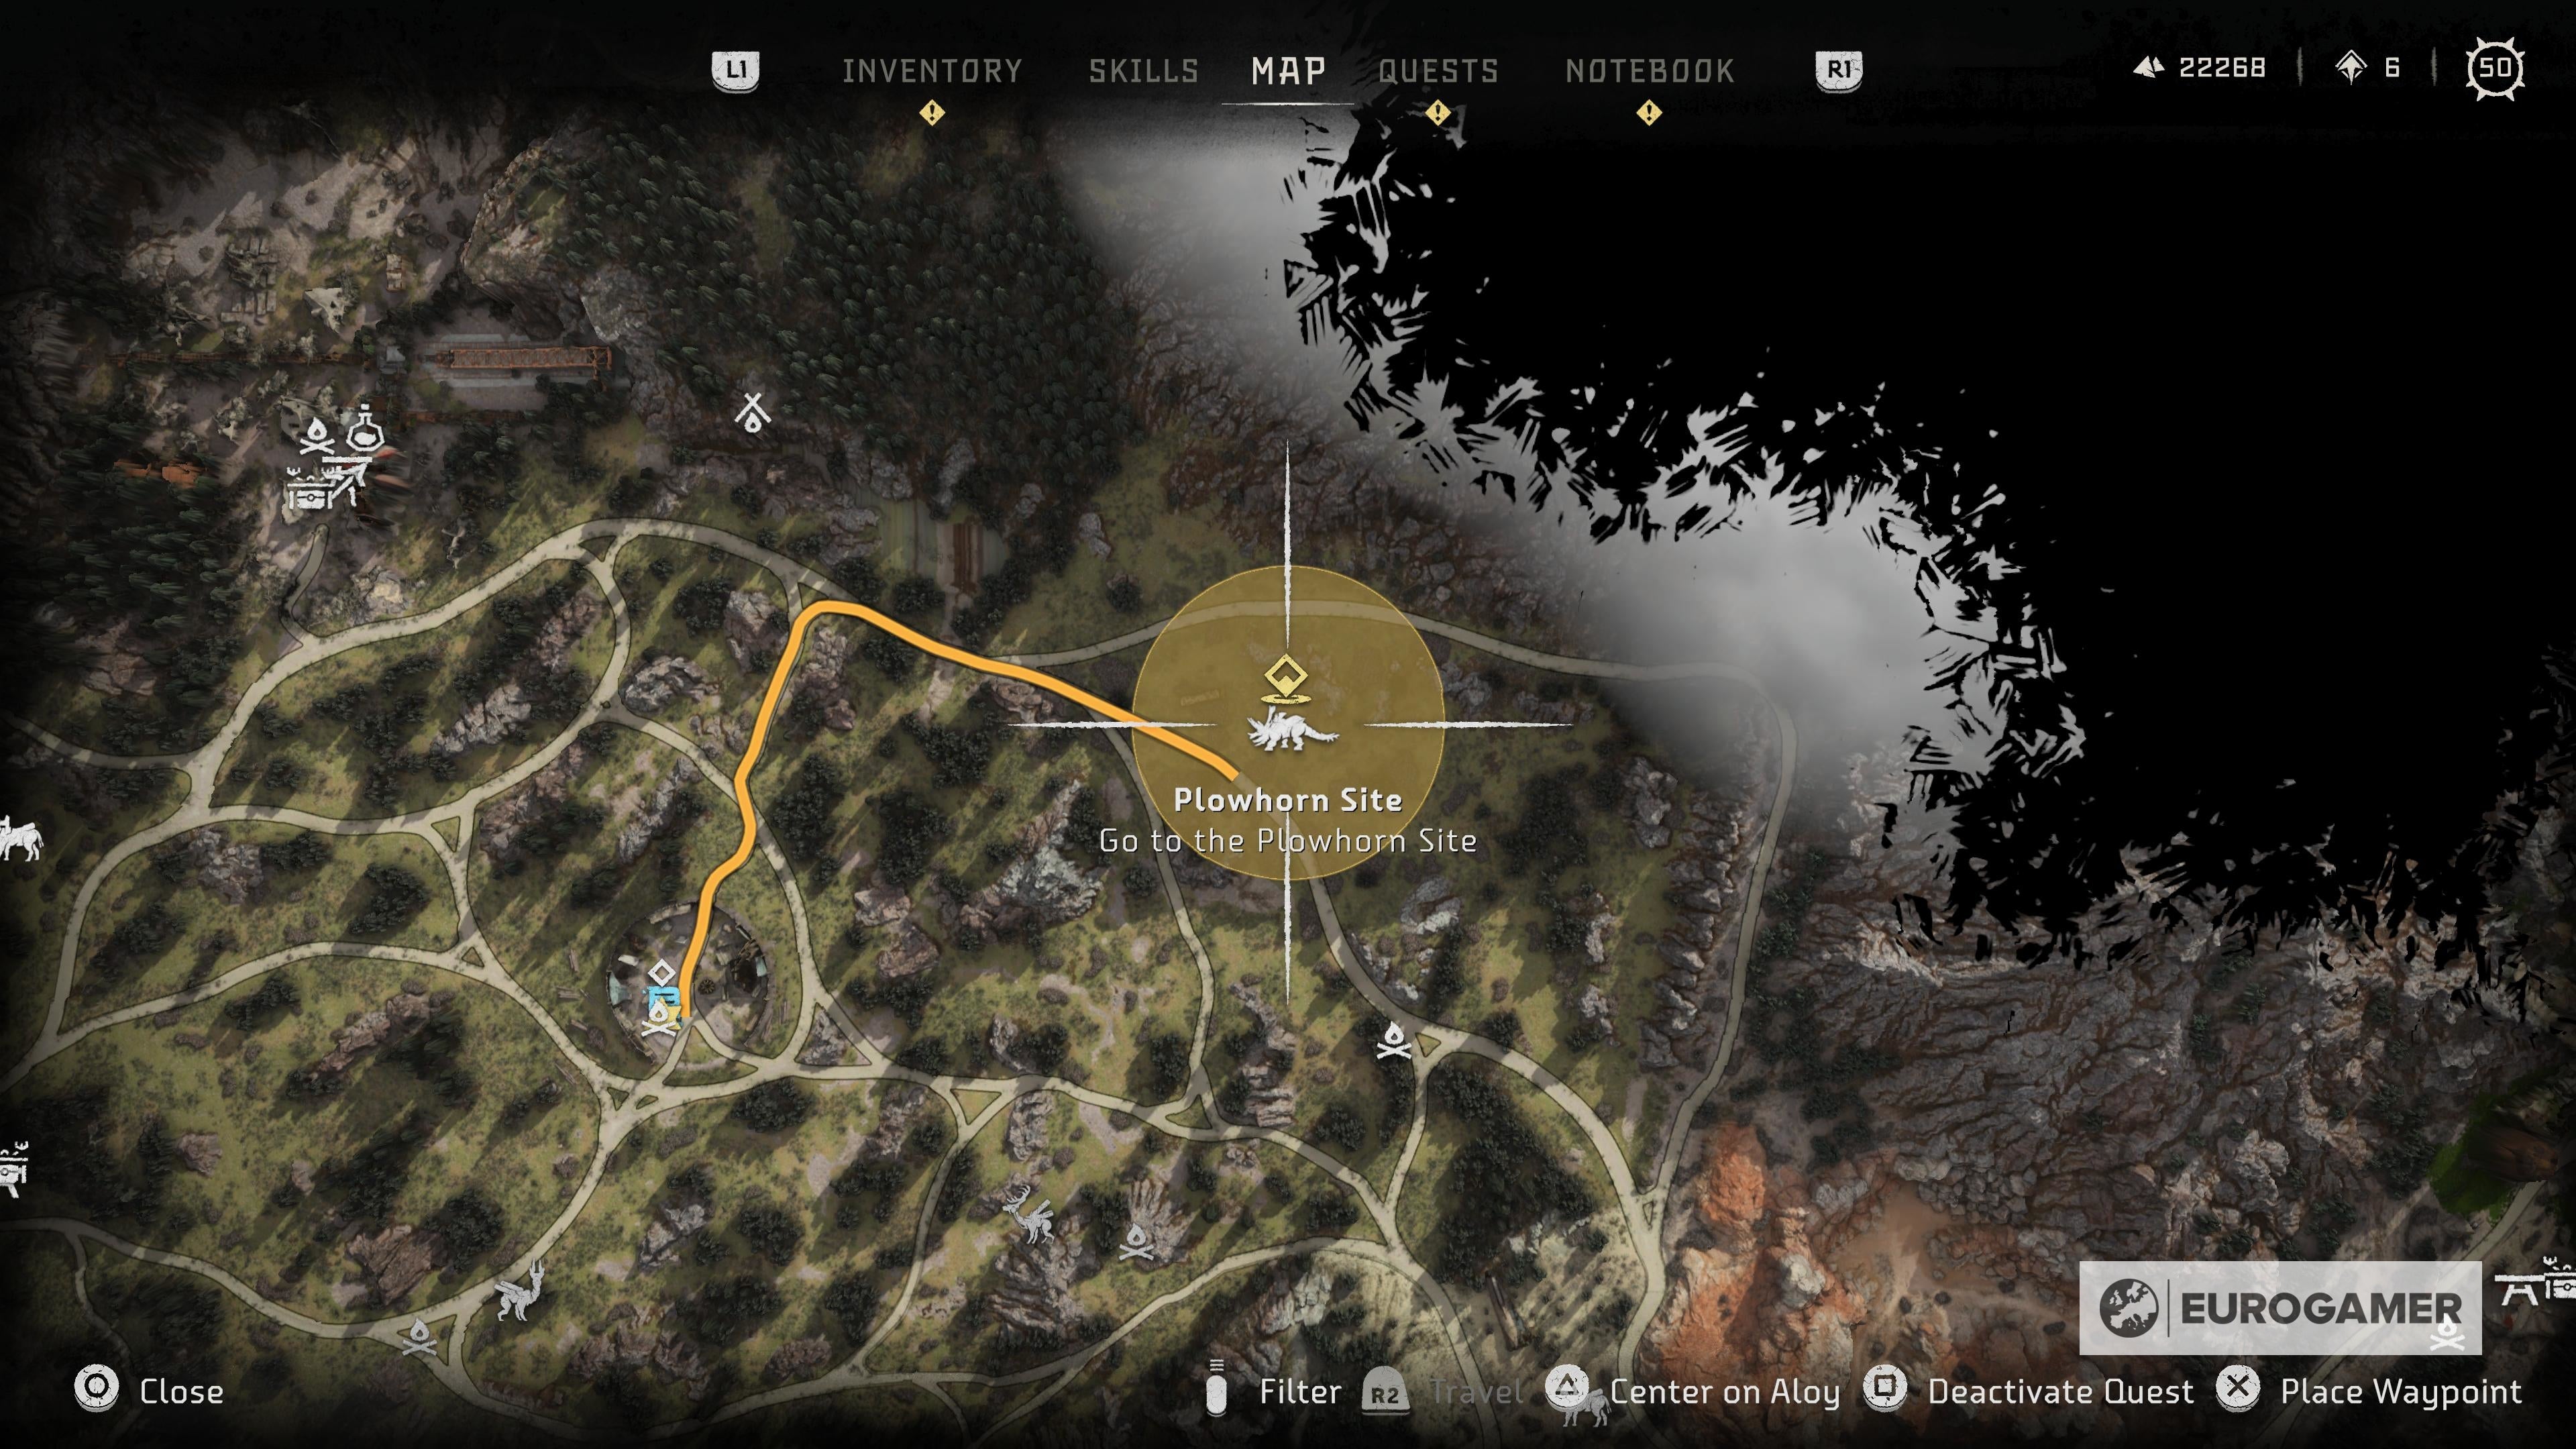
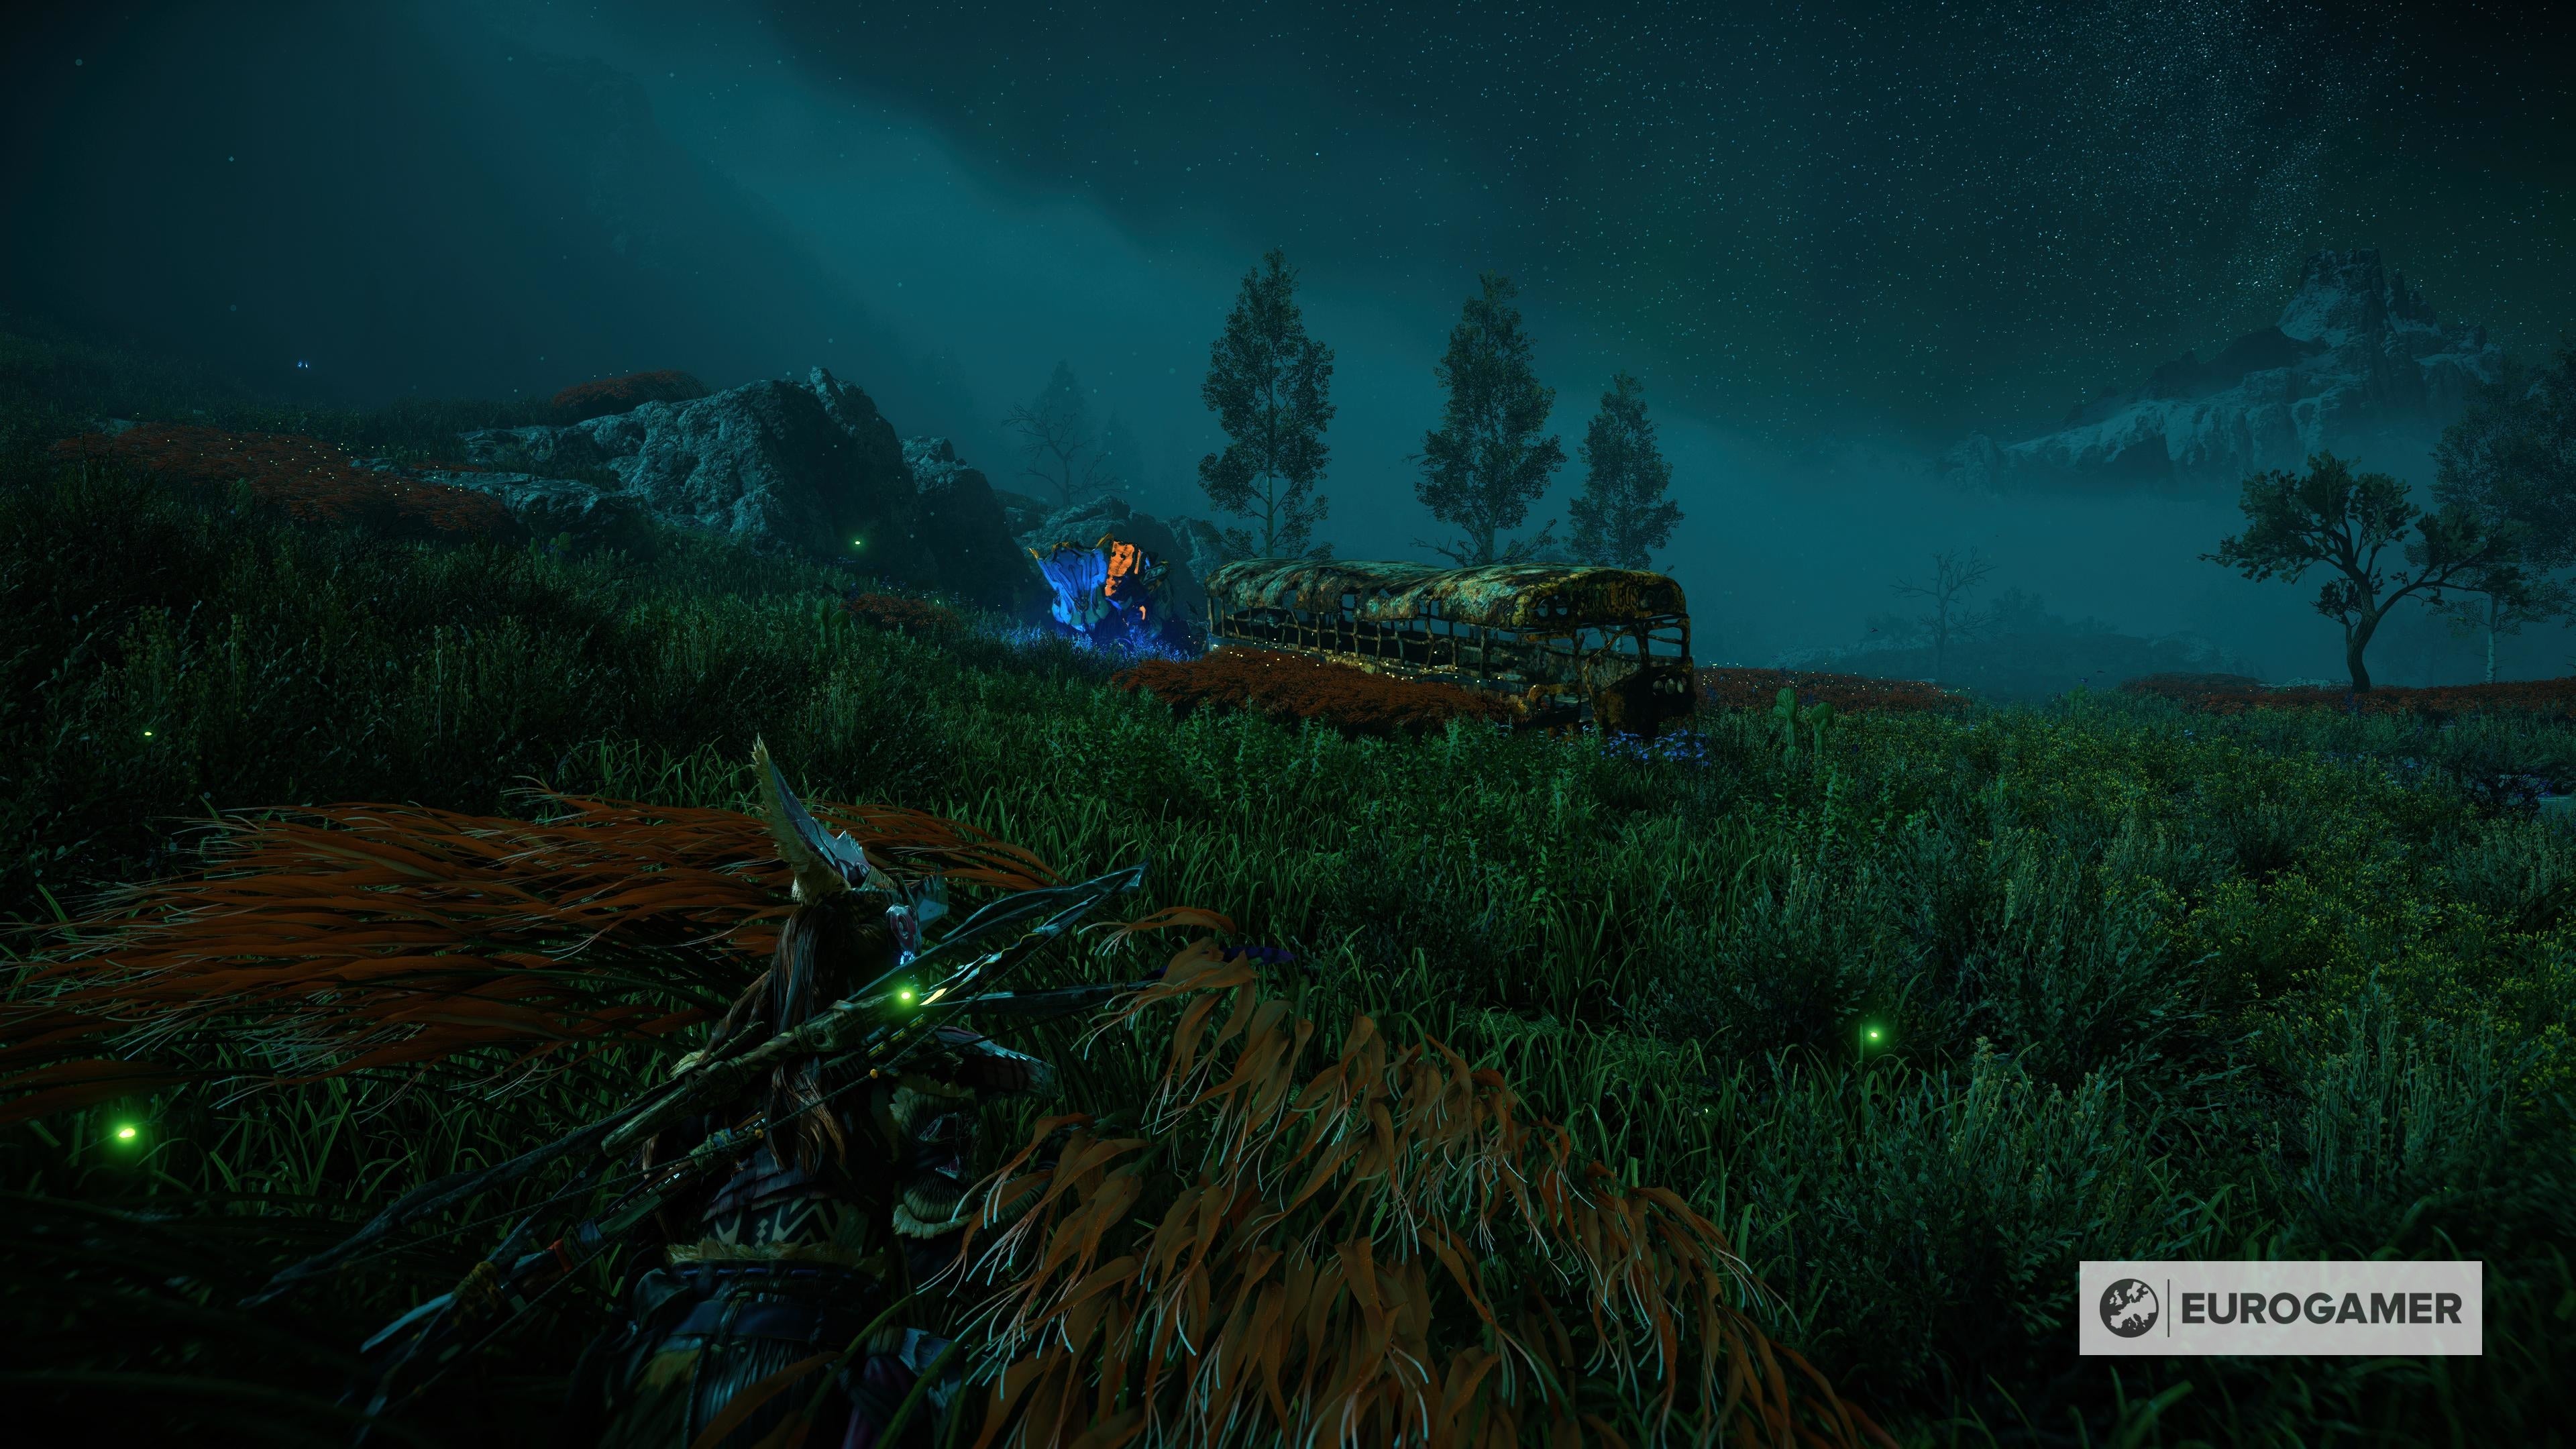
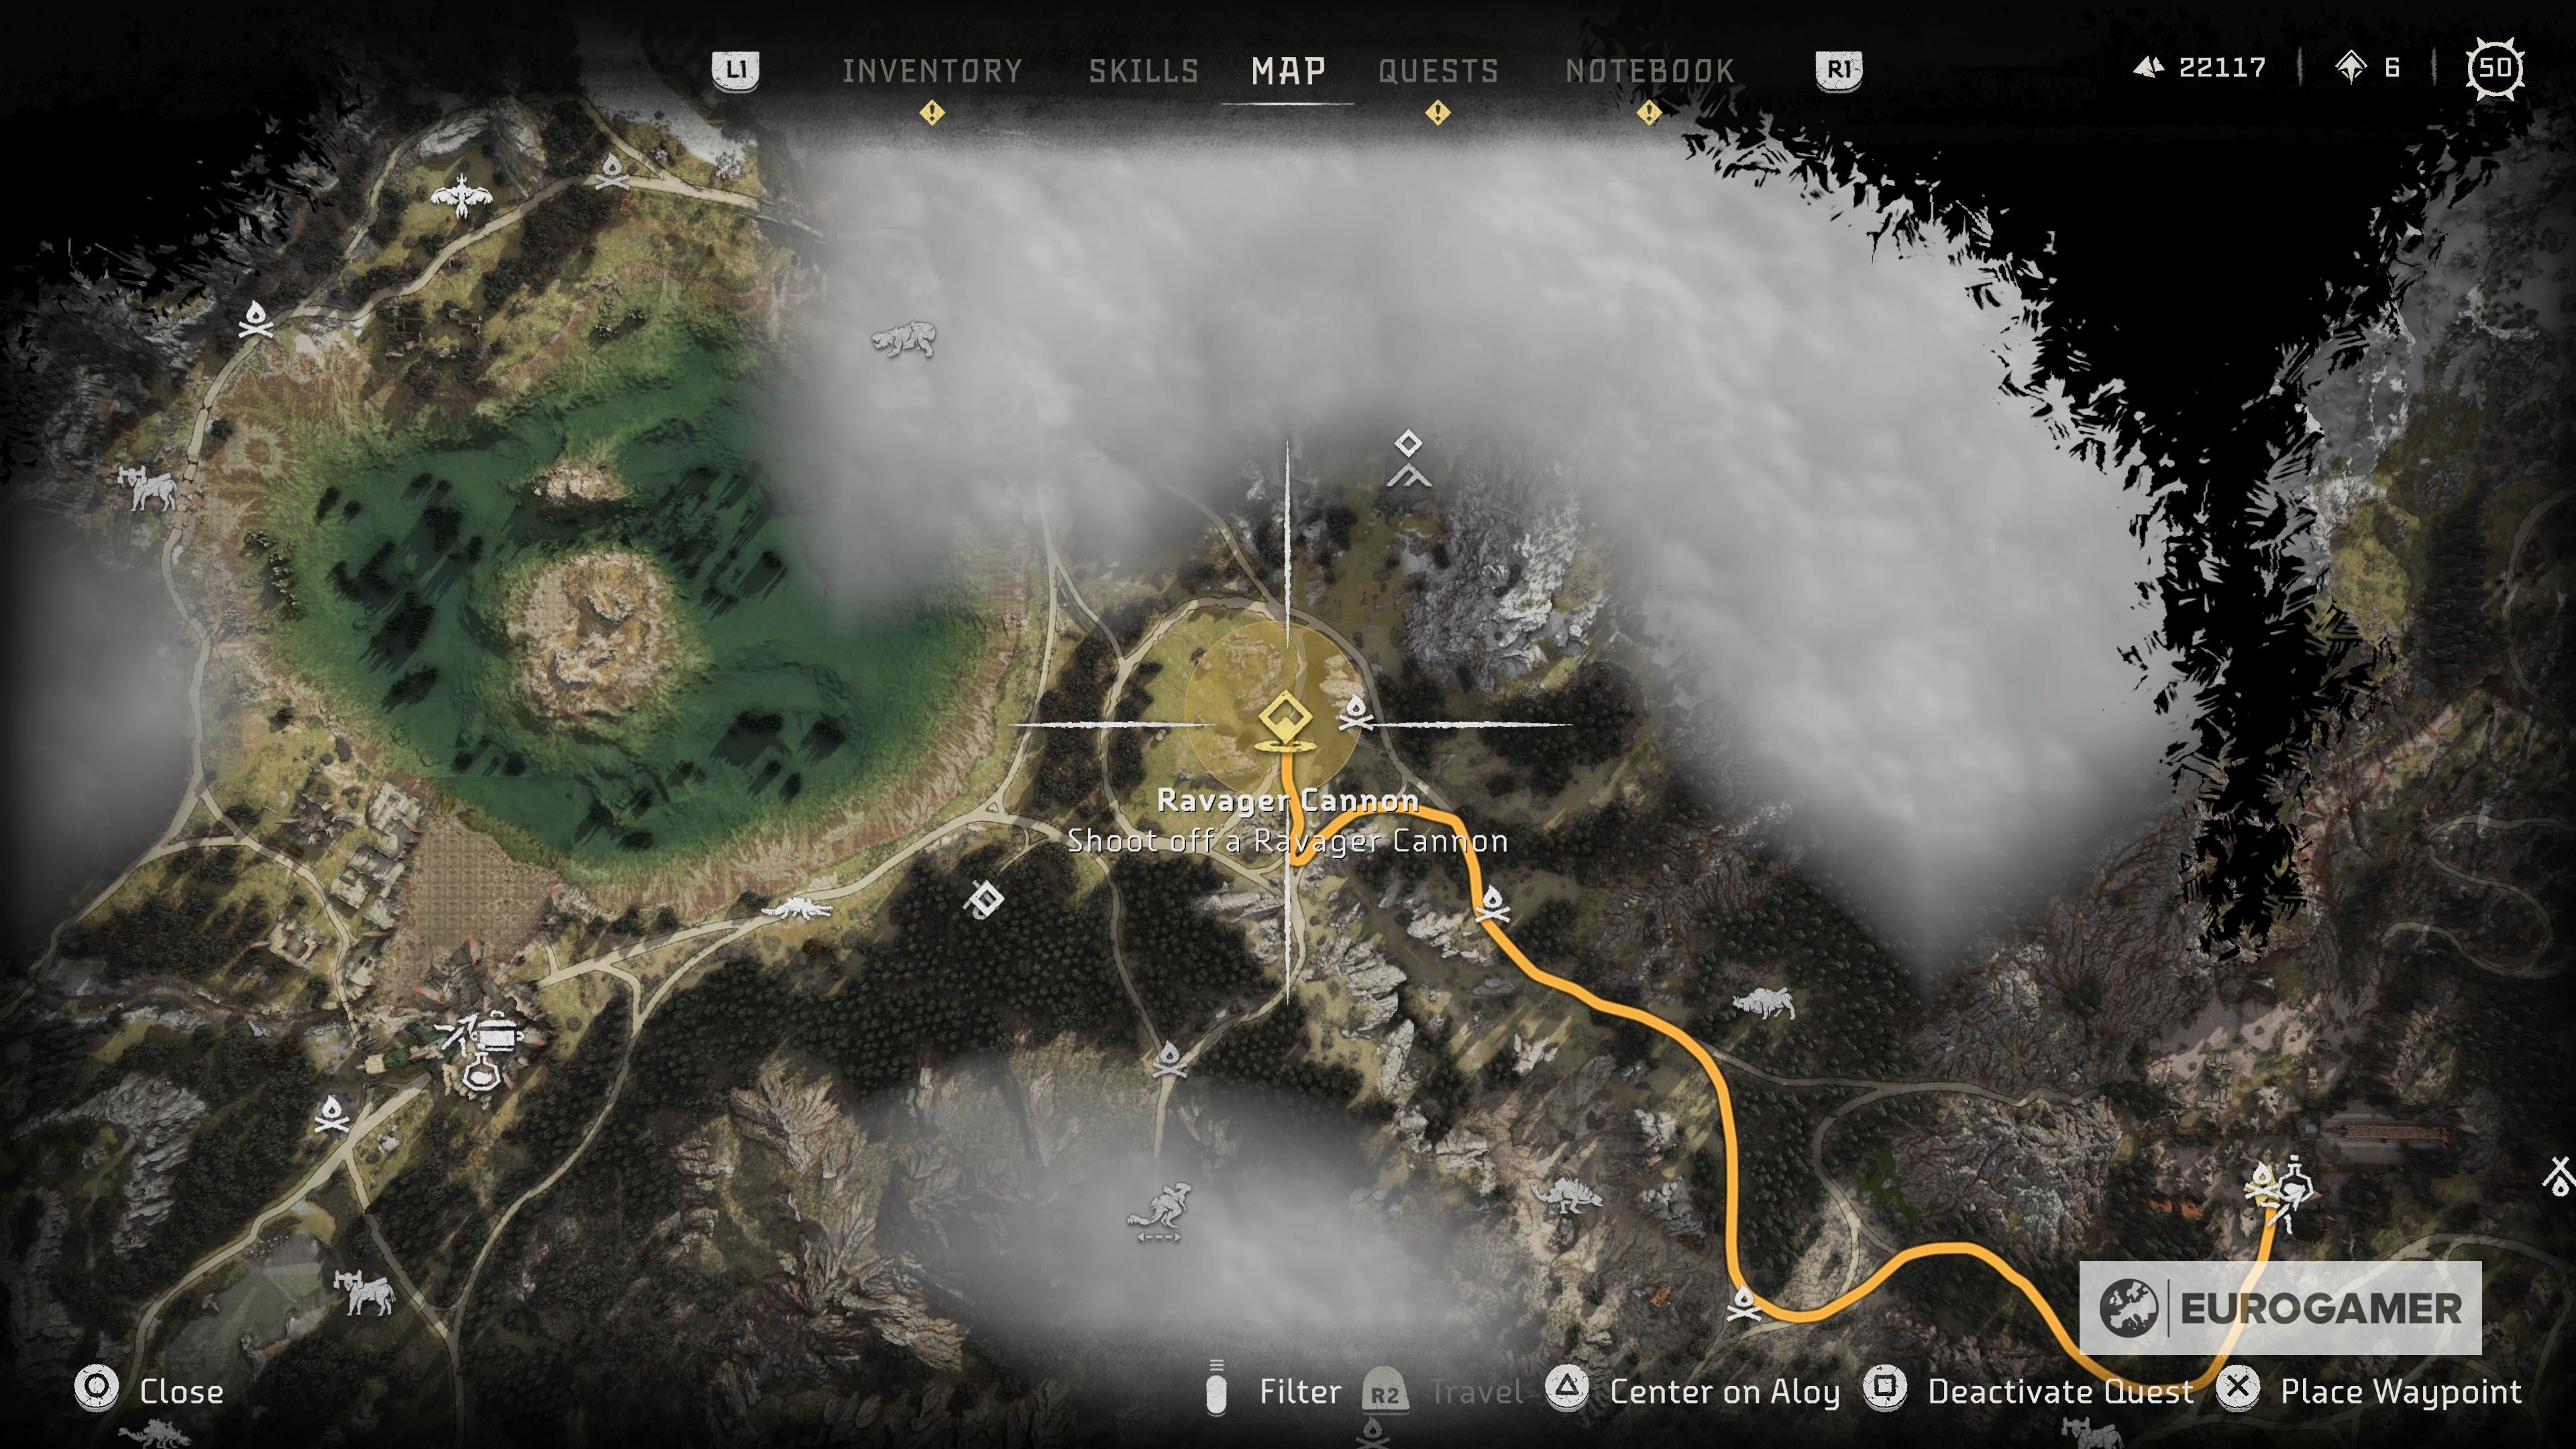
Ancient Relics For this contract, you will travel to two machine graveyards to look for machine parts. One location will be north of Handa’s camp and the other will be south. Search the Old World vehicles including tanks and cars and pry open doors, trunks, and hoods to find seven Ancient Relics. Property Retrieval Runda will ask you to look for rogue Salvagers who stole the treasure map that Handa needs so that she can finish the armor. The location of their camp will be northwest of Bleeding Mark. When you arrive you will find an empty camp. Search and highlight the tracks and follow them. The highlighted path will become erratic, due to the Snapmaws in the area, and then you will find the bodies of the rogue Salvagers. Search the bodies to retrieve the map, then follow the map to the Ancient Ruins. To get into the ruins, you will need to climb the tall tower next to it and glide onto the roof. Take the salvage back to Handa. Plowhorns and Plants Handa needs help collecting Plowhorn salvage for her armor. She points you to a Plowhorn site just northeast of her camp. Along the way, she wants you to collect medicinal berries so she can concoct a special Utaru drink. Collecting the berries is optional At the Plowhorn site, kill two Plowhorns and loot them. Take the salvage back to Handa. Ravager Cannon Handa needs an intact Ravager Cannon for her armor and asks Aloy to secure one for her. The Ravager site will be northwest of Bleeding Mark, in almost the same area of the Property Retrieval contract. Detach the cannon from the Ravager and then kill the Ravagers. Take the cannon to the drop-off point and Handa’s people will pick it up. Return to Handa. Speedy Lancehorns To finish her armor, Handa needs Lancehorn salvage. She points you to an area southwest of her camp to find the Lancehorns. You will not be able to catch these Lacehorns on foot so you will need to be mounted to kill the Lancehorns. Once the last Lancehorn is defeated, loot them and take the salvage back to Handa. When you return back to her camp, they will be under attack by machines. Defeat the machines and talk to Handa. She will thank you for your help and will get started on making her armor. When you first encounter Danur, he and his team will be fighting off Stalkers trying to attack his camp. Help them out and then talk to Danur. He will need help securing his camp and looking for salvage to help him build his armor. Danur will have four contracts to complete:
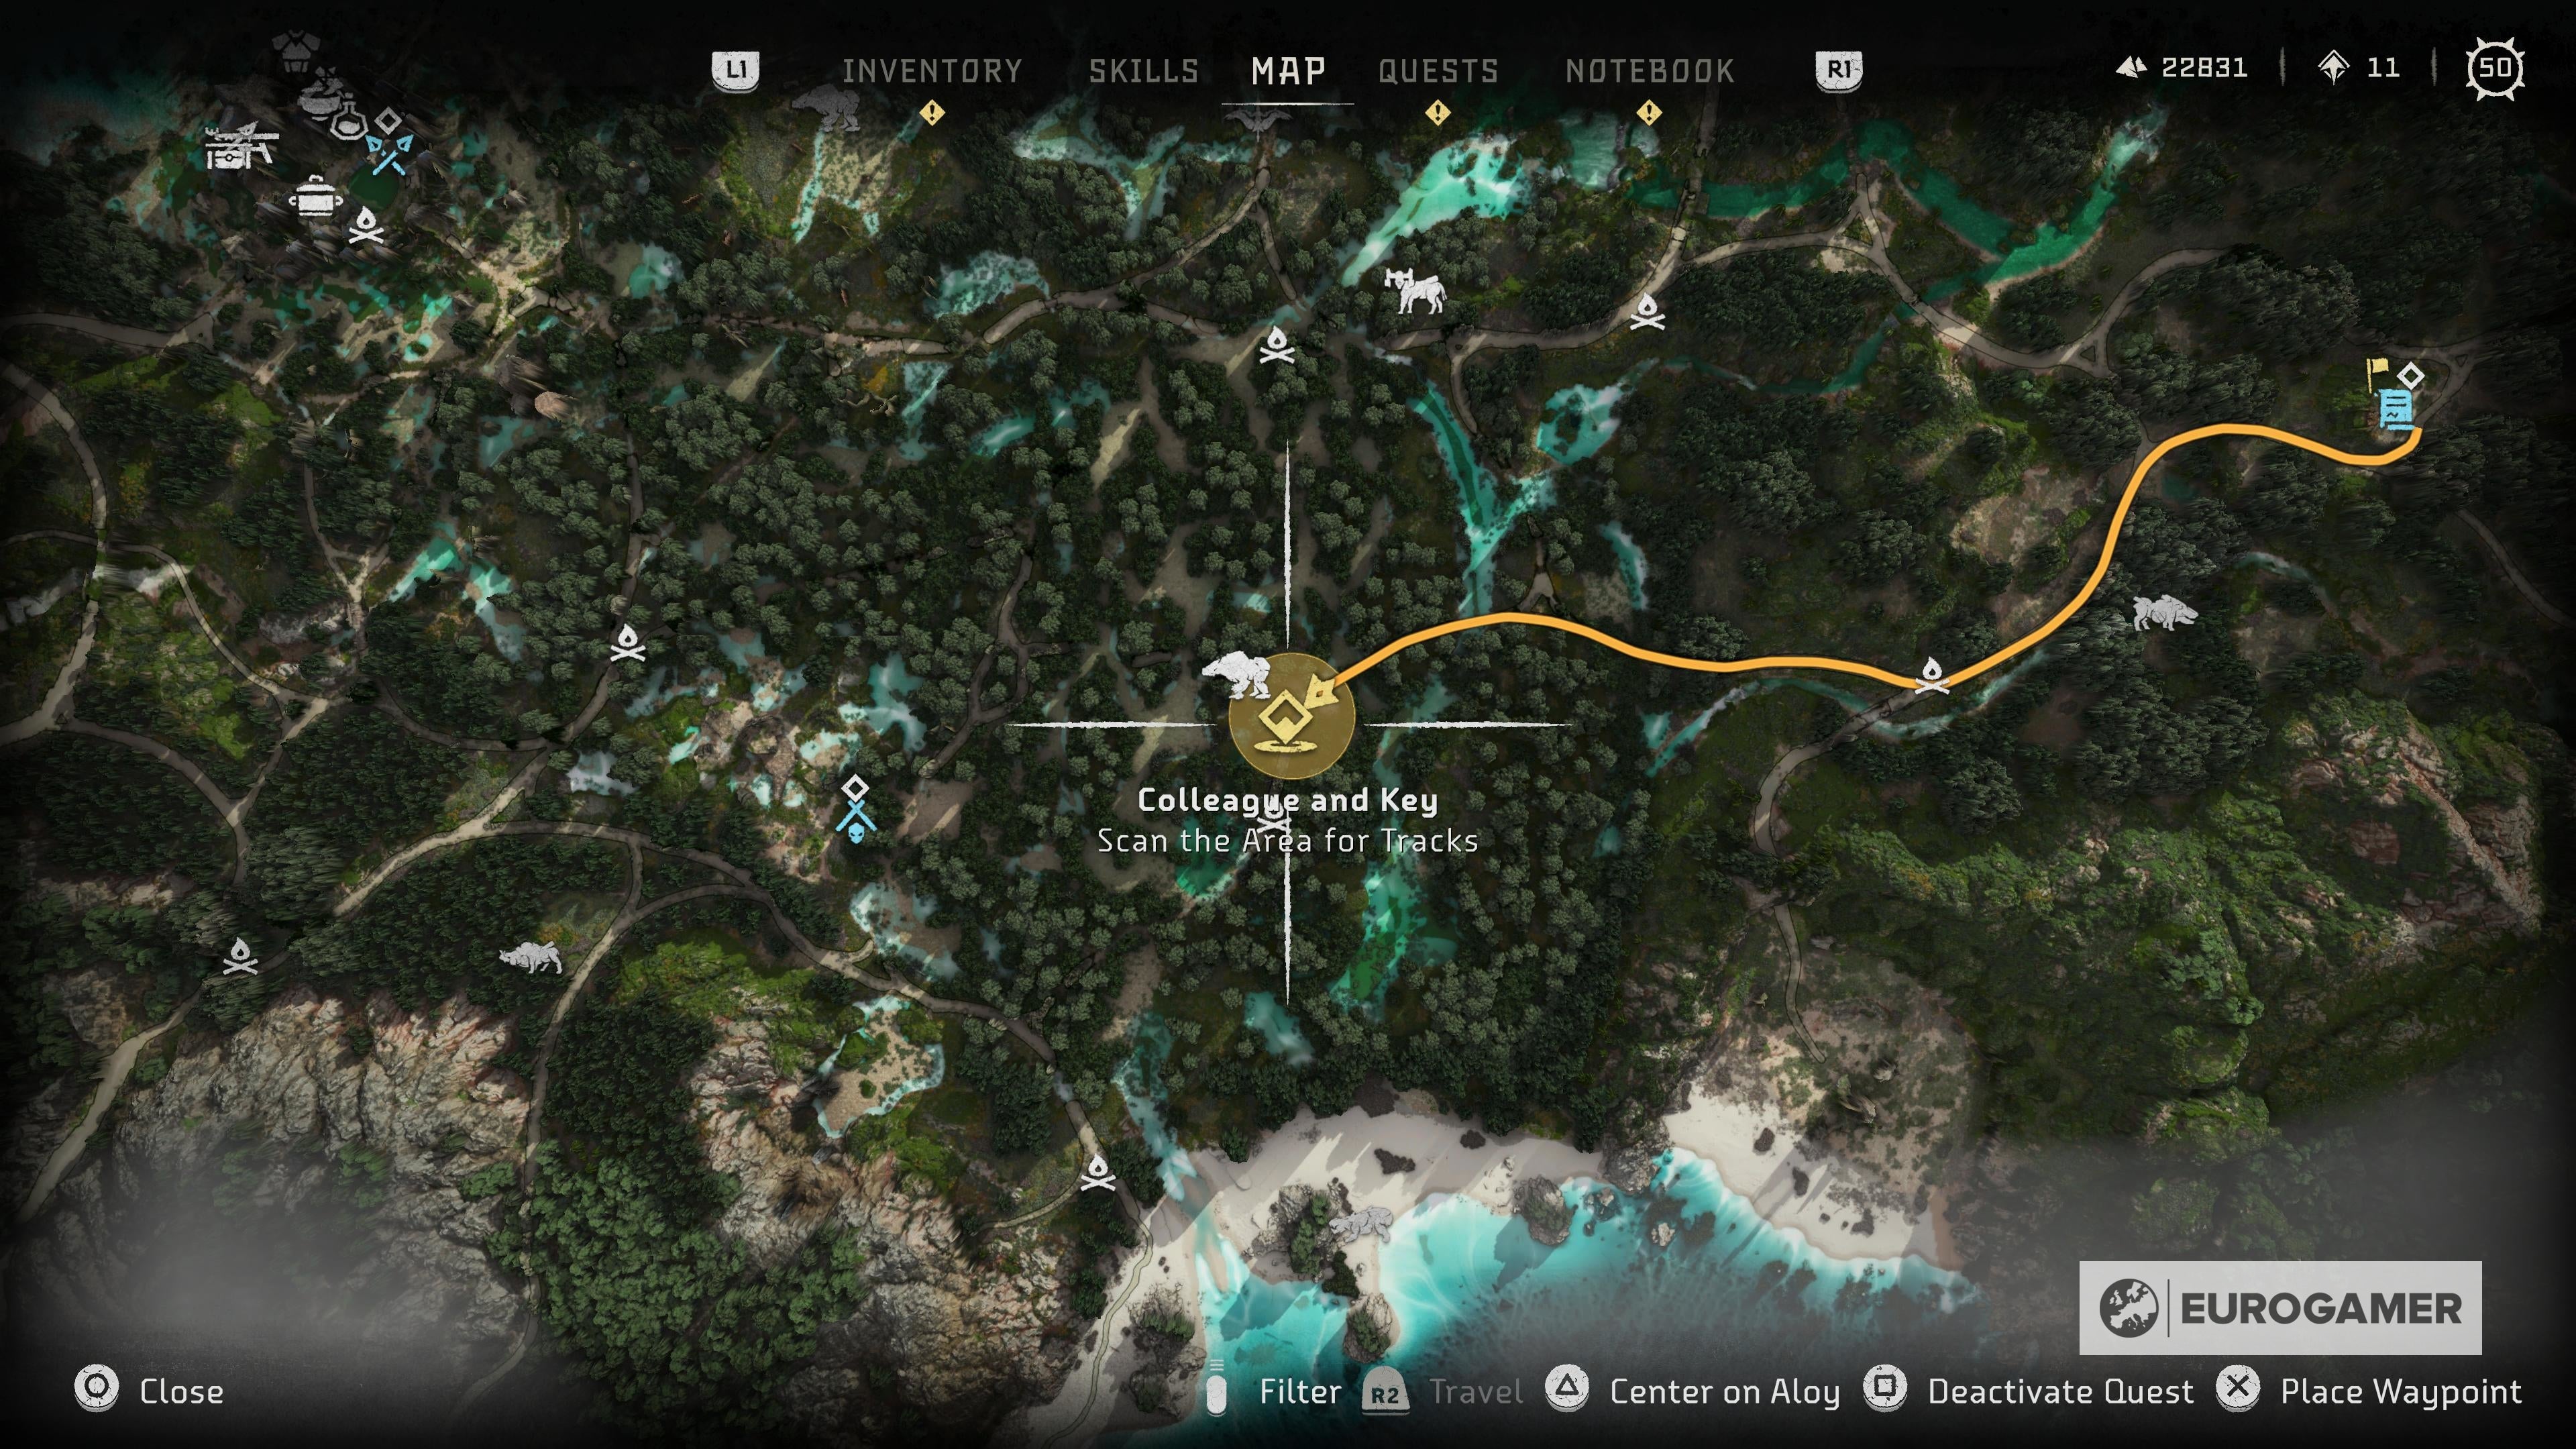
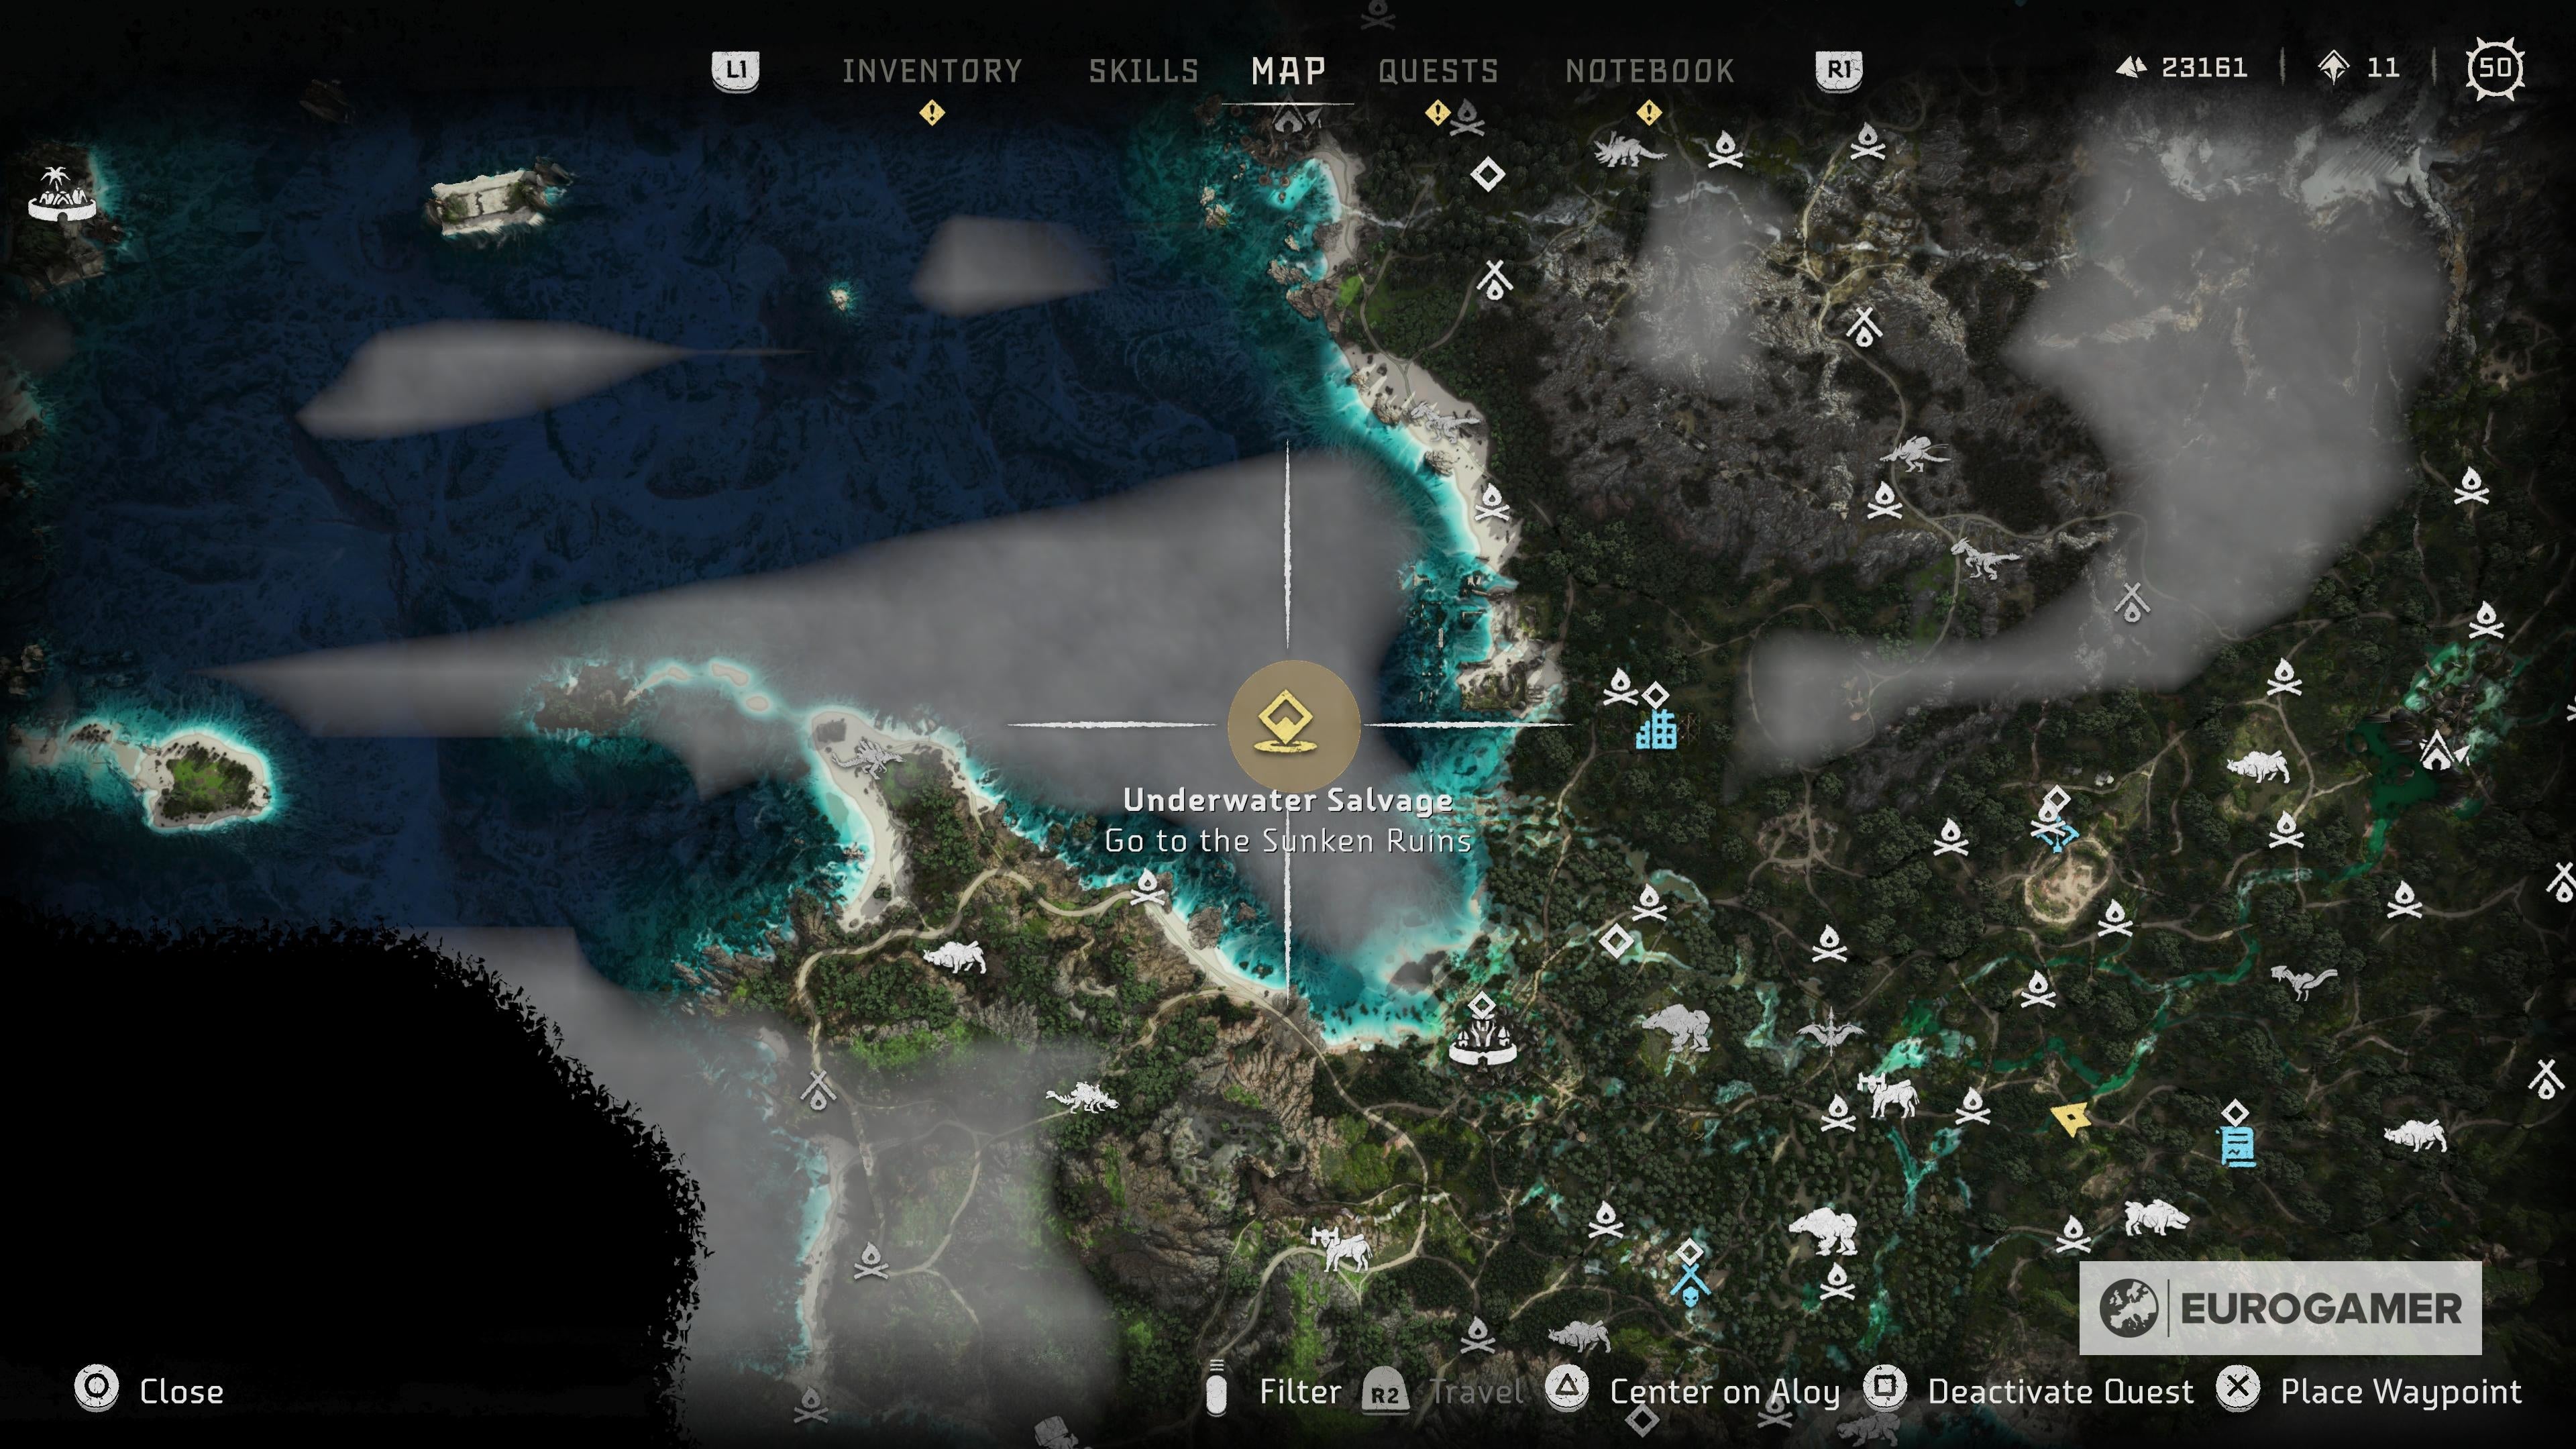
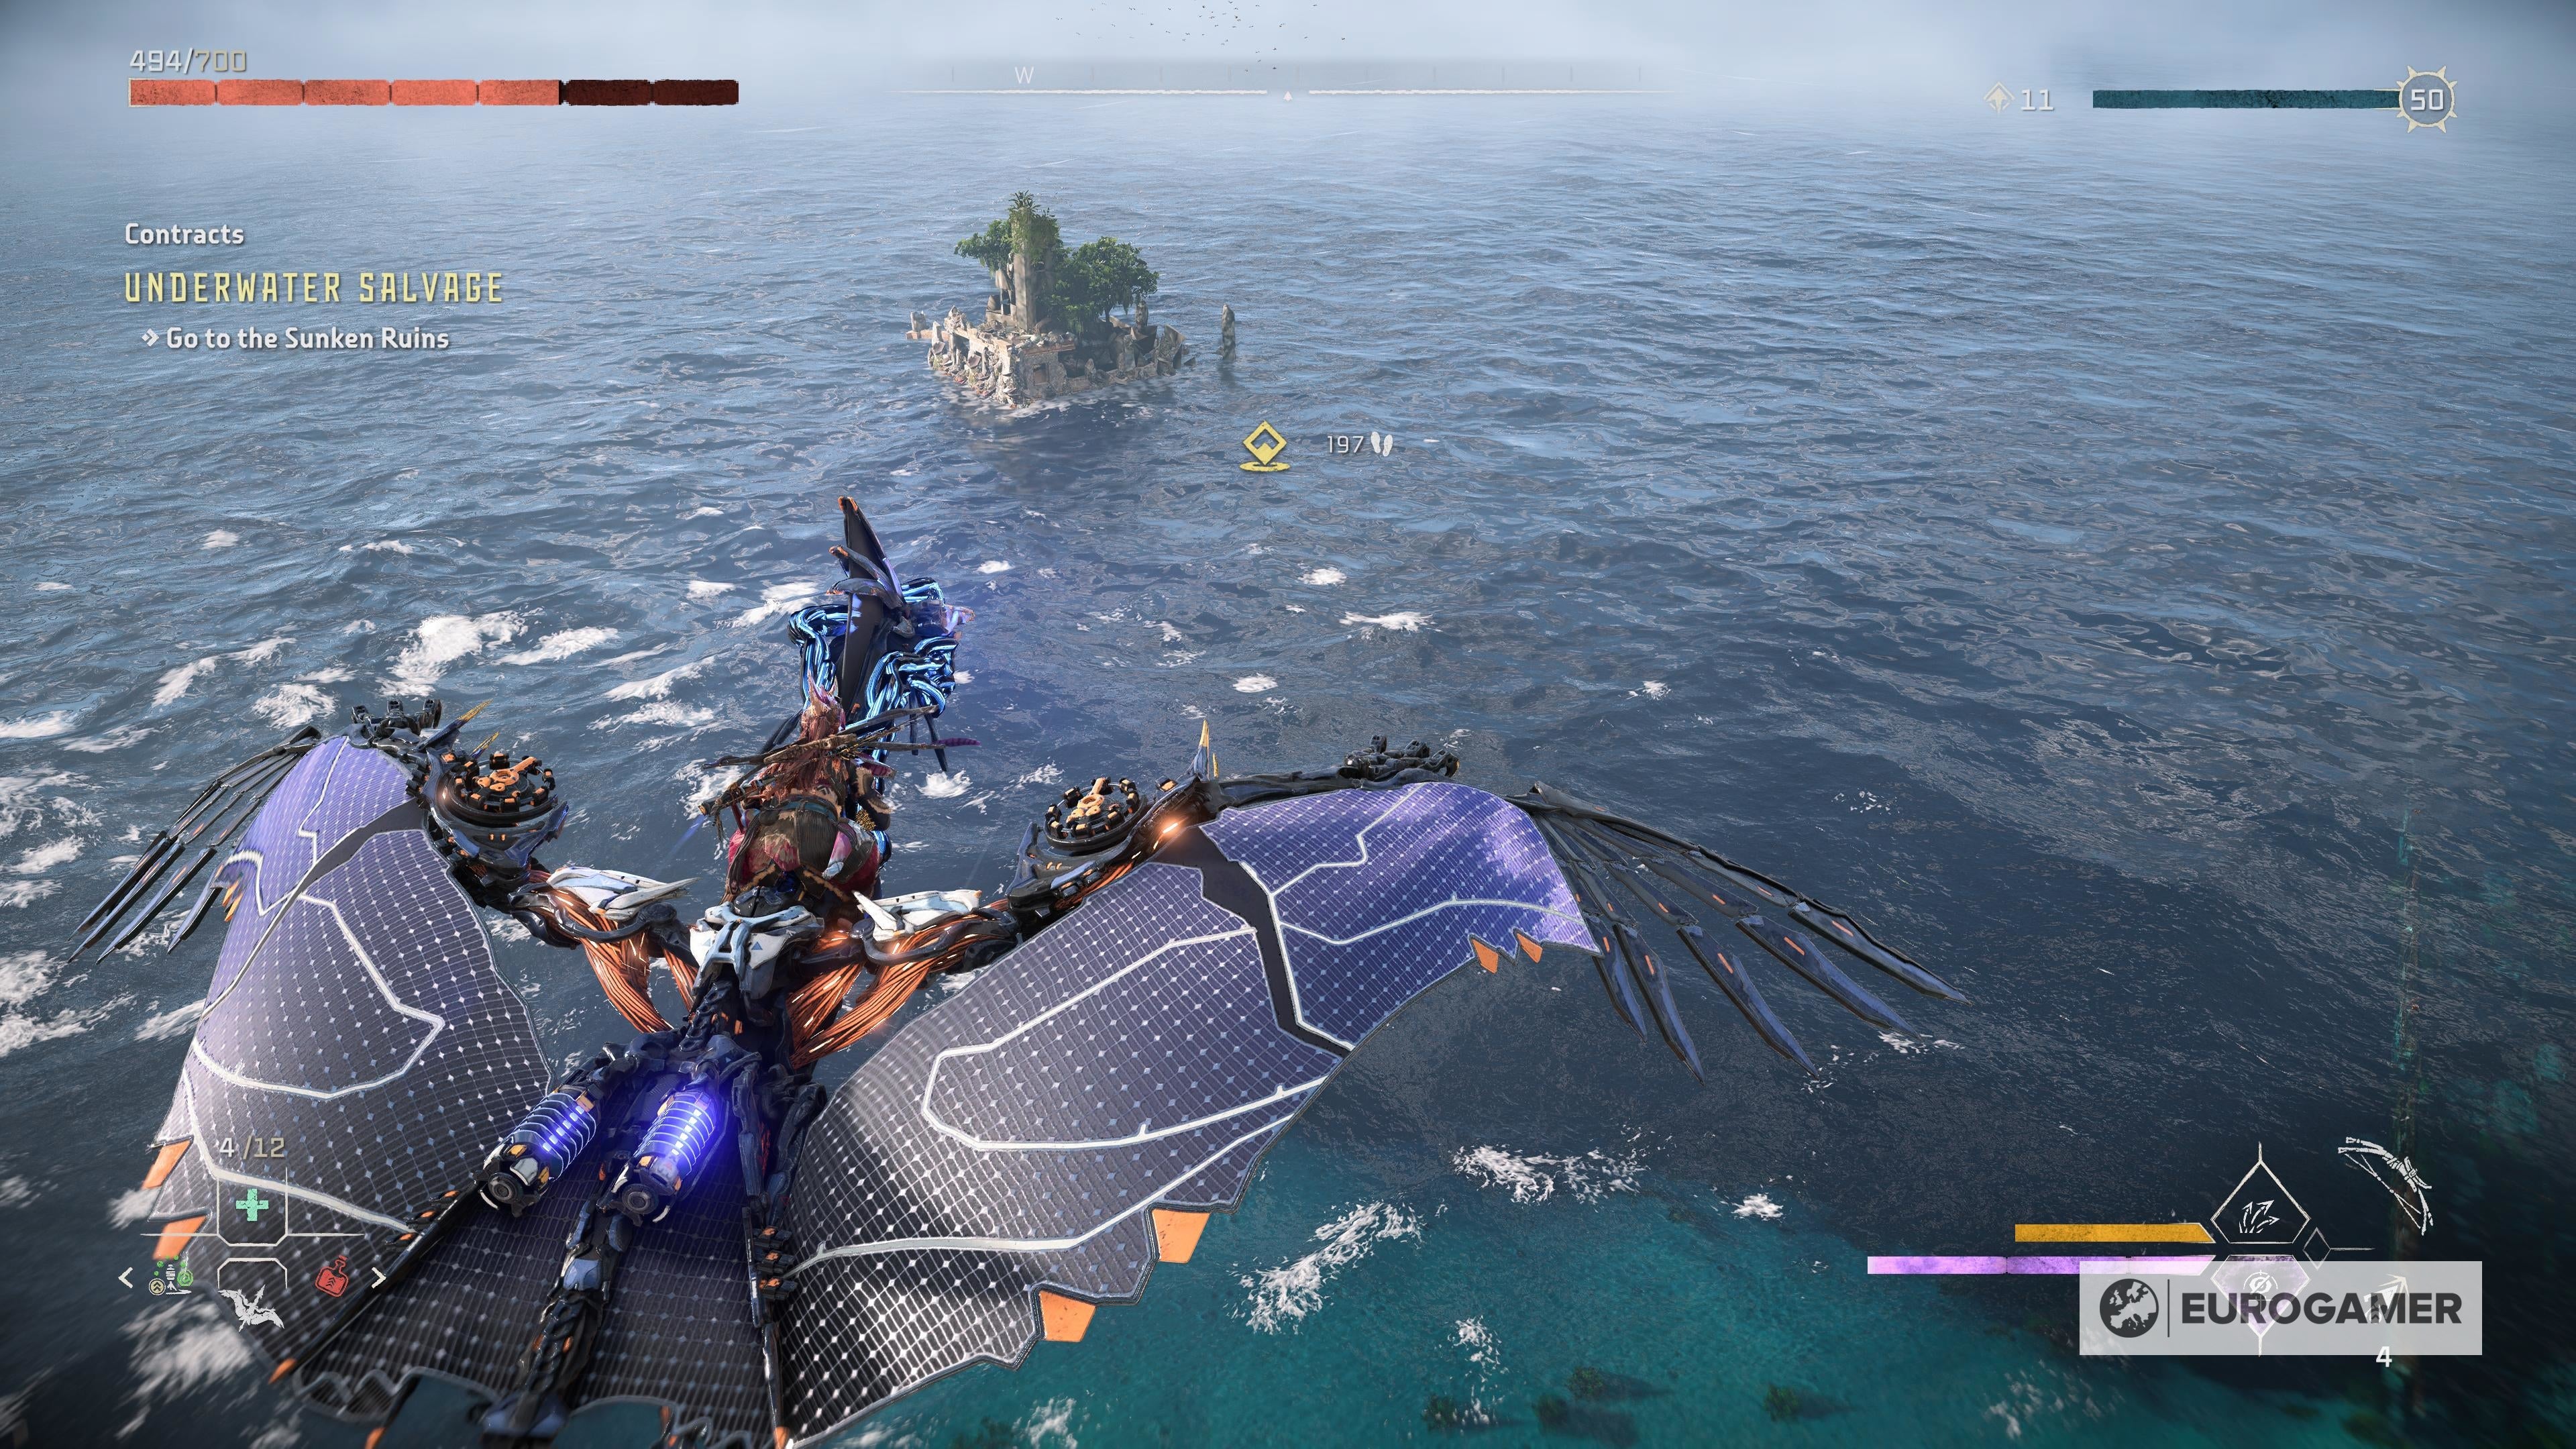
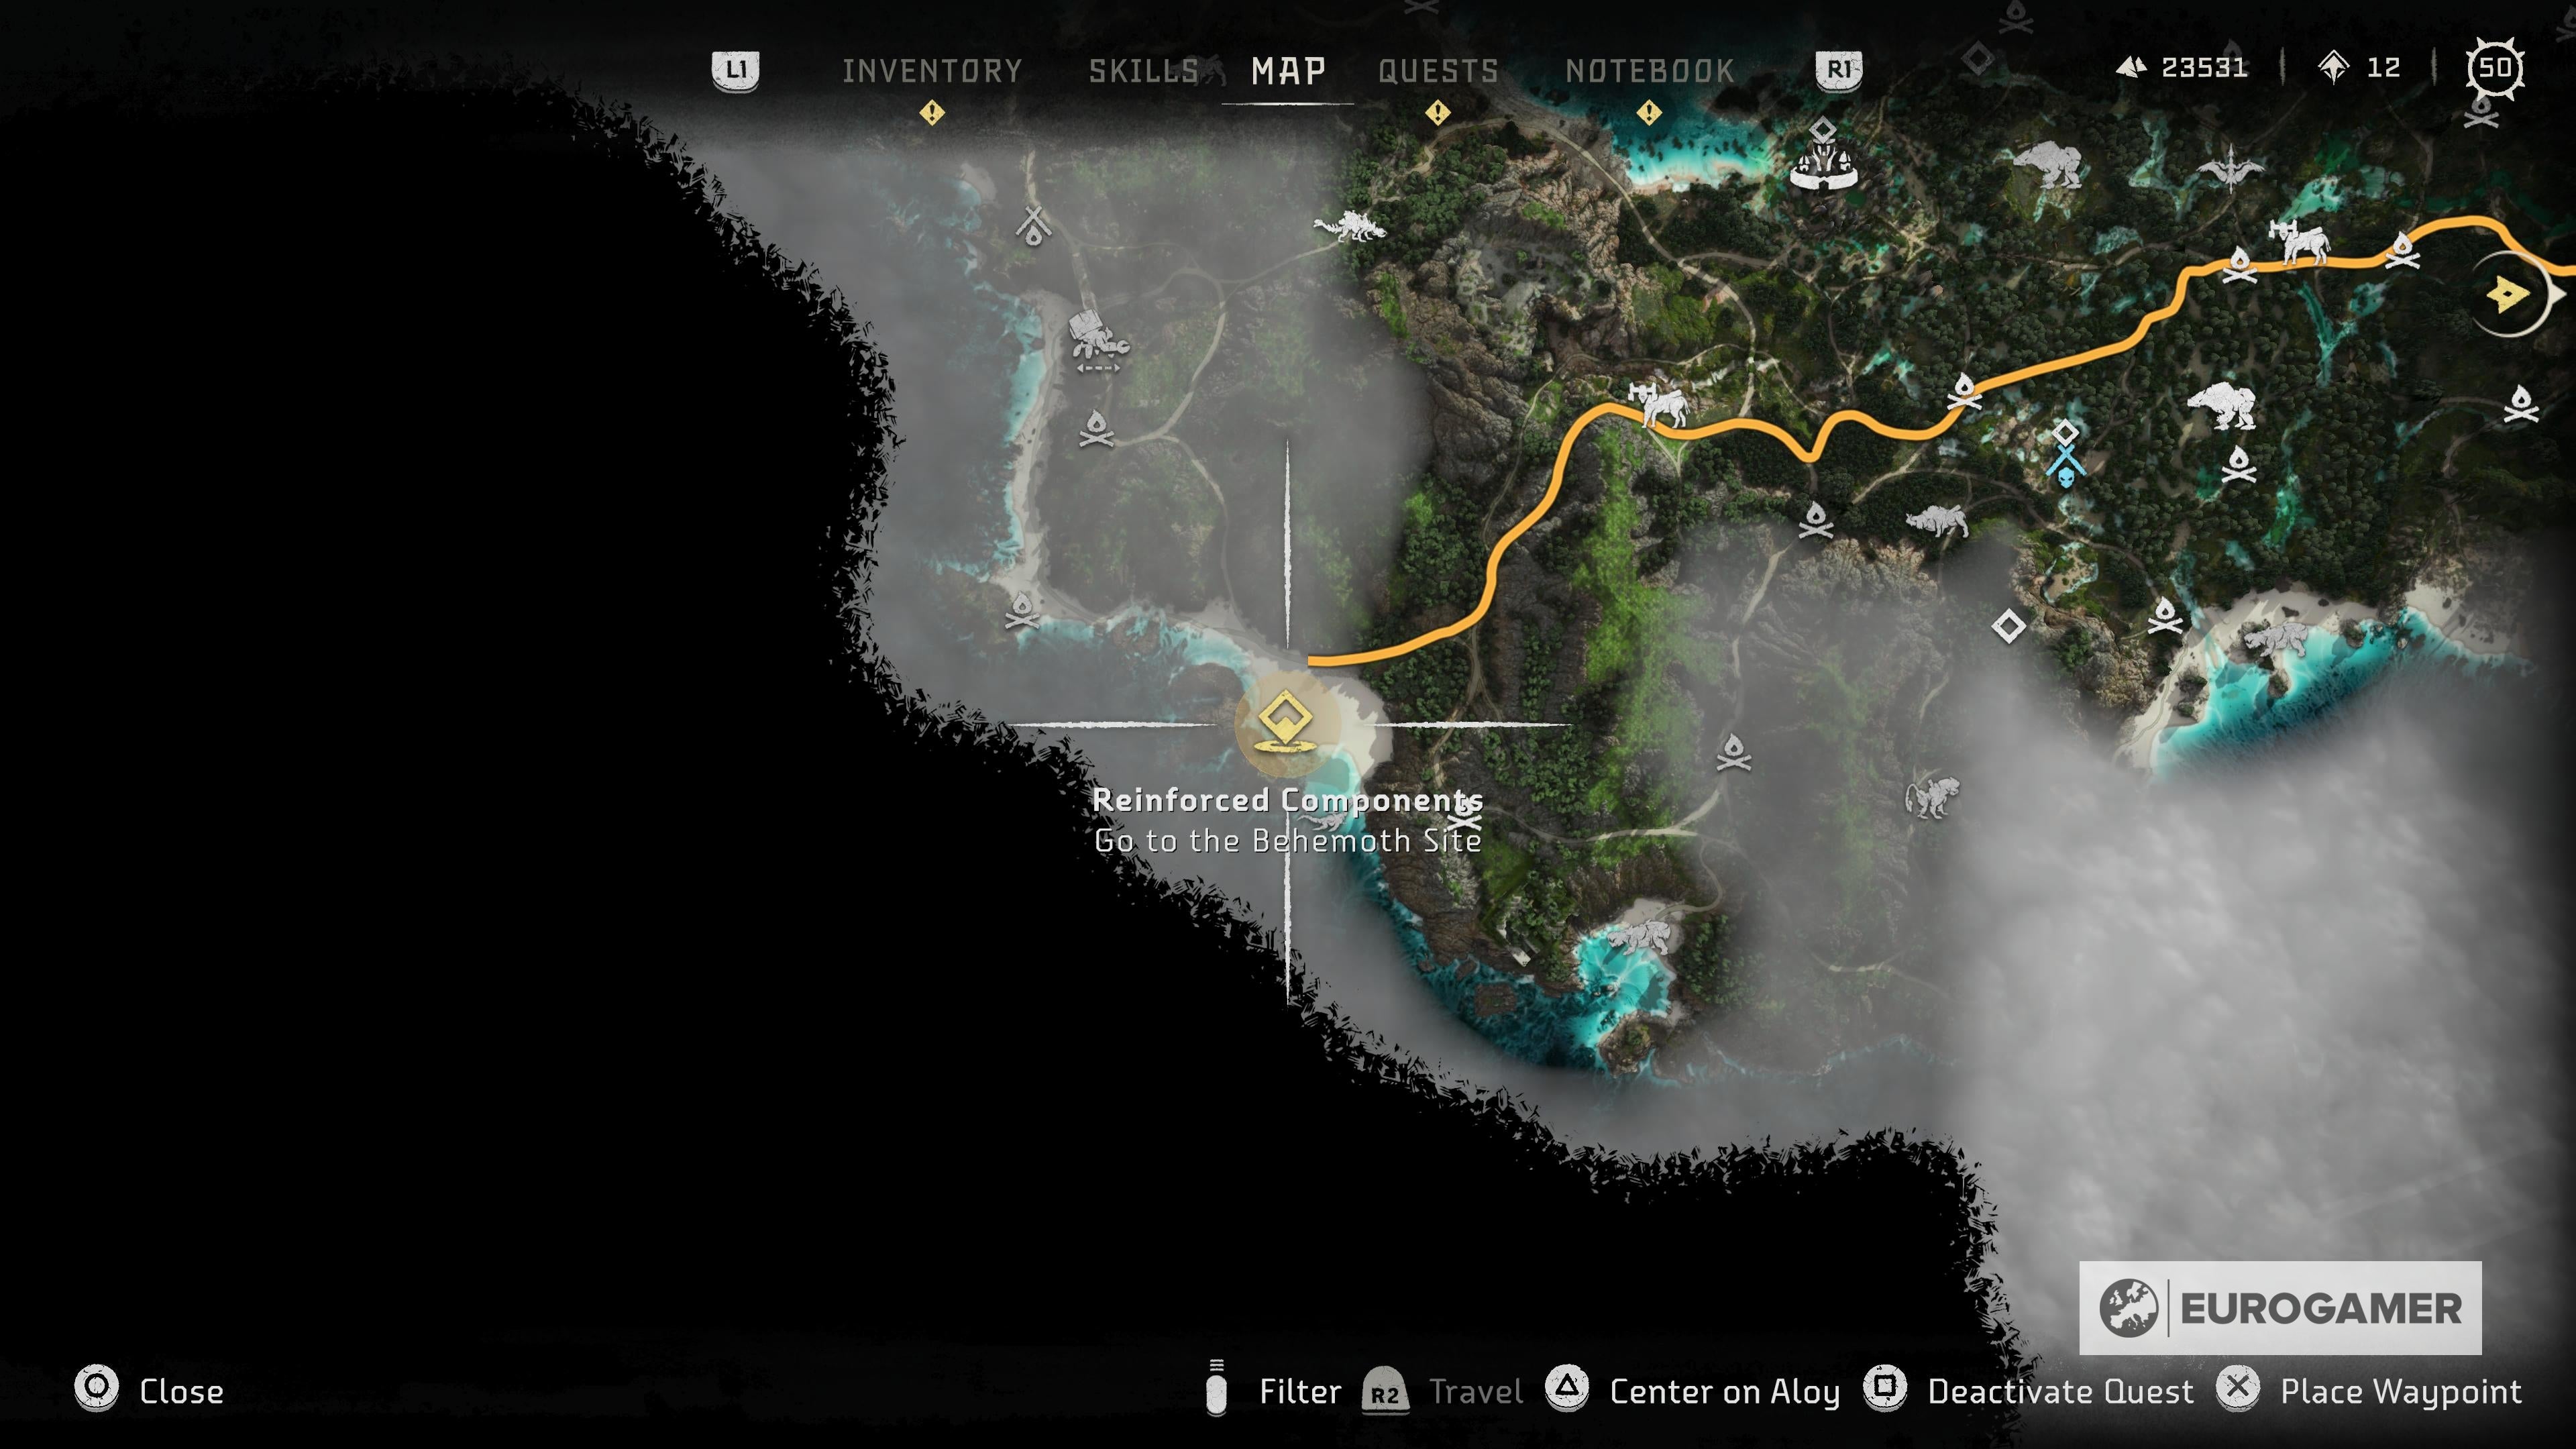
Mine Launchers Colleague and Key Underwater Salvage Reinforce Components
Mine Launchers Danur needs Stalker Mine Launchers to help secure his camp. If you looted the Stalkers after defeating them then you will already have these Mine Launchers to give to him. If not, head back to the downed Stalkers and loot them. Colleague and Key Warend, the leader of this camp, went missing after helping defend the camp against a Thunderjaw. Danur needs to find Warend’s key, so they can open up a locked trunk that contains information about an armor build. Danur asks you to look for Warend and recover his key. Go to Warend’s last location southwest of the camp and scan the tracks there. Follow the tracks to the downed Thunderjaw and Warend’s body. The key will not be on him. Investigate the area with the Focus and defeat the Clamberjaws that come down from the mountain. Climb the cliff near the waterfall to find the scrap pile that contains the key. Bring it back to Danur. Underwater Salvage Danur can’t complete the armor without Warend’s sunken salvage. He asks you to travel to the ancient ruins north of Thornmarsh to retrieve underwater salvage. Go into the ocean north of Thiornmarsh and dive next to the ruins there. The salvage will be located in sunken vehicles. You will need to pry open doors and trunks to get the pieces. Use the Focus to pinpoint the salvage locations. There will be Snapmaws swimming around the salvage, but they can be avoided. One piece of salvage will be located in a smaller ruin. You will need to squeeze through the crack in the ruin to get to it. When you return to Danur’s camp, they will be under attack by Tenakth rebels. Defeat the rebels and then talk to Danur. Reinforced Components Danur needs Behemoth parts reinforced by Spikesnouts to complete his armor. He needs you to go to a Behemoth site located along the ocean southwest of Thornmarsh beyond the mountains. Once you are there, you can damage the Behemoth a little. This will trigger the Spikesnouts to reinforce it. As soon as the Behemoth is reinforced, defeat it along with the Spikesnouts. Loot the Behemoth and return to Danur. Now that Danur has all the parts he needs, he can begin constructing his armor. Once you’ve completed all of the salvage contracts for all four salvagers, you can now get the Oseram Artificer Outfit - the best armor in Horizon: Forbidden West!